A beginner’s guide to anamorphic still photography
It’s like normal photography but…stretchy!
If you’re like me, your social media feeds have probably showed you a certain volume of “anamorphic” content, mostly from videographers talking about how it’s the new hotness and how everyone should be shooting ultrawide with these uniquely rendering lenses. While I will happily admit that these videos piqued my interest, it wasn’t for their video utility…it was for stills.
You see, I’m a huge fan of the X-Pan (65:24) ratio for still photography and am always looking for an excuse to shoot wide on my full frame cameras. Check out this X-Pan gallery from a trip to the Rockies to get a sense of what 65:24 is all about if you haven’t seen it before.
Where anamorphic differs from standard lenses cropped down to a different ratio is a bit of a complicated matter, with some of this field of view altering happening in camera before the file makes it to post. Let’s get into it.
Shoutout to Sirui who sent over their Sirui Astra 75mm T1.8 1.33x Z Autofocus Anamorphic for me to use for my research while writing this. When I proposed partnering with them on this project, they were excited to be part of it, and I appreciate their support with helping make it happen! Sirui makes a ton of anamorphic lenses for Sony E, Nikon Z, L, Canon RF/EF/EFM, Fuji X, and PL/DL. Check out all of their anamorphic options here and get 5% off your order with code SCOTTTUCKER.
Disclosure: this lens was provided by Sirui for the purposes of this article, and they have not had access to this article before publication. This artile contains affiliate links for this lens and other accessories.
What is “anamorphic”?
The lenses we typically use and think of for our cameras are “spherical” lenses…lenses that have the same horizontal and vertical field of view. What an anamorphic lens does is compress the horizontal field of view (when shooting landscape) by a ratio that is denoted by the lens itself.
So let’s take our Astra 75mm 1.33x as an example (again, in landscape orientation): being a 75mm lens means that your shots will have a 75mm field of view from top to bottom of the frame. Where the 1.33x ratio comes in is for how much you’re able to see left to right. We divide the lens’ focal length by the ratio, so for the Astra, we have 75÷1.33 which gives us a horizontal field of view of roughly 56mm.
The best way to think of anamorphics are as hybrids…they are lenses that are essentially two different focal lengths across the two directions of a photo. How big the difference is depends on the ratio multiplier. The larger that number (1.33x, 1.5x, 1.6x, etc), the wider the horizontal field of view will be and the more extreme the effect will be on the bokeh at the left and right edges of the frame in terms of swirliness.
Let’s look at an example.
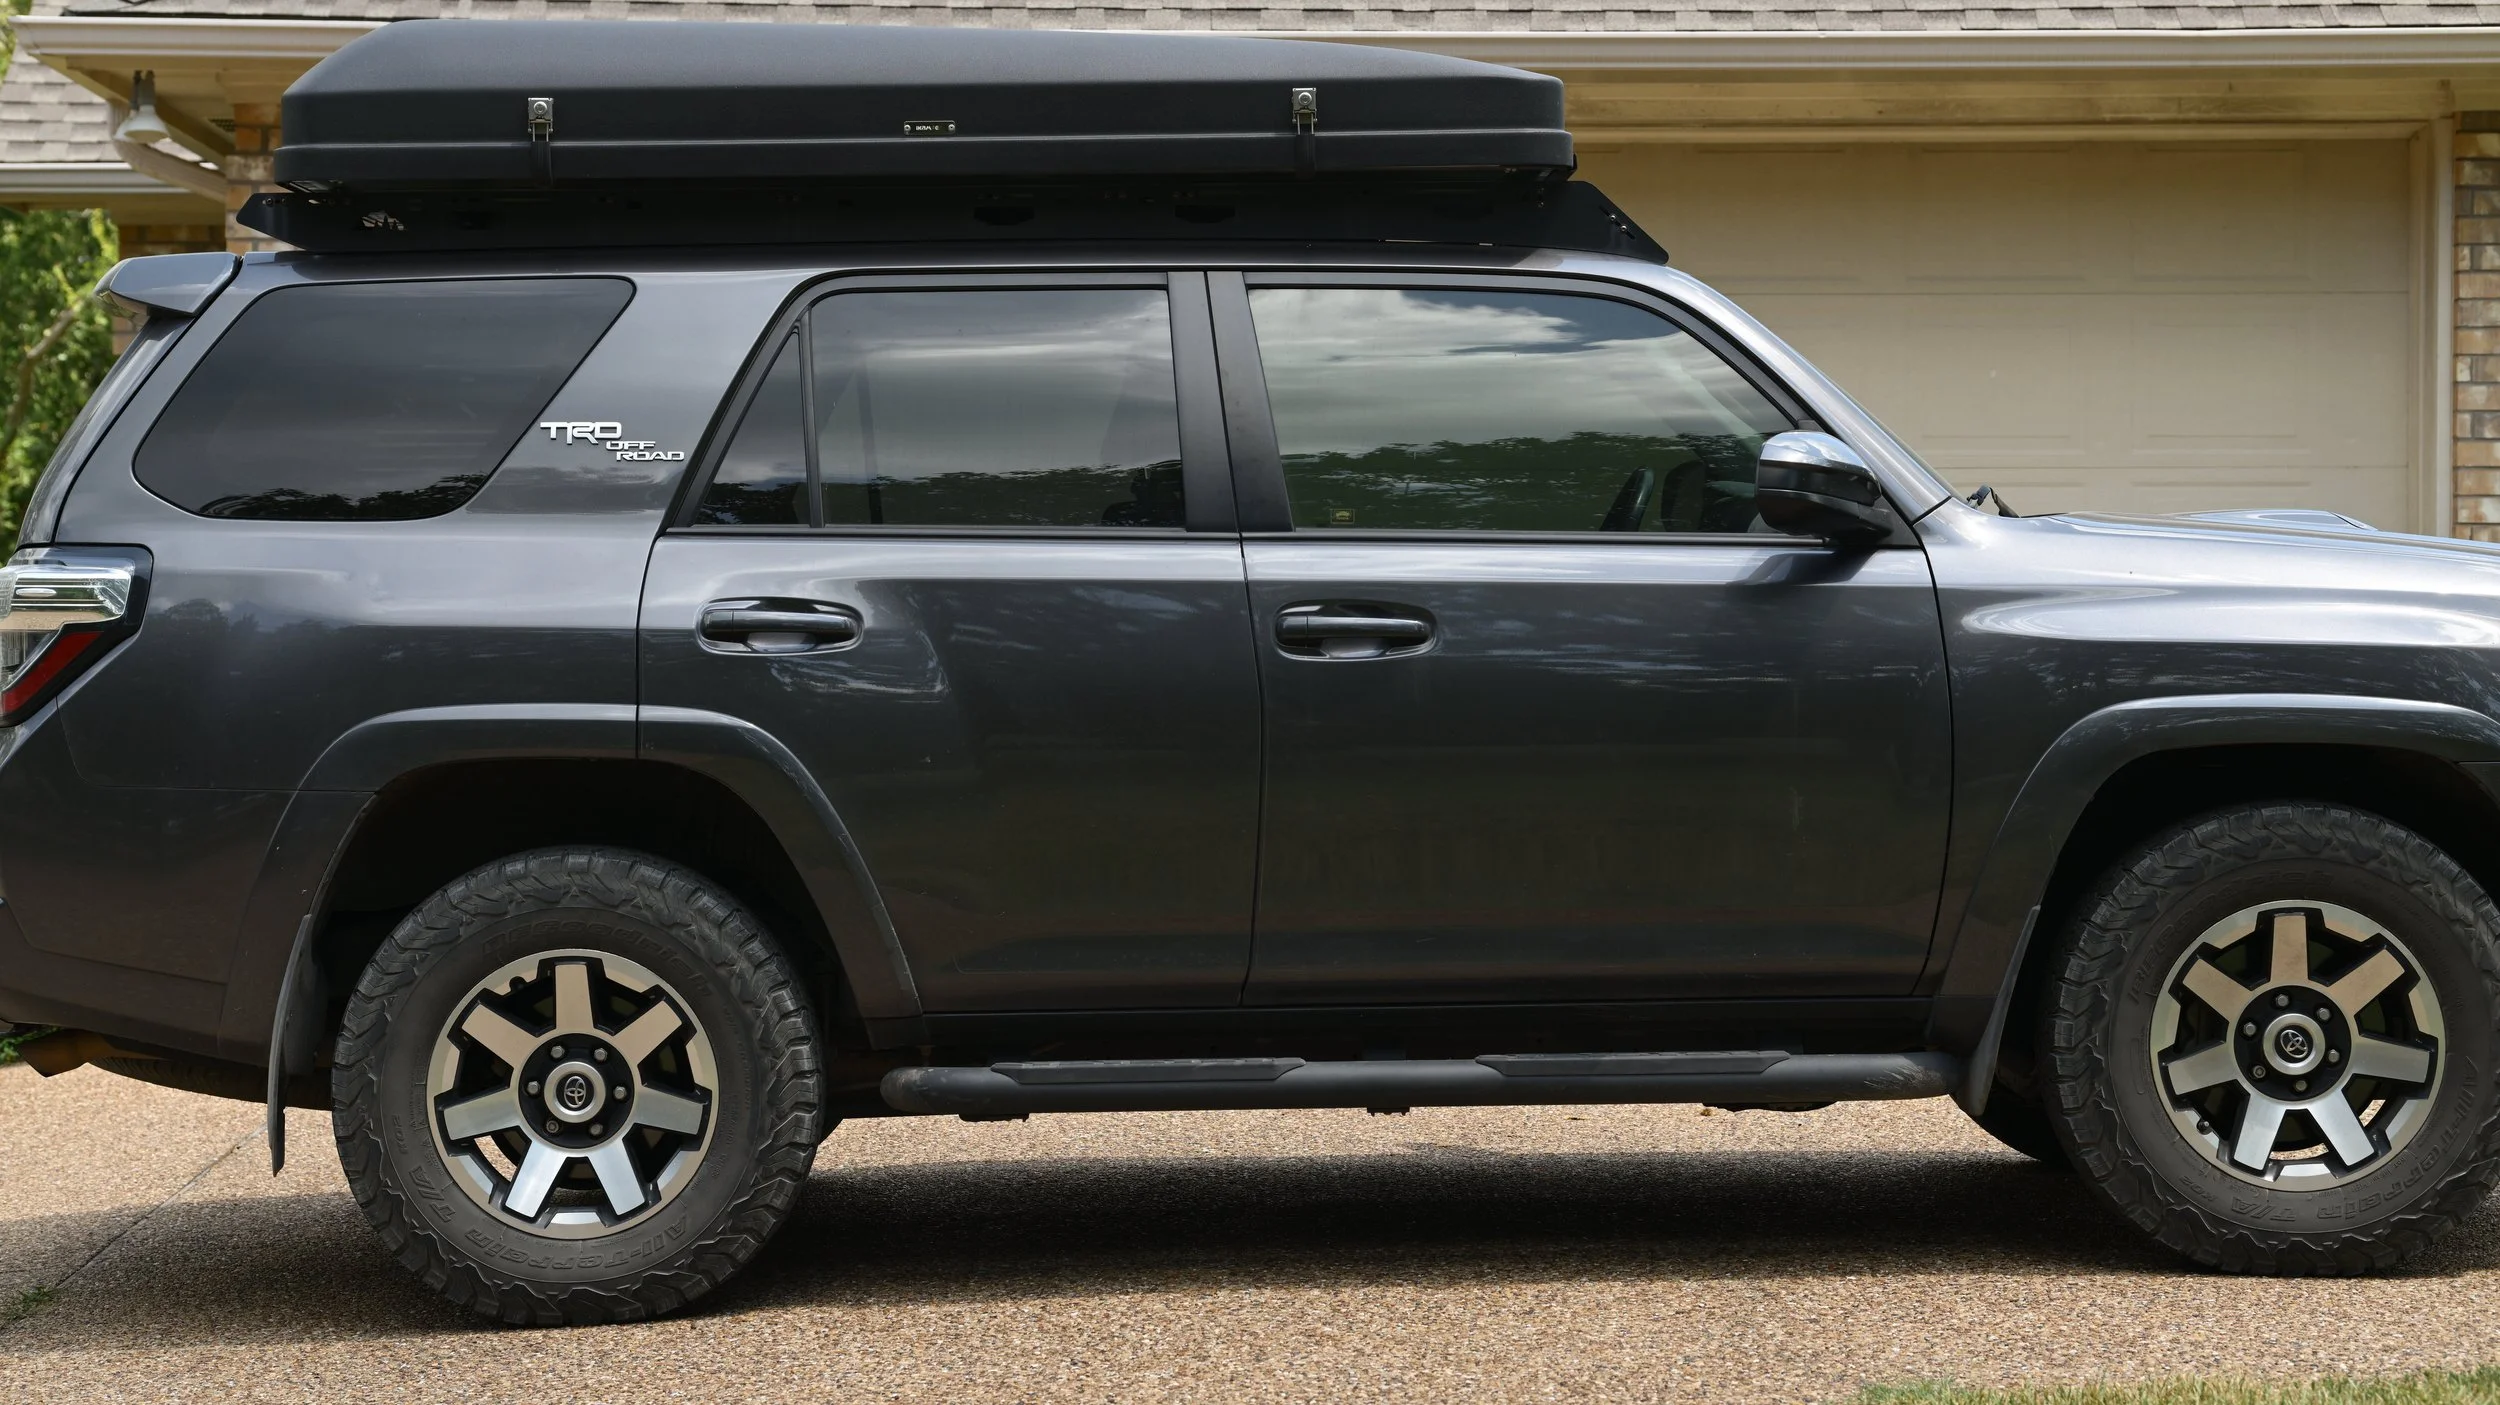
Shot at 75mm with a spherical 75mm lens (TTArtisan 75/2 AF)
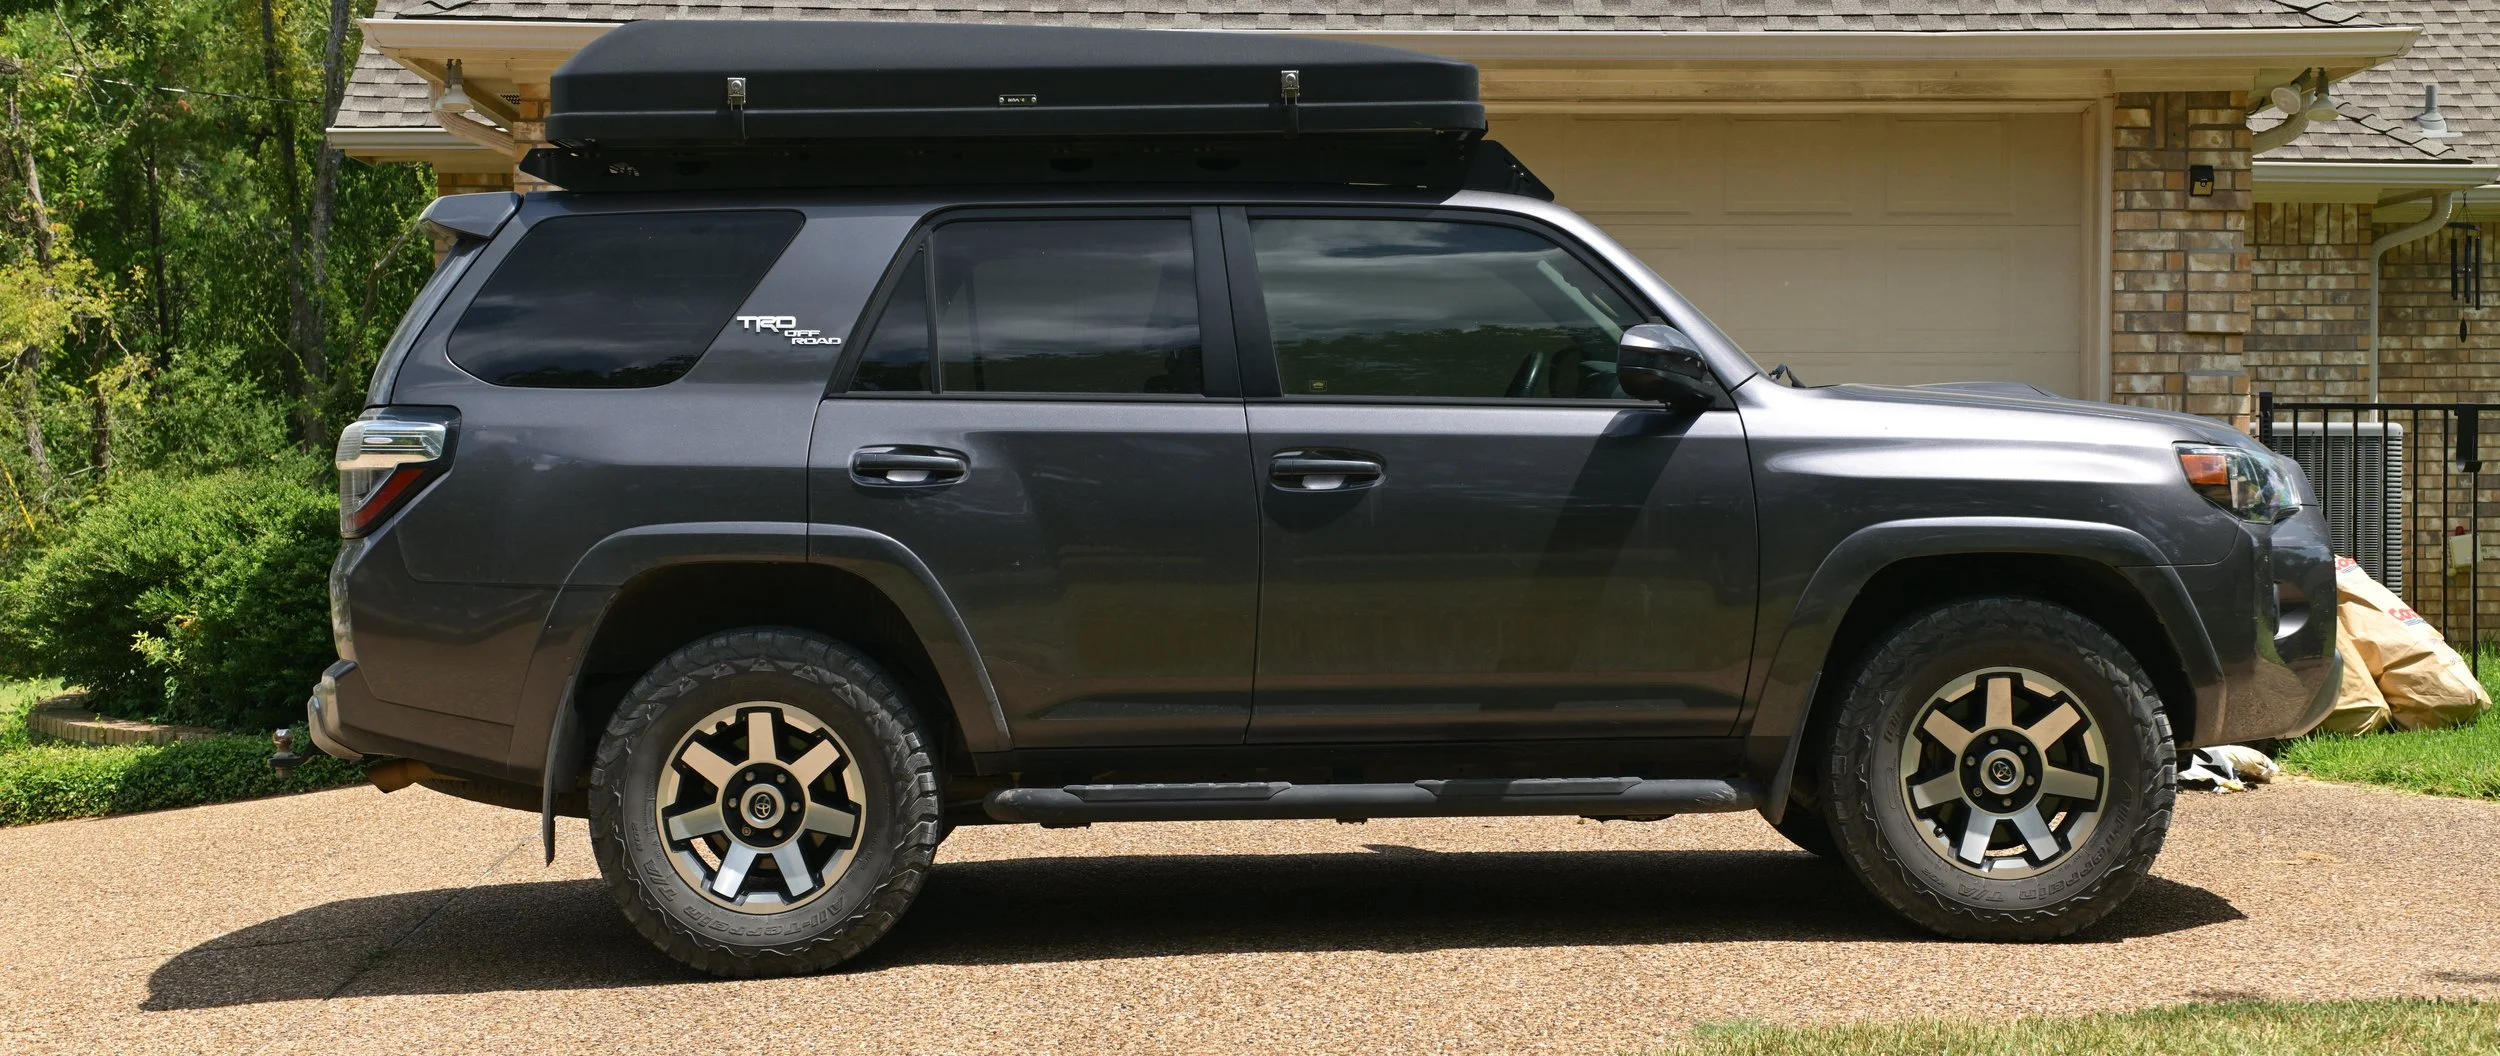
Shot from the same spot with the Sirui Astra 75. Note that you see the same spacing above and below the 4Runner, but much more to the sides. That is because this lens is essentially as wide as a 56mm.
From this example, it’s easy to see how much “wider” an anamorphic’s FOV is compared to a standard lens. What is interesting is that both images were captured in the standard 3:2 aspect ratio on my Nikon. You’ll notice that the anamorphic shot, however, is NOT 3:2…it’s essentially now 2:1, which is generally thought of as the start of “panoramic” territory.
What this means is we have made a full resolution panoramic photo without cropping in post and we didn’t lose any pixels doing it.
So that’s what an anamorphic photo does for us…now, let’s talk about how these photos are captured and what must be done in post processing to achieve this effect.
The Sirui 75mm Astra T1.8 1.33x Full Frame Autofocus Anamorphic for Z (whew!)
As mentioned, Sirui sent this lens over, and although this article was written exclusively using this lens, this is less of a full review of this lens, and more of a wider look at stills photography through the eyes of a Sirui autofocus anamorphic. Note that Sirui offers two versions of this lens (along with the 50mm and 100mm) and that is neutral flare or blue flare options. I opted for the neutral flare for my stills shooting, as this is less stylized and in-camera flare cannot be easily removed.
Price
$849 USD MSRP, use coupon code “SCOTTTUCKER” for extra 5% off at Sirui’s store - CURRENTLY ON SALE FOR $764
Tech Specs
666g - 67mm filter thread - 13 blade aperture - 18 elements in 13 groups - 24” Minimum Focus Distance - Stepping autofocus motors - T22 minimum aperture - 44mm image circle for low vignetting - No hood - USB-C port inside the mount for updating firmware - Rubber gasket at mount - Neutral flare design
The Astra line has all of the physical controls you’d expect from Sirui, including declickable aperture ring, Iris Lock, MF/AF switch, a FN button, geared rings for external rigs, and a weather sealed mount. The barrel is an all-metal design and feels great in the hand.
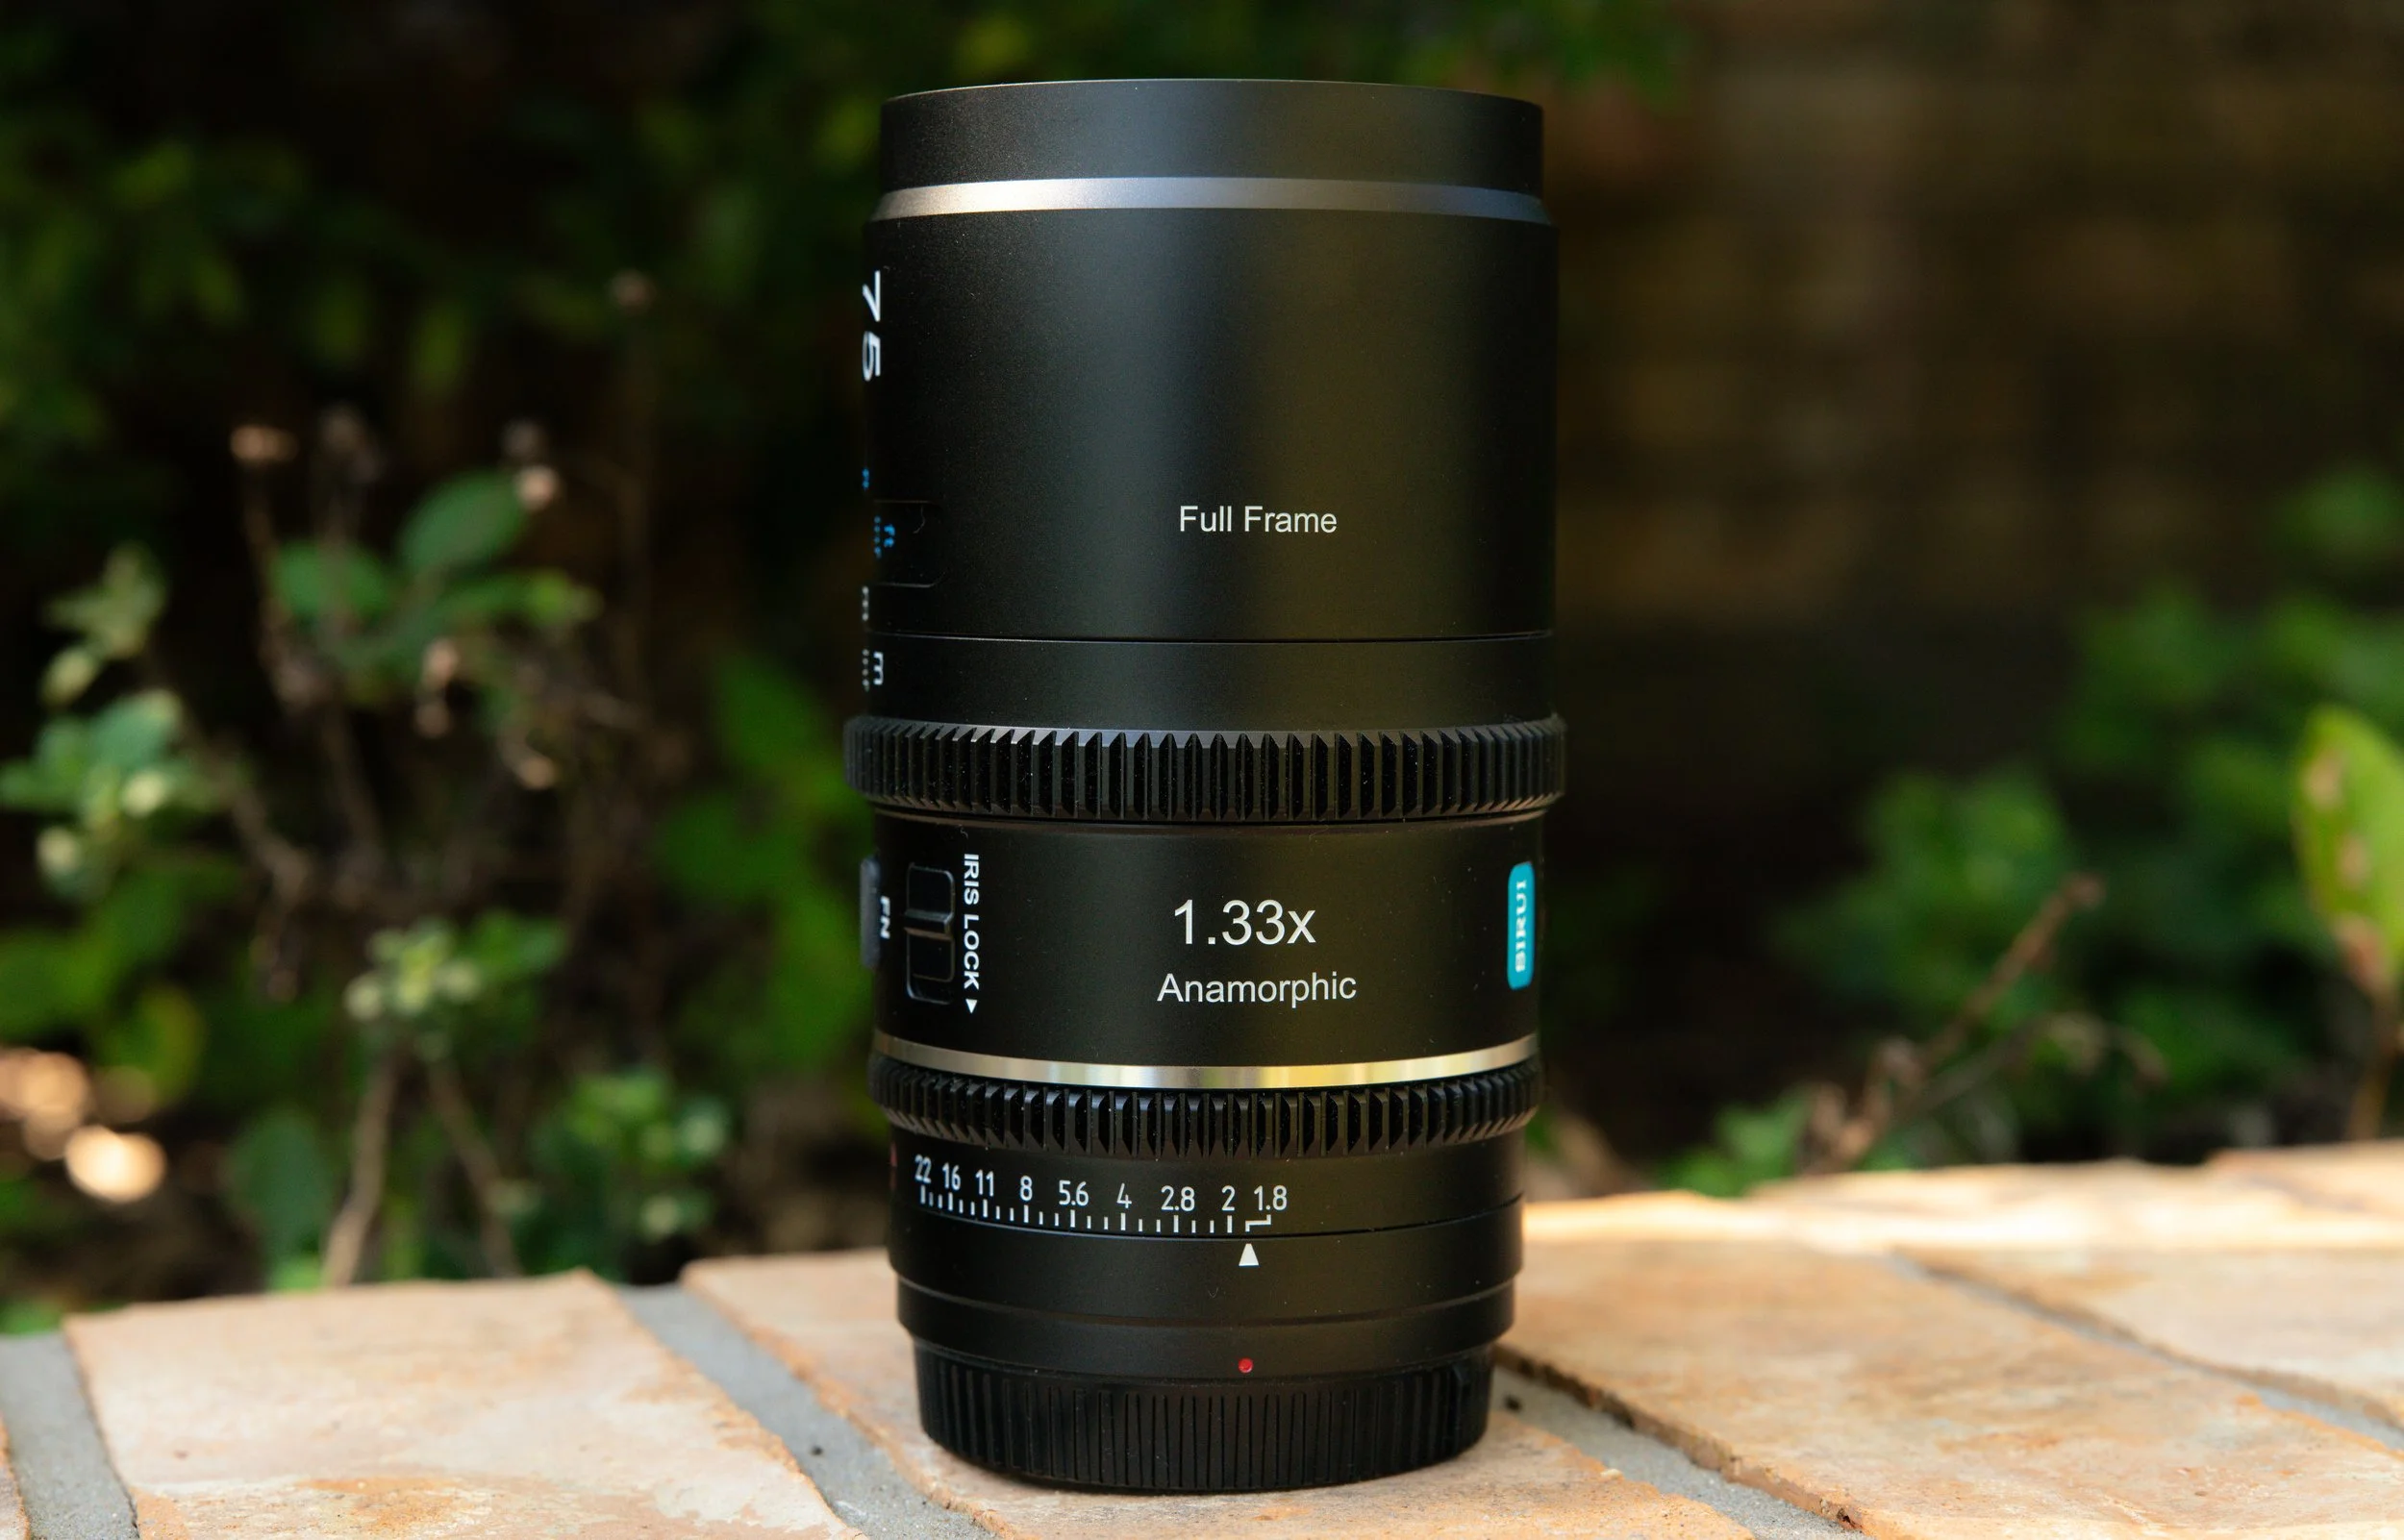
An all-metal construction makes the lens feel robust, and it is well balanced in hand
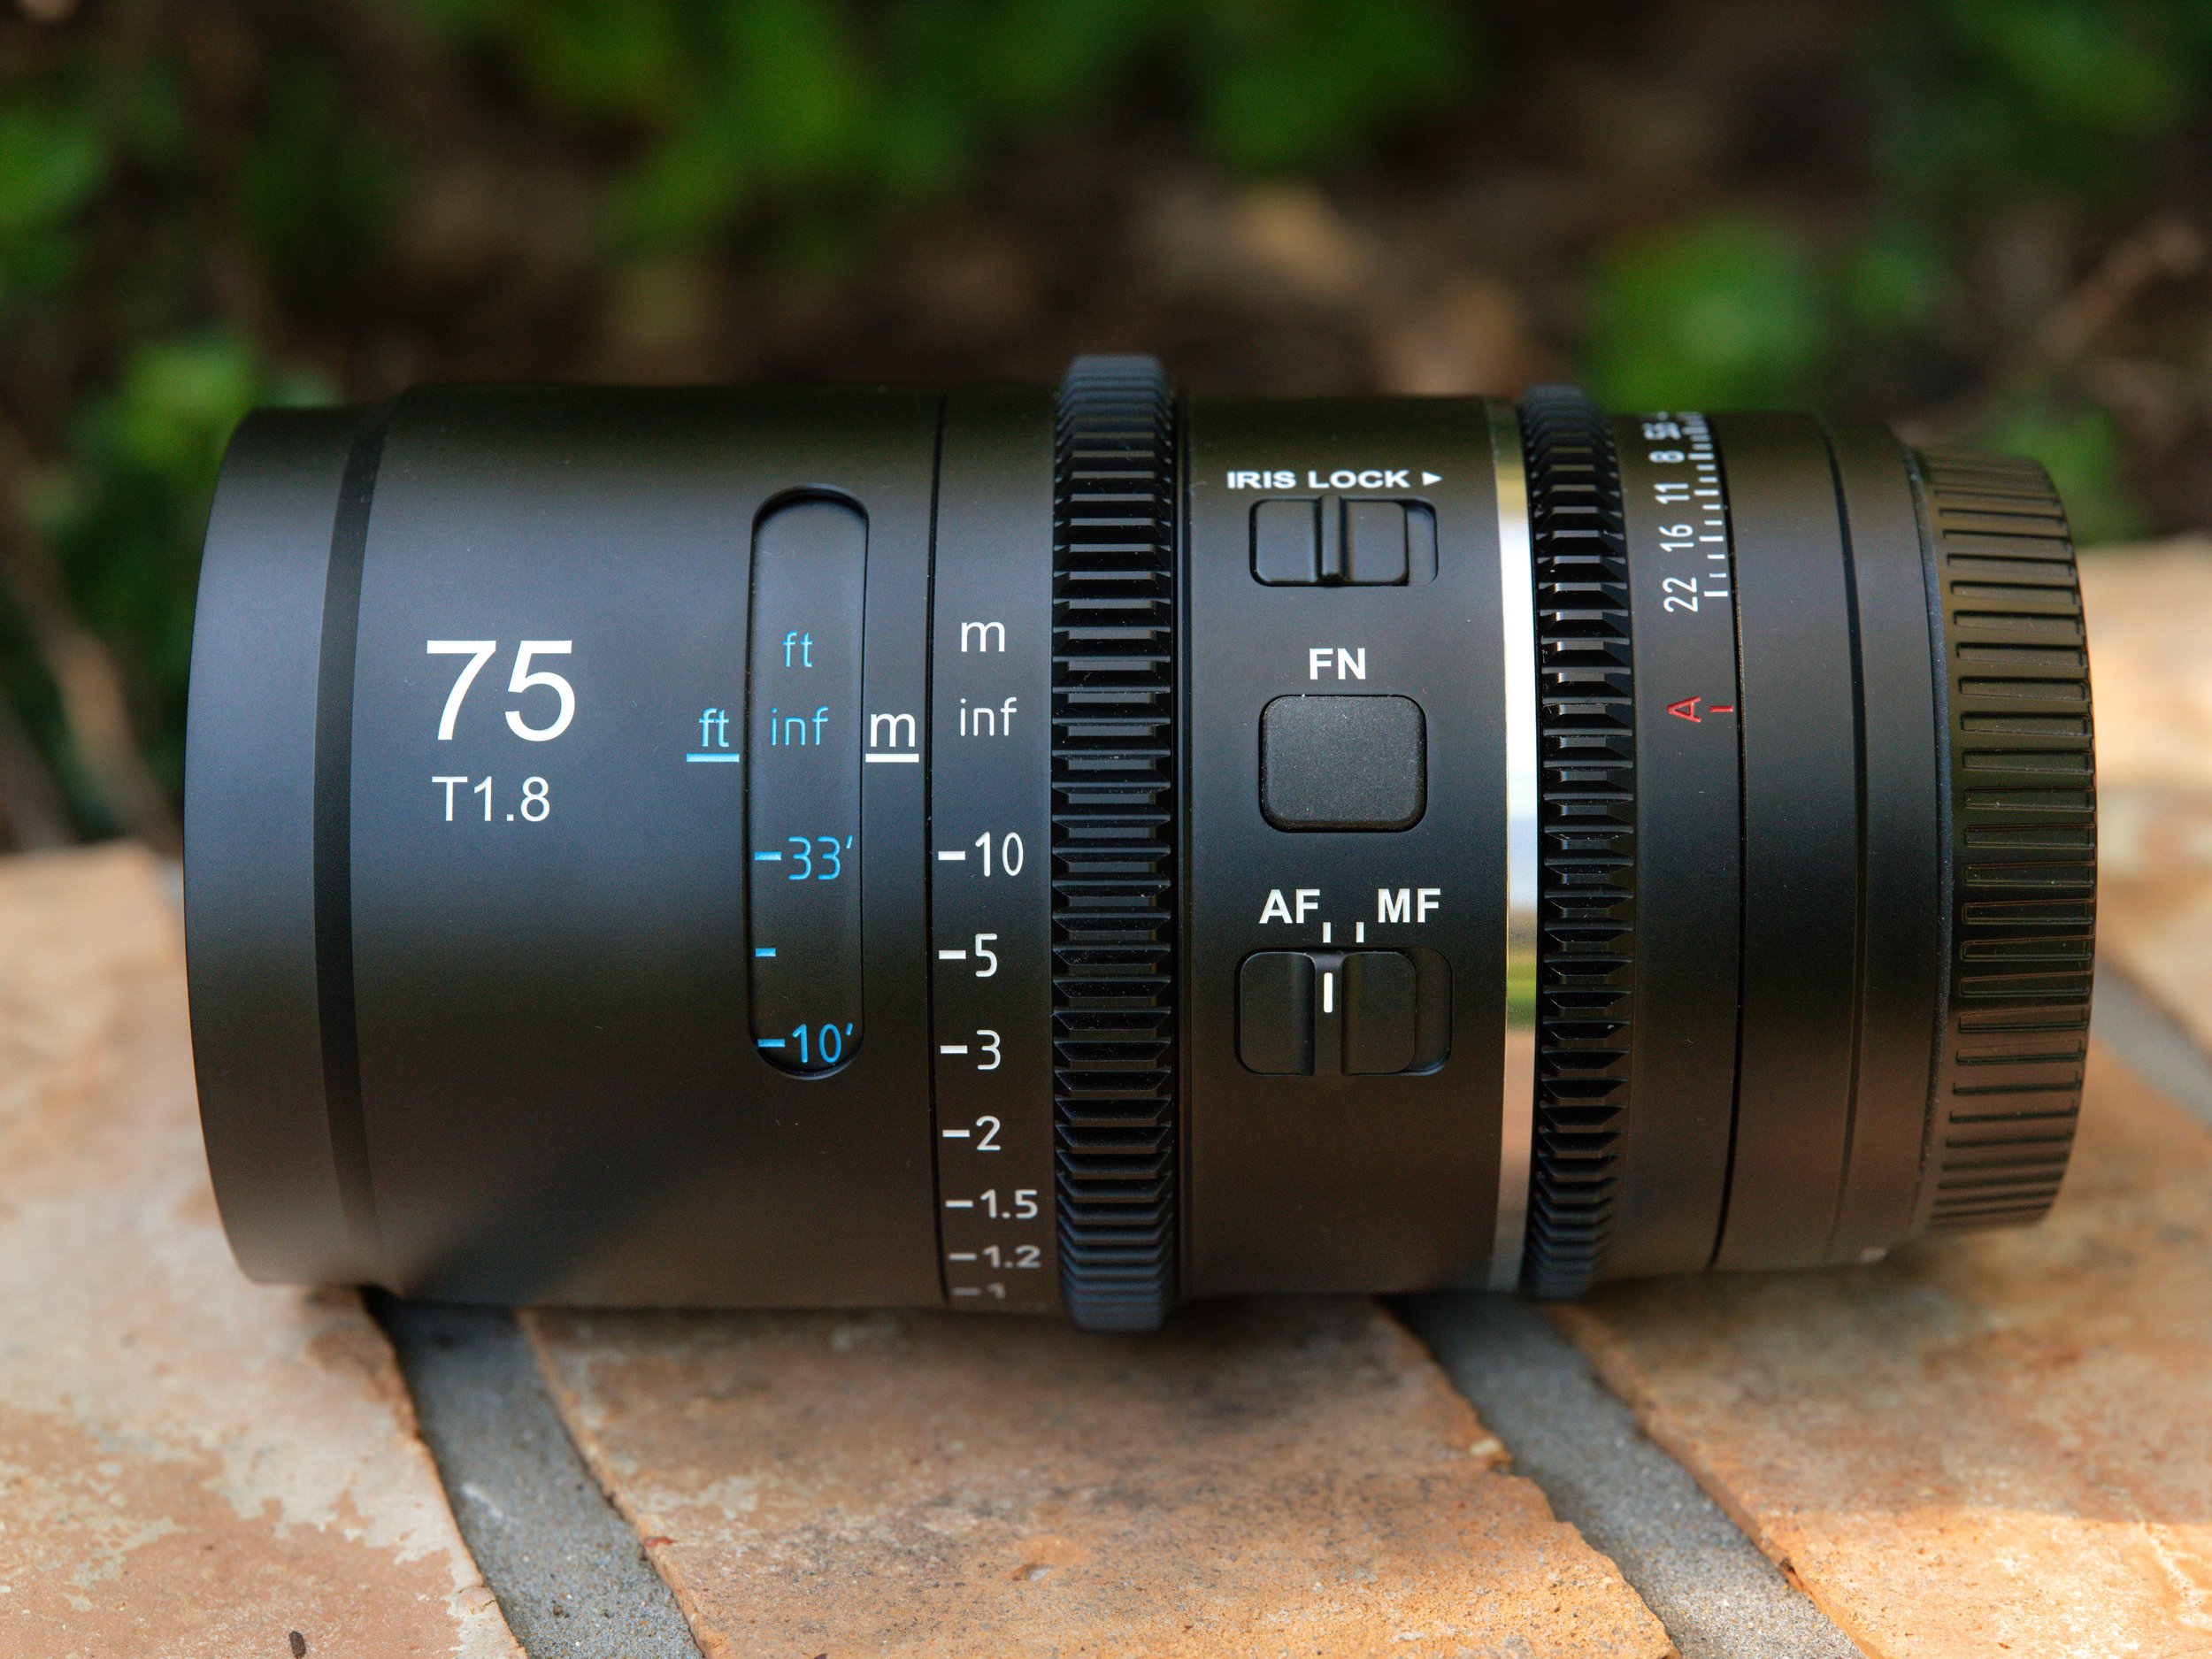
Built-in focus scale in both metric and imperial for video work
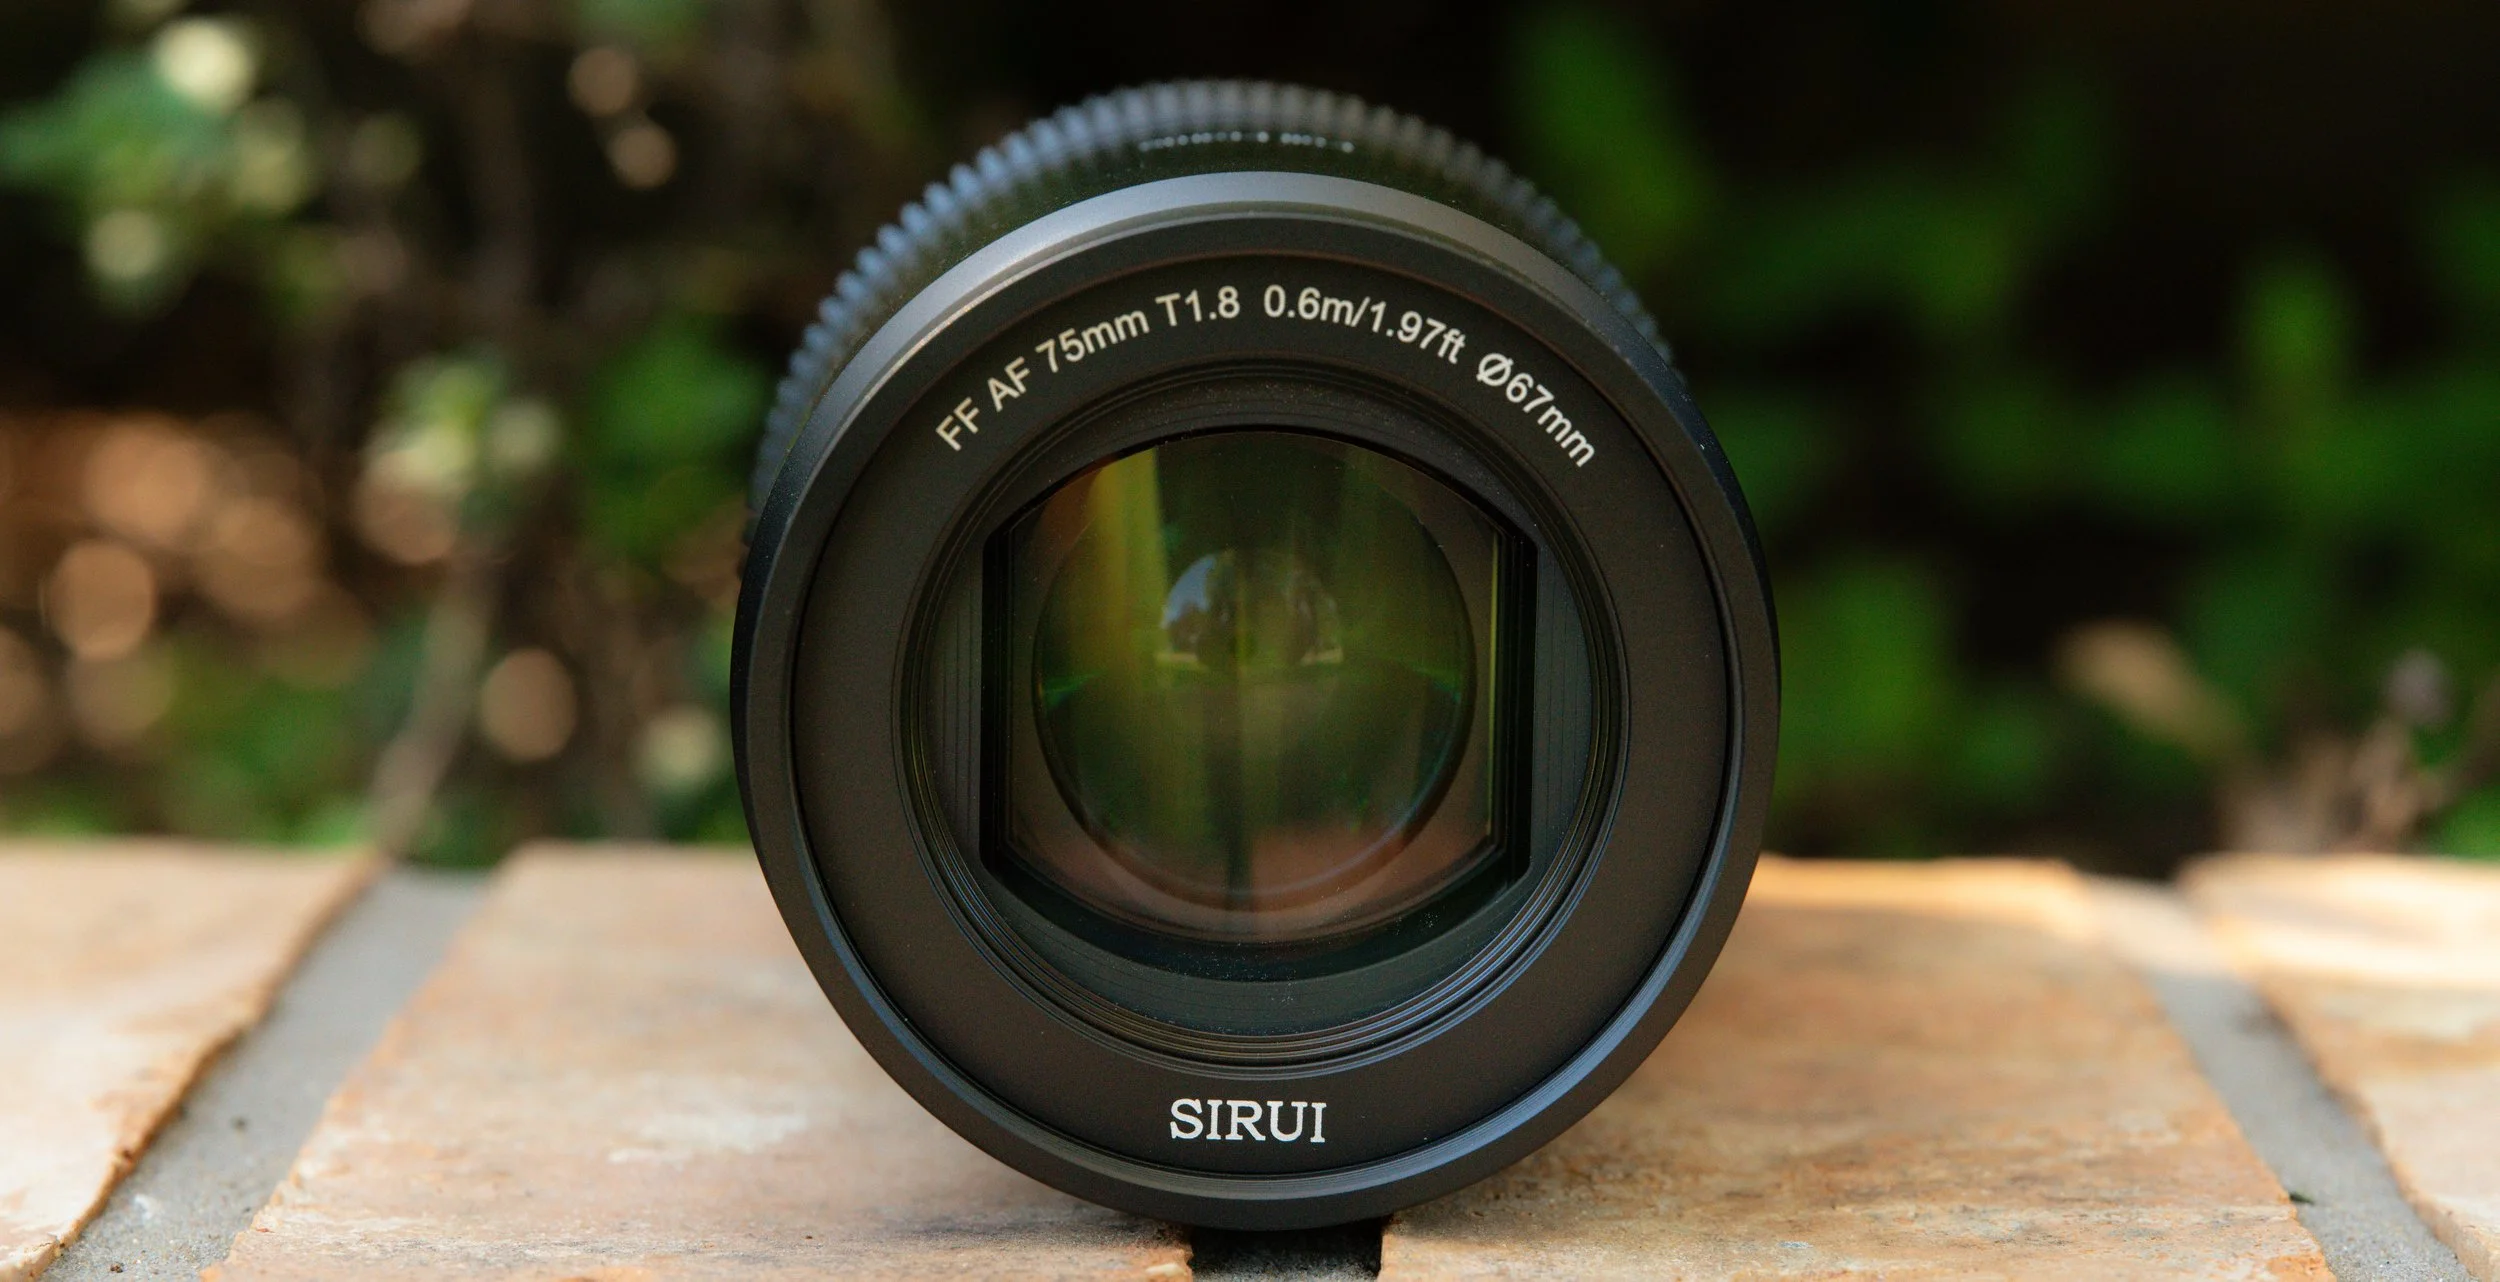
The unique front element shape
Taking anamorphic photos
There’s nothing all that different about capturing anamorphic images - you mount a lens and you press the shutter. Where things get a little bit tricky is composing them, because what you will see in the viewfinder of your camera is the stretched out version of the photo (see the next section for an in-depth discussion about this). This stretched out preview can make reviewing fine detail more difficult, and it’s not immediately obvious what the final image will look like.
What originally got me thinking about the possibility of taking anamorphic stills was Michael Aguado’s Parallax Monitor smartphone app. This is a $20 app that unlocks an entire suit of cinema options for Nikon cameras, and my use of it only scratches the surface of its full capabilities. Originally designed for videographers, this application acts as an external monitor for Nikon cameras. Crucially, it has an anamorphic desqueeze preview option with selectable anamorphic ratios. I just punch in 1.33x into the app and magically I get to see what the final shot will look like as I’m composing the photo. Michael invited me to his beta version of the program and I was able to provide some feedback for stills-centric features that were missing. Not only did this project help make the app better, the app made my photos better, so it was a total win-win!
My next thought was…if I could use my iPhone to show me a desqueezed image, it would be nice to have the phone attached to the camera, essentially replacing the EVF and LCD screen in use. Luckily, Smallrig was ahead of me with their Magsafe cold shoe mount. I also picked up a 9” USB-C to USB-C cable to connect the camera to the phone. While Parallax Monitor does support wireless data transmission, a cable provides a lower latency experience and uses less camera battery. I also utilized a Maven Filters magnetic circular polarizer for most shooting to remove glare from my subjects in midday scenarios.
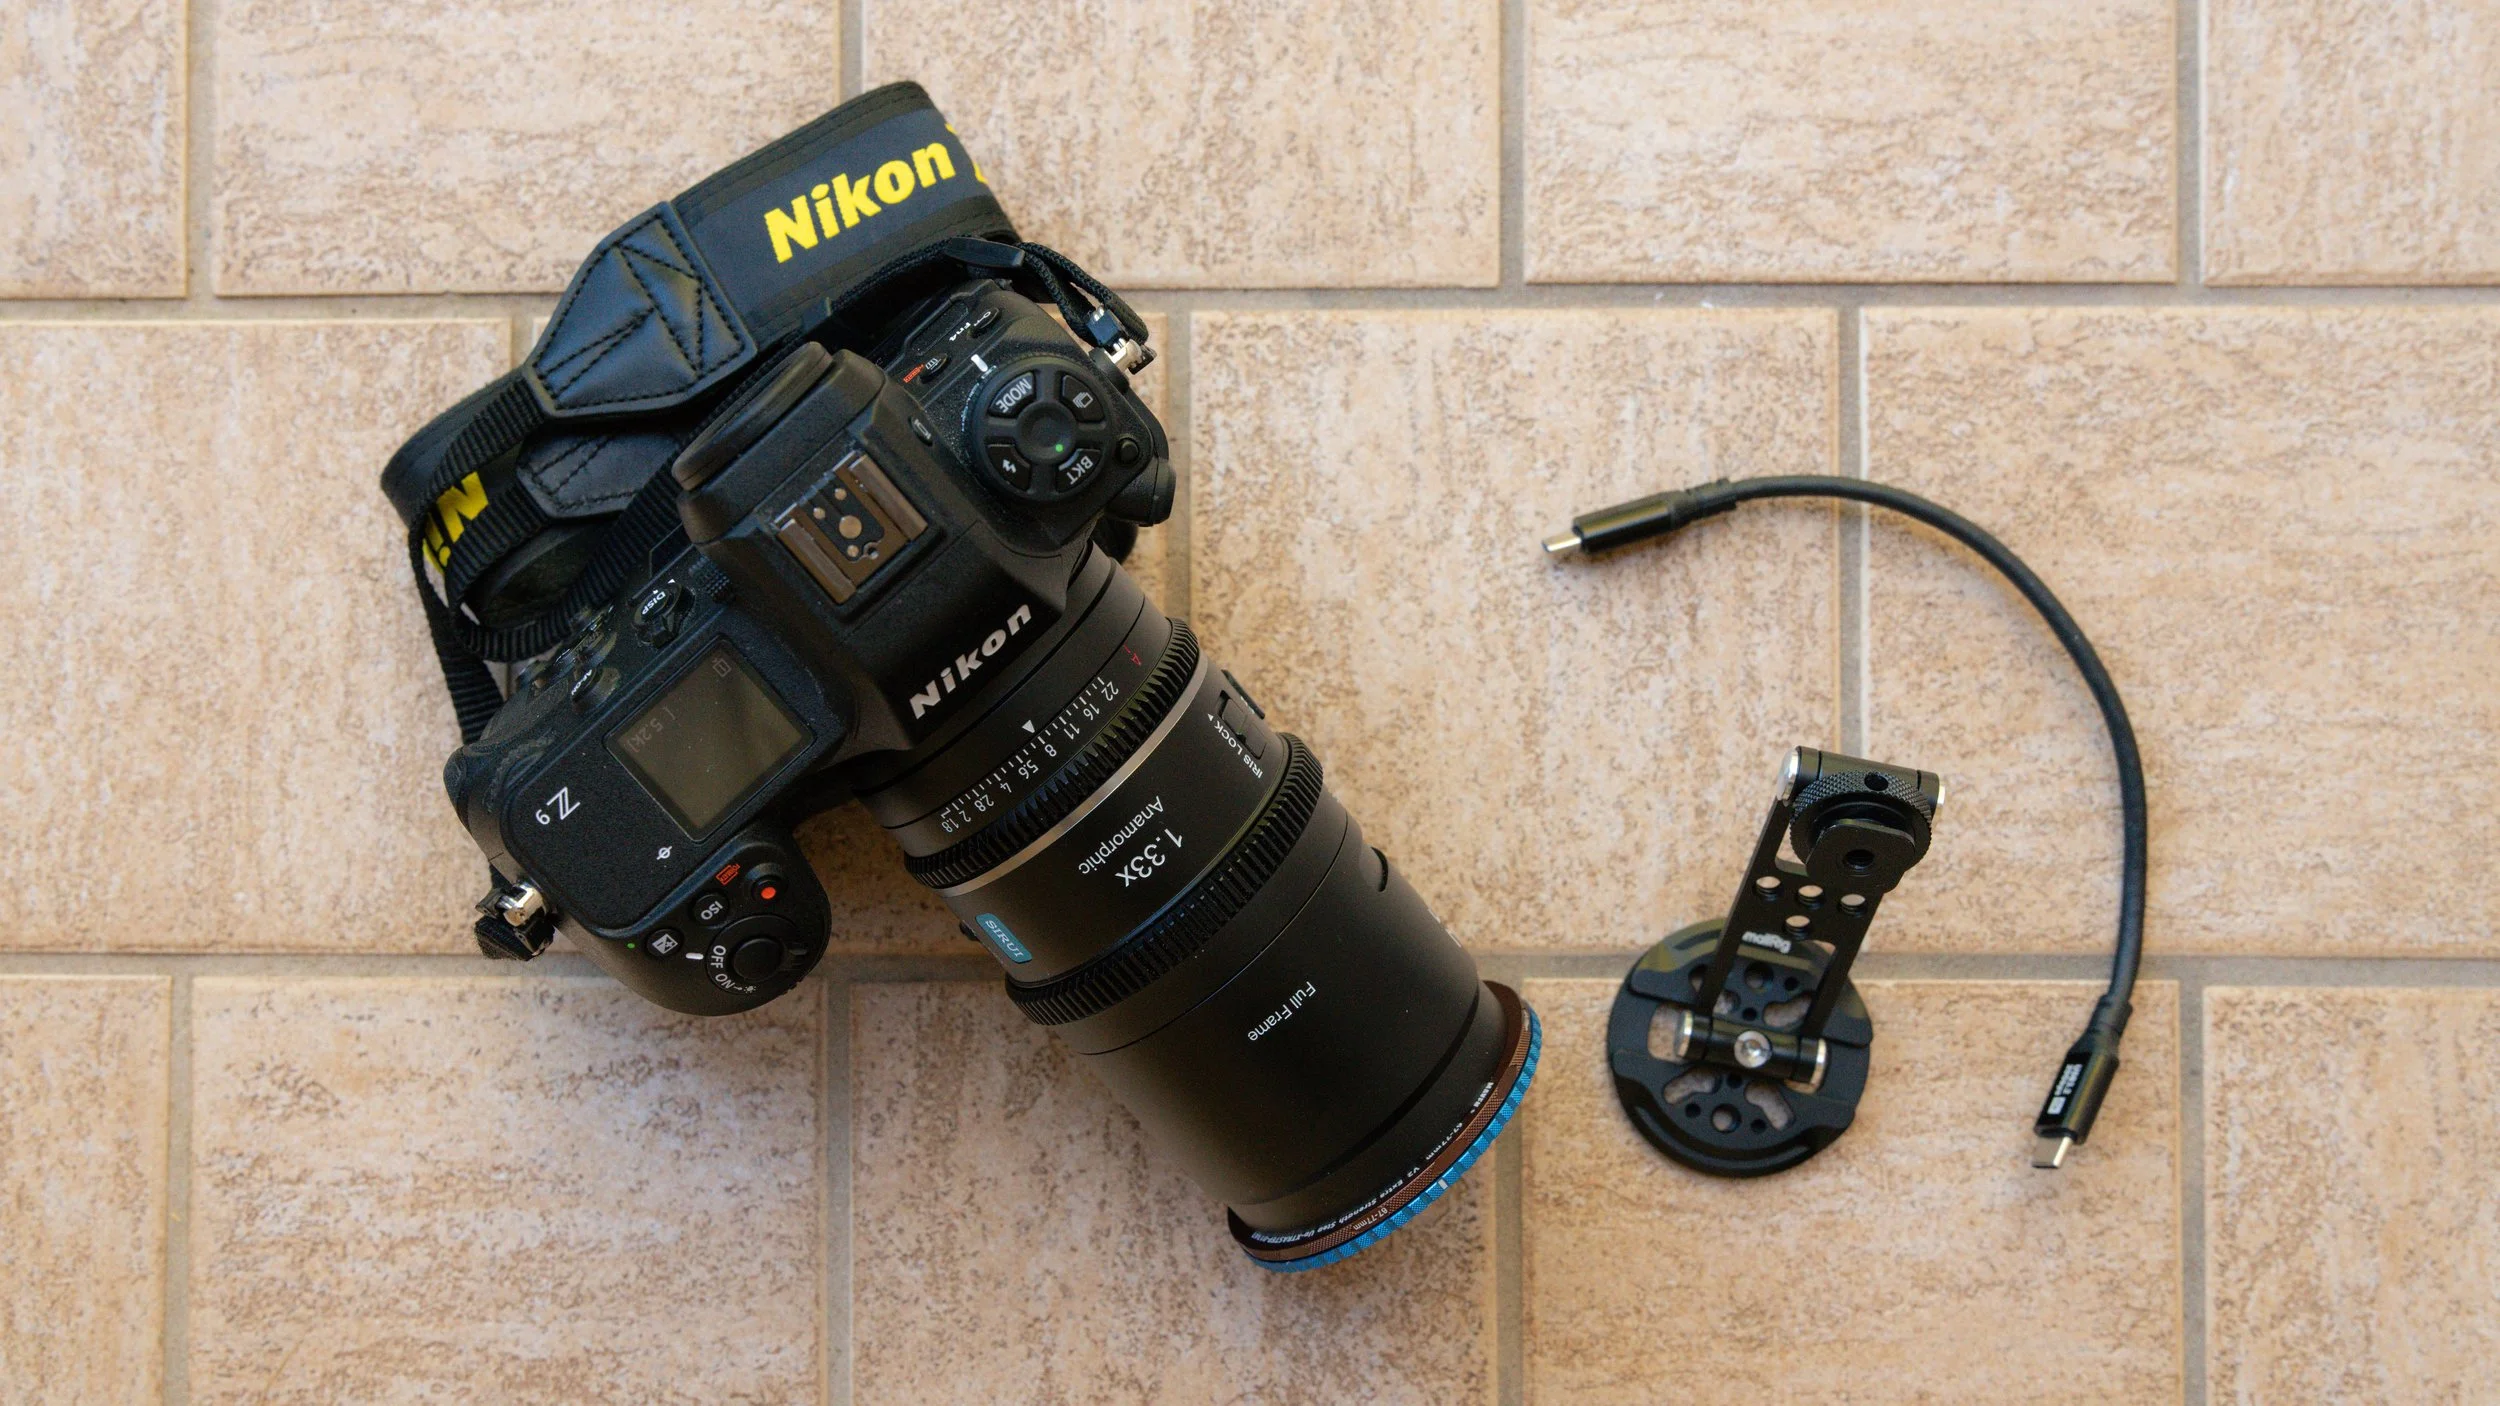
Nikon Z9, Sirui Astra 75, Maven Filters CPL, Smallrig Magsafe mount, 9” USB-C cable, and the Parallax Monitor app complete my anamorphic stills rig
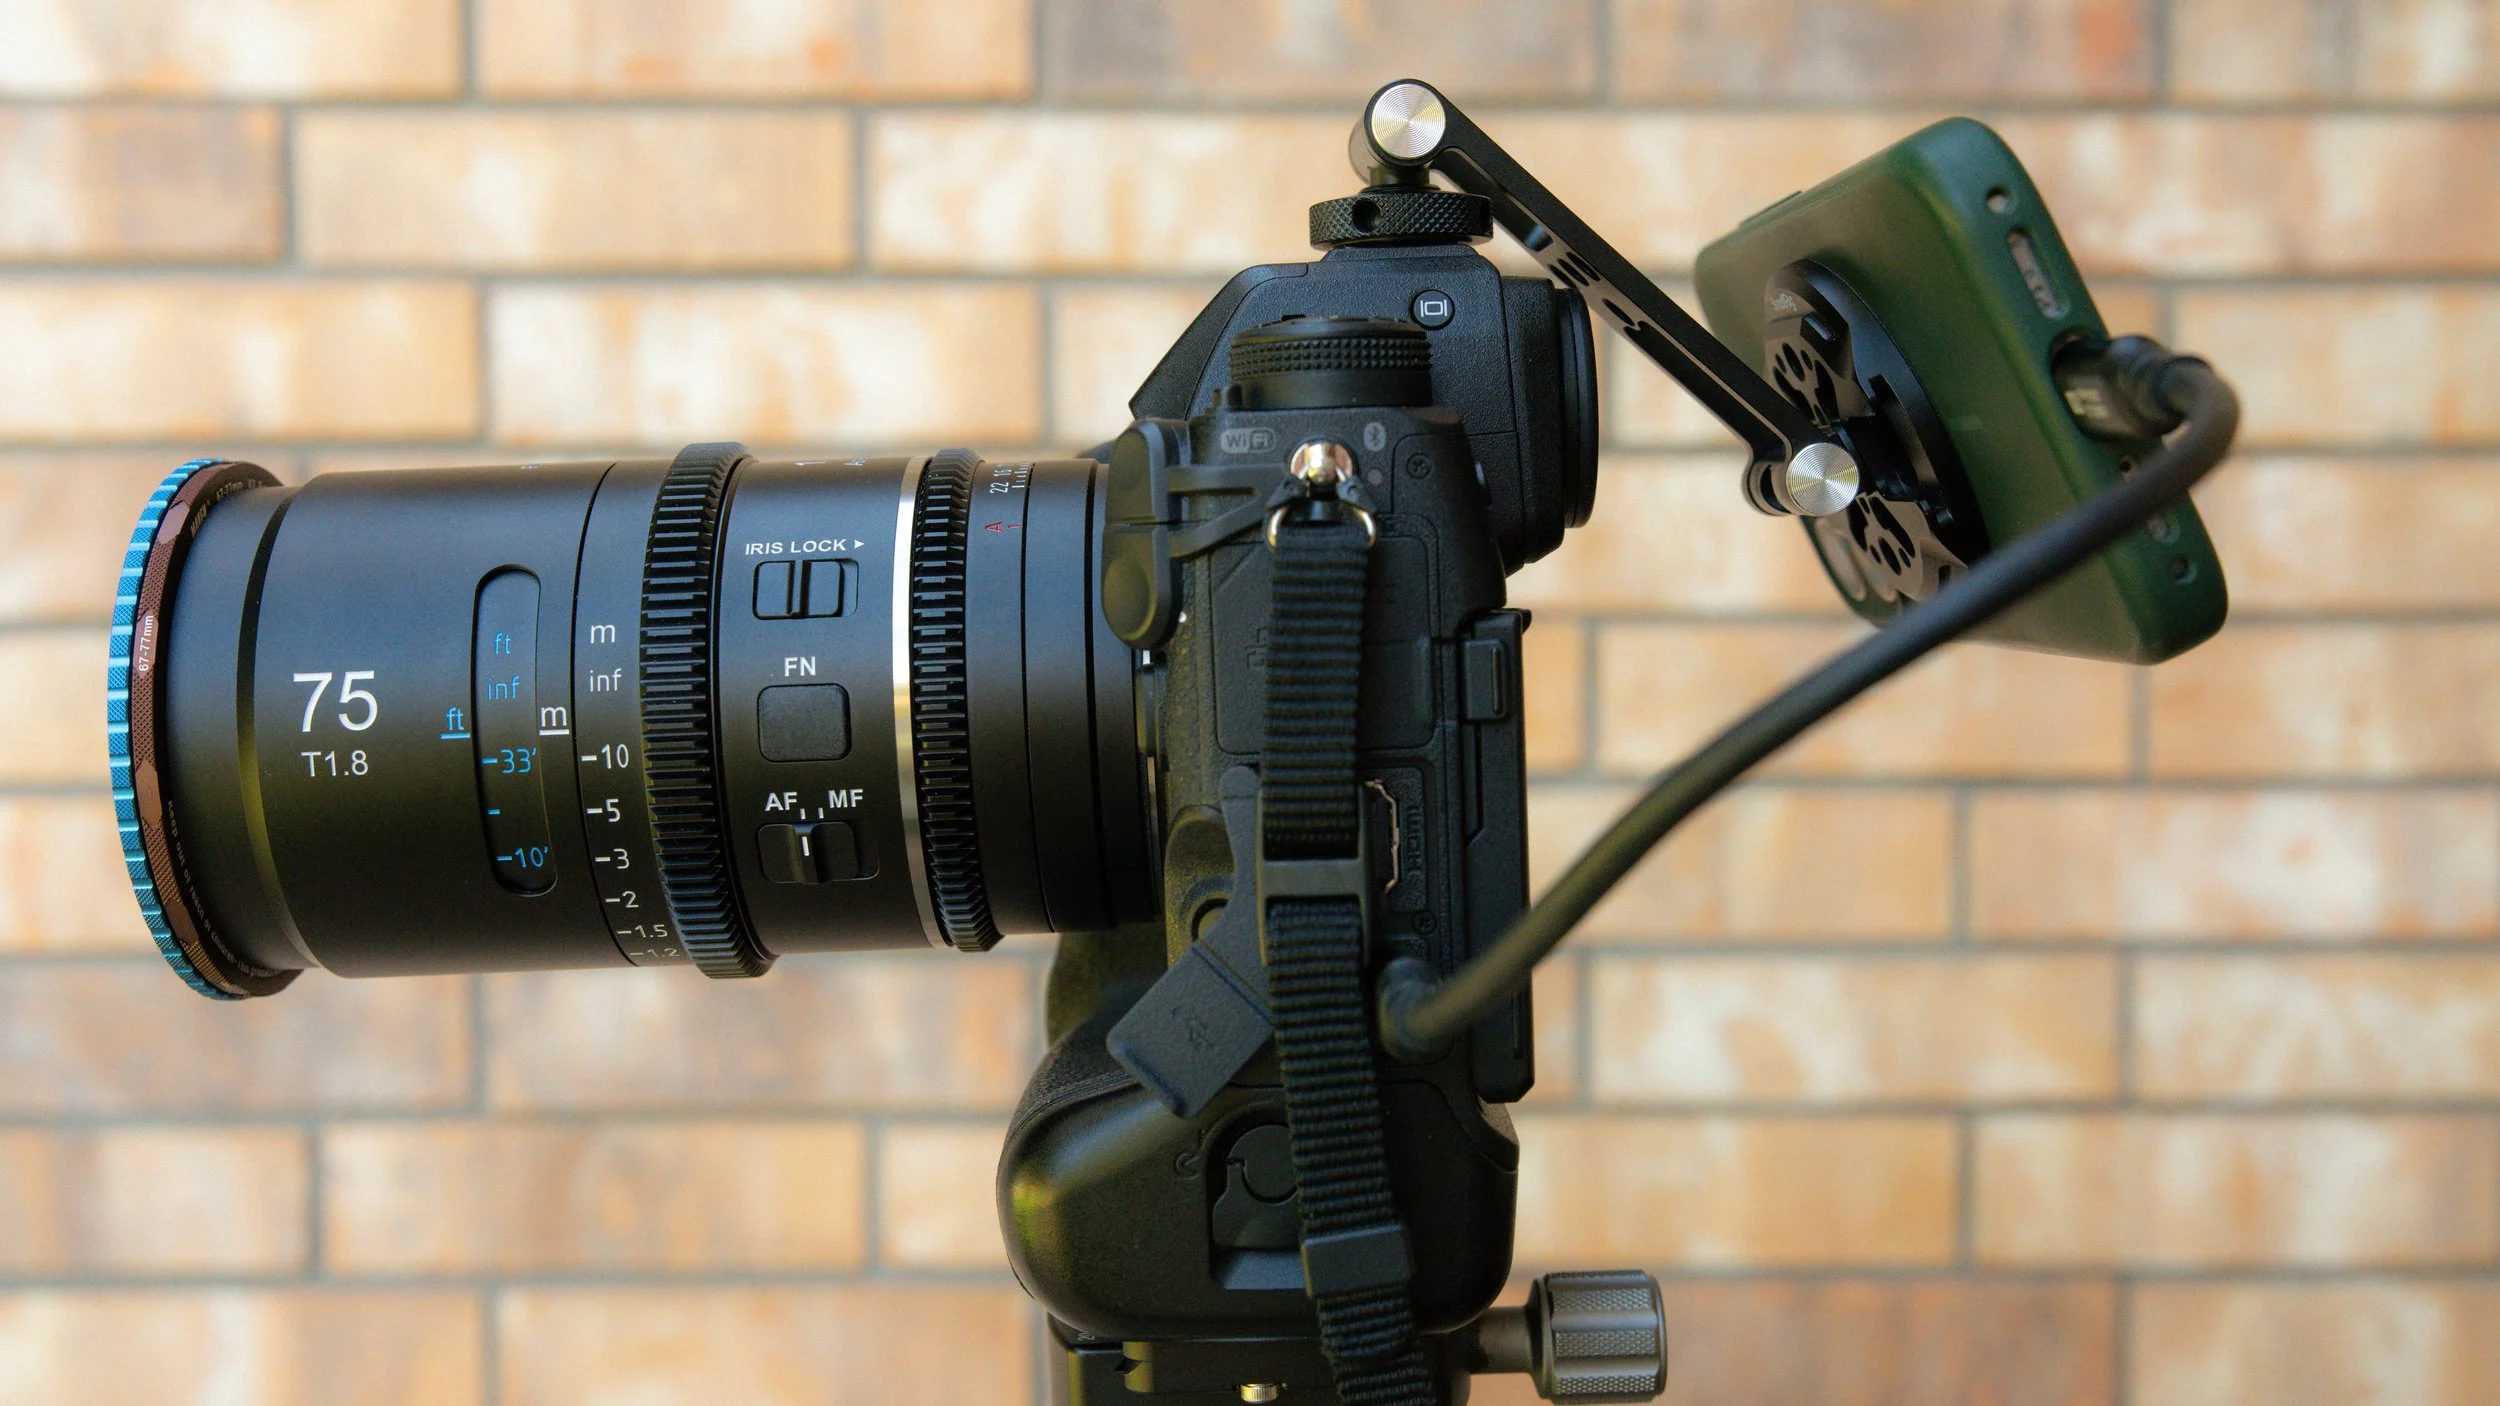
The rig set up and in action
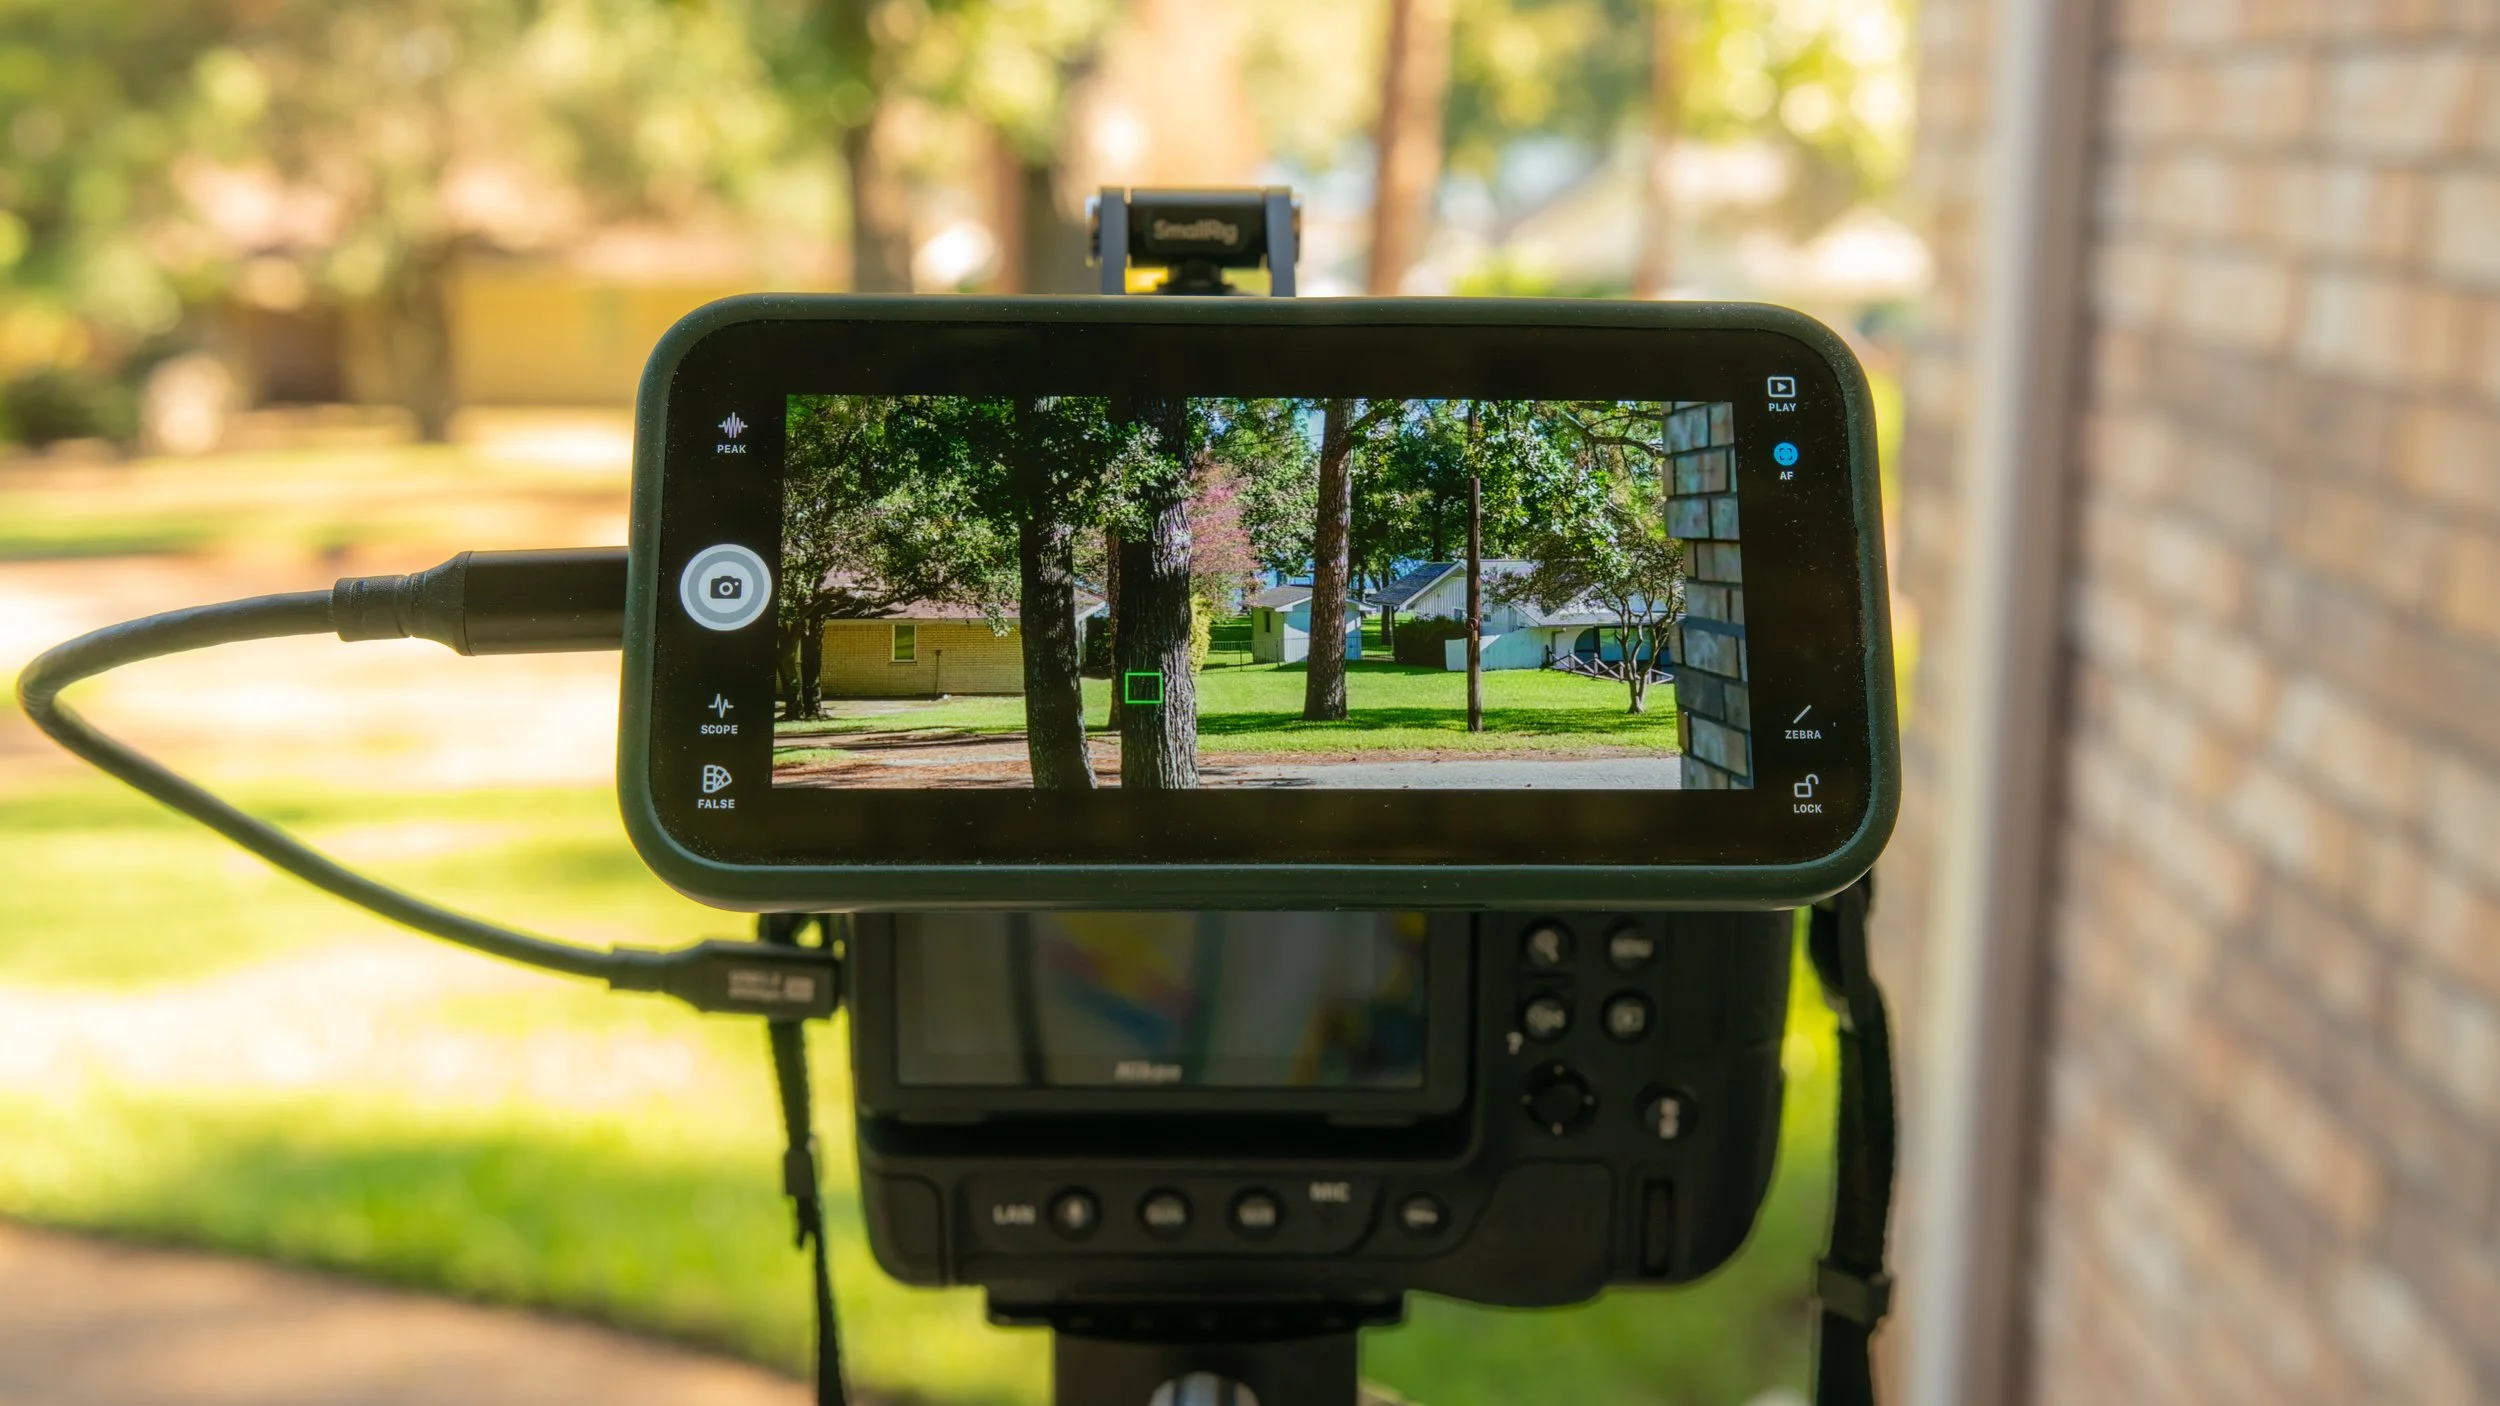
The iPhone replaces the EVF and LCD and takes over for monitoring duties via the Parallax Monitor app. Many camera settings can be changed right from the app.
The Parallax app is quite configurable and powerful - most quick settings such as AF area, AF mode, white balance, film recipe, etc can be changed directly from the app. You can also use it for Touch AF and shutter release, or you can do those functions with the AF joystick and shutter on the camera itself.
The app will also display the photos on your SD card with the proper desqueeze so you can see what the final shot will look like while reviewing.
Desqueezing anamorphic images
Now we have some anamorphic images on our SD card…but we don’t have completed images yet. There is a crucial process we must do on each image to have it render proportions naturally, and that is called desqueezing.
Let’s say we have our camera set to 3:2 and we take a photo. If we open the resulting photo, it will look like this, stretched out vertically. We can also see that some details can look a little blurry.

A straight out of camera image taken with the Astra 75…you can see the can is stretched out top to bottom to an almost comical degree. This stretch increases as the anamorphic ratio (1.33x, 1.5x, etc) increases.
To correct the proportions of the subject, we need to desqueeze it by the anamorphic ratio of the lens. We can do this in two ways.
1) Stretch the image horizontally by 133% (my preferred method)
2) Compress the image vertically by 75.2% (results in smaller file and fewer total pixels)
I do this in Photoshop as the very last step before exporting my images as JPEGs. Within Photoshop, I navigate to Image > Image Size and increase the Width field to 133% while leaving Height at 100%. If you wanted a smaller resolution file, you could do the inverse, leaving Width at 100% and changing Height to 75.2%.
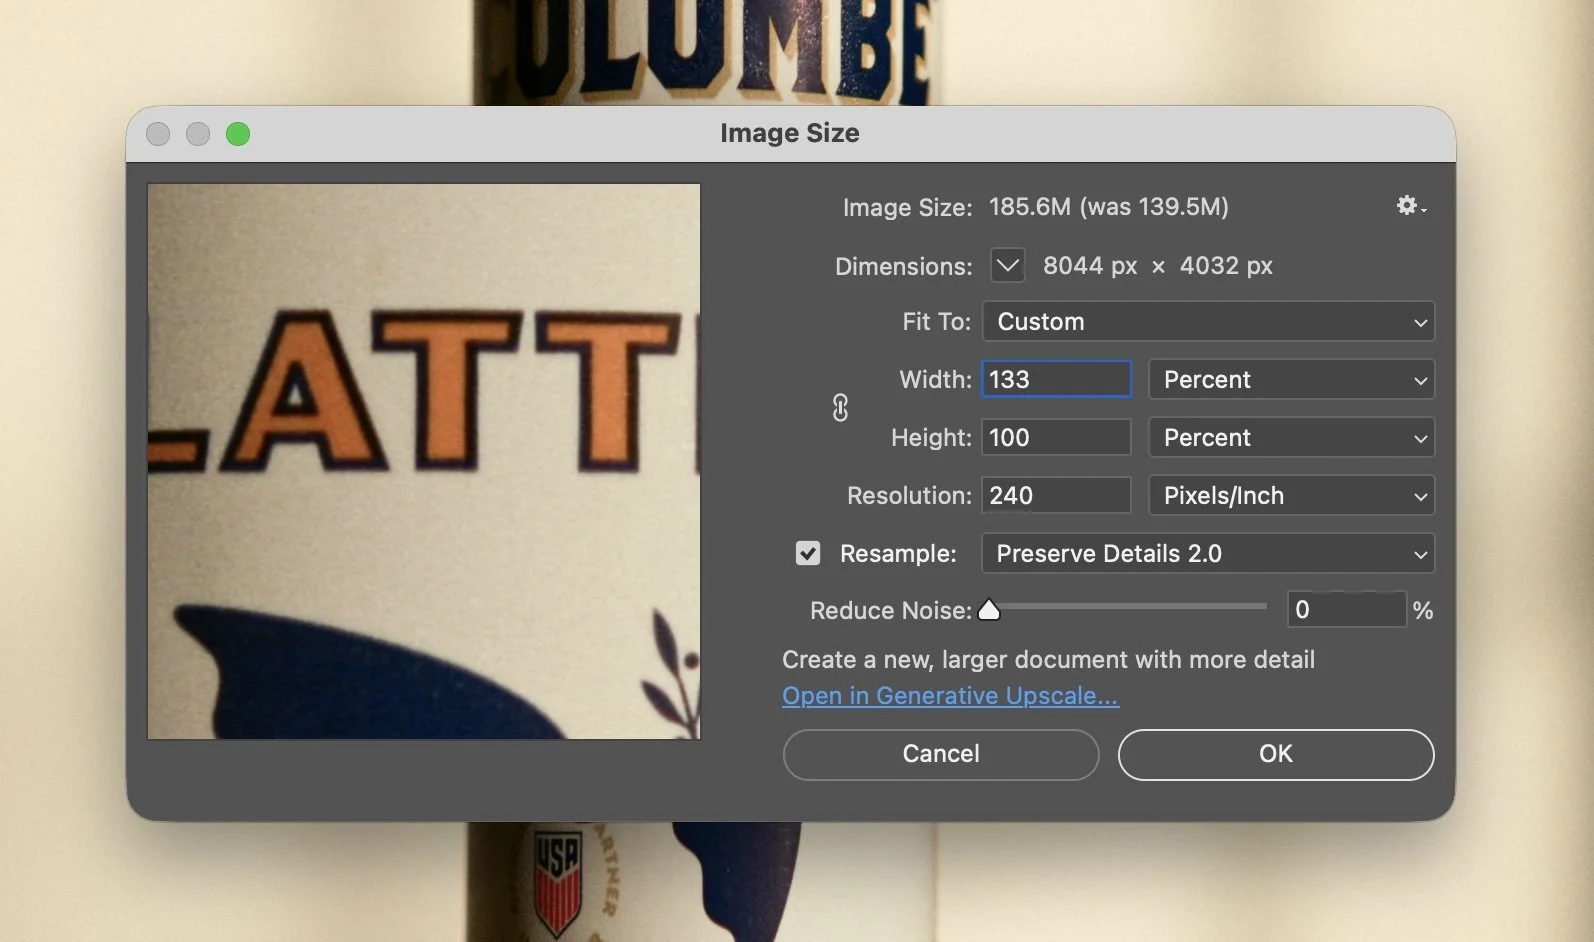
Make sure to leave noise reduction turned off and use Preserve Details 2.0 if available
The resulting image is now a 2:1 photo with realistic dimensions.

That looks like a regular can again!
Vertical shooting
You’ve likely intuited by now that all of this instruction is strictly for images taken in landscape orientation. The nature of how a typical anamorphic lens stretches the image across the sensor is made primarily for landscape shooting and in particular cinematic video.
That said, an idea struck me one day while out shooting. What if I set my camera to 1:1 and shot vertically with the Astra 75? Below is what that looks like:
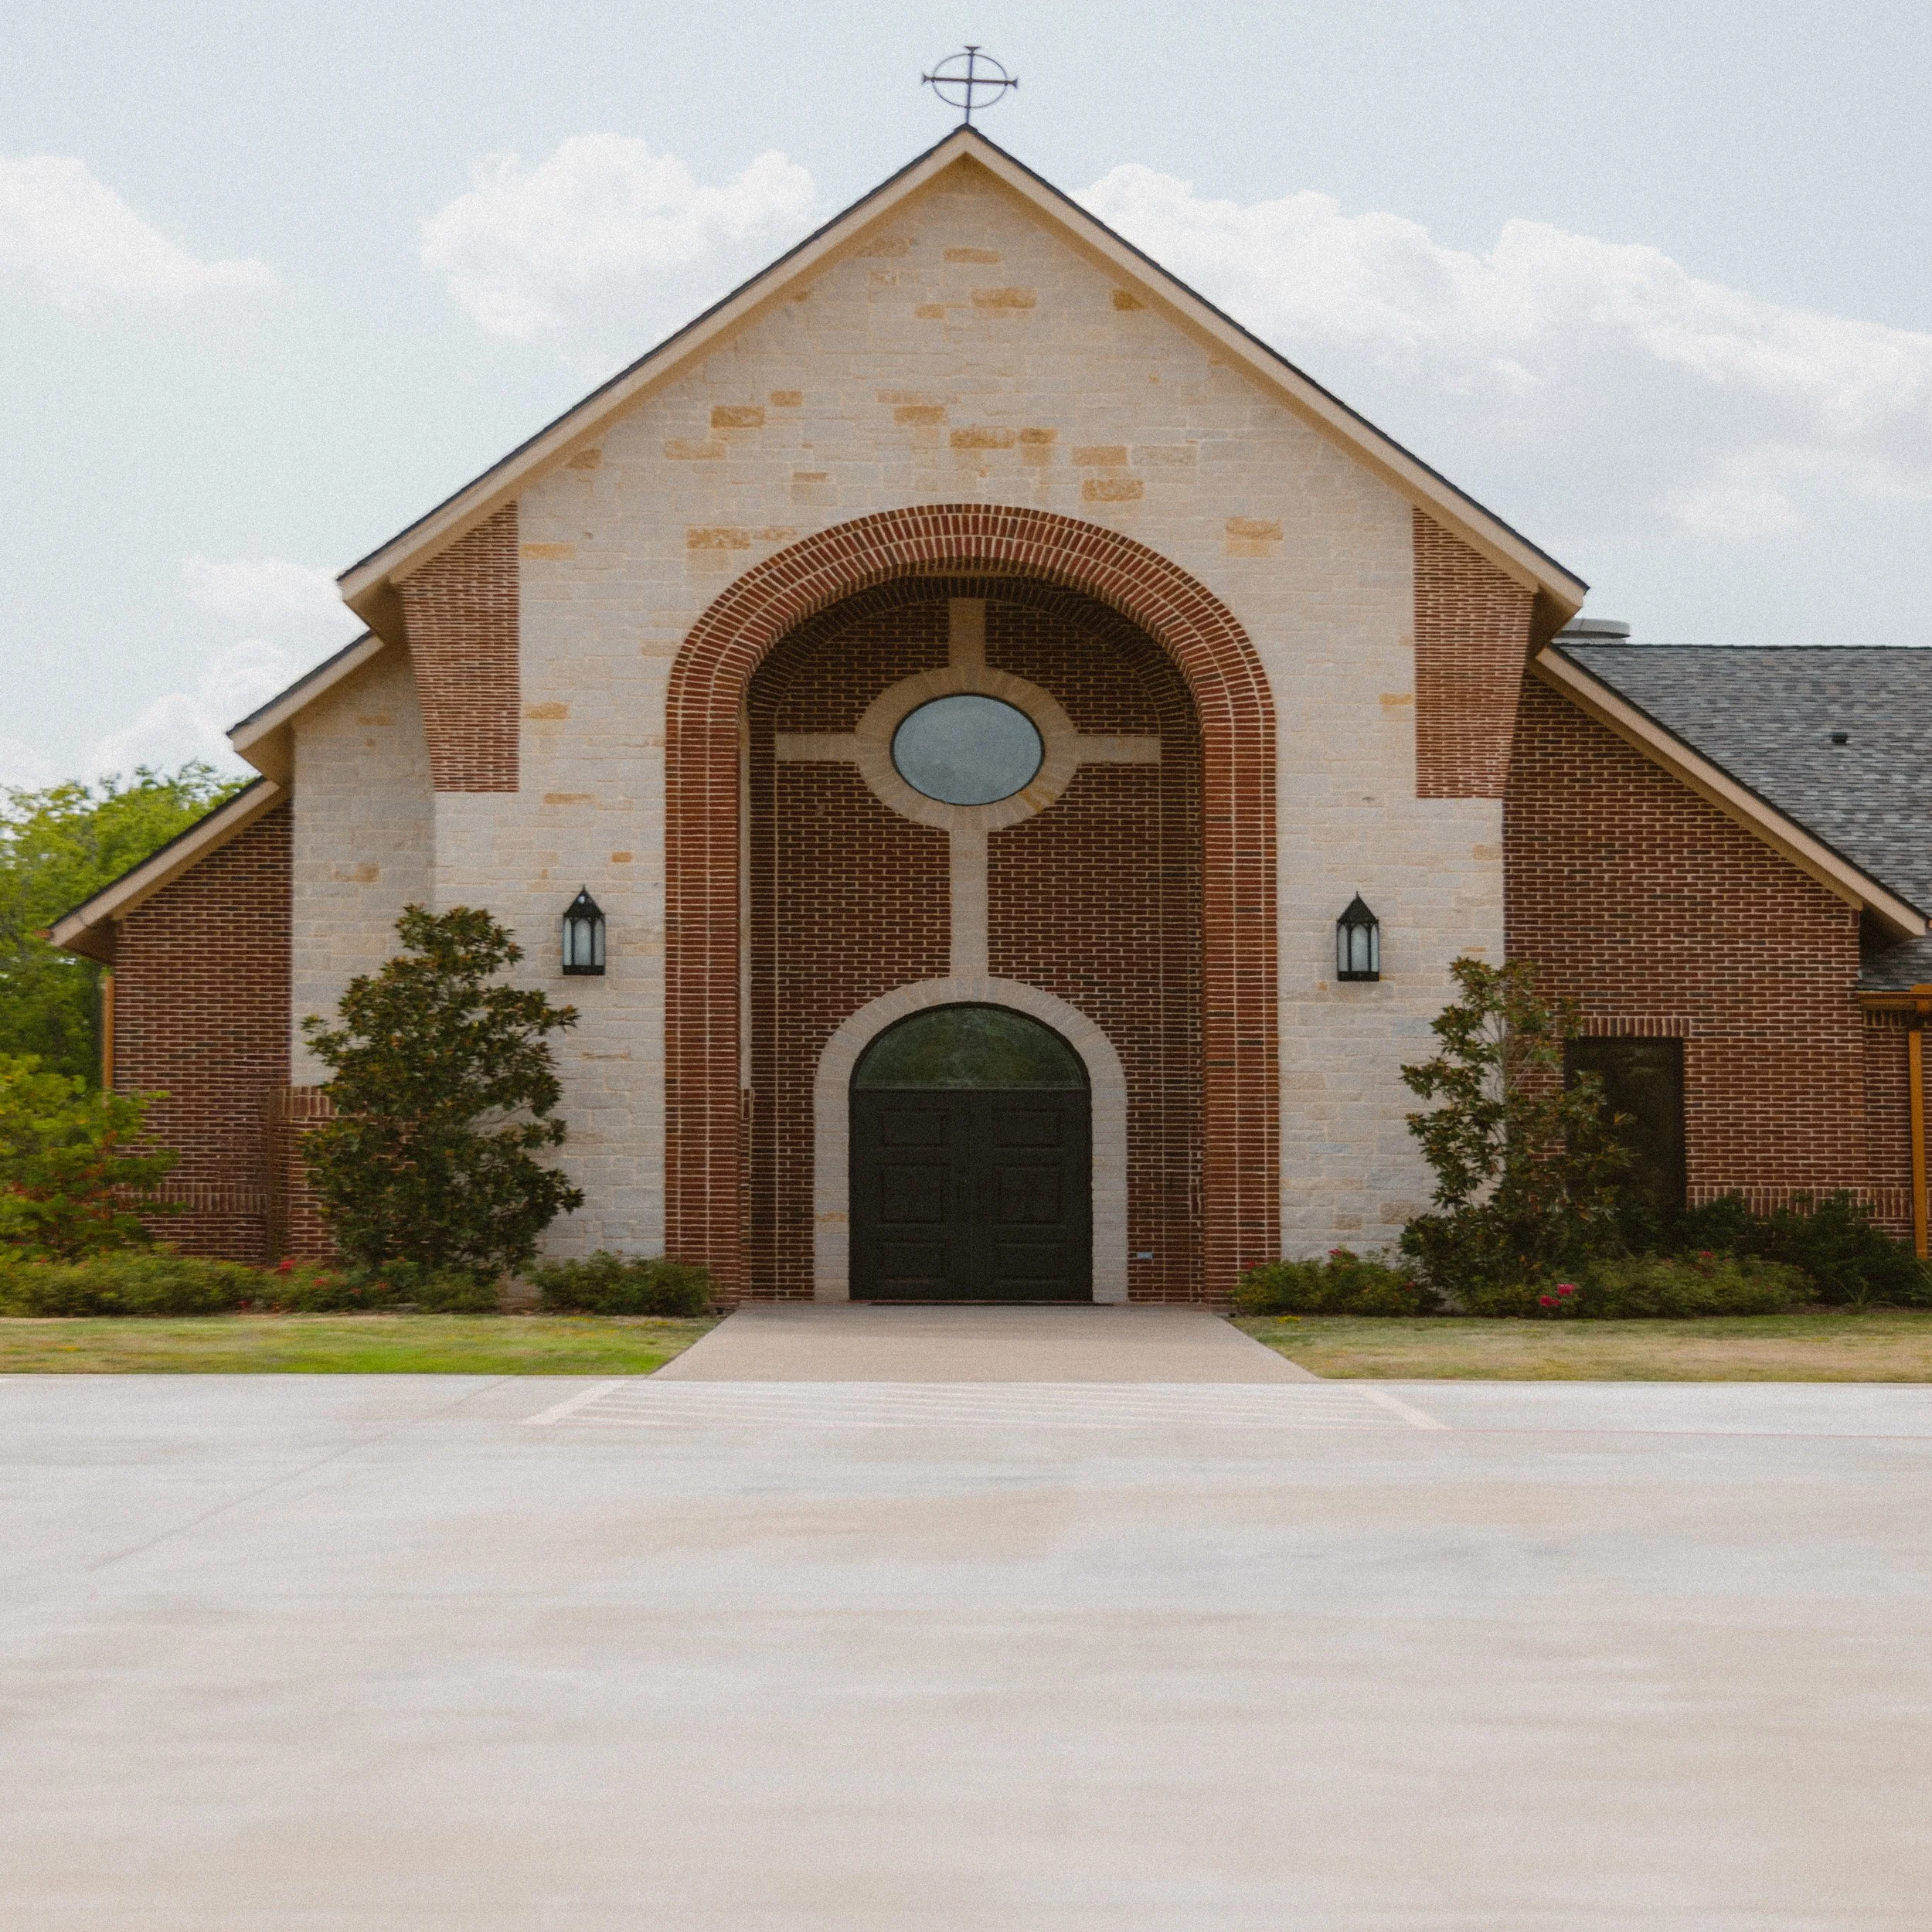
Out of camera 1:1 image
Back in post, instead of making the image wider, we need to compress it horizontally to get a natural field of view. If we apply the same math as before, we end up setting the Height field in Photoshop to 133% and are left with a perfect 3:4 image.
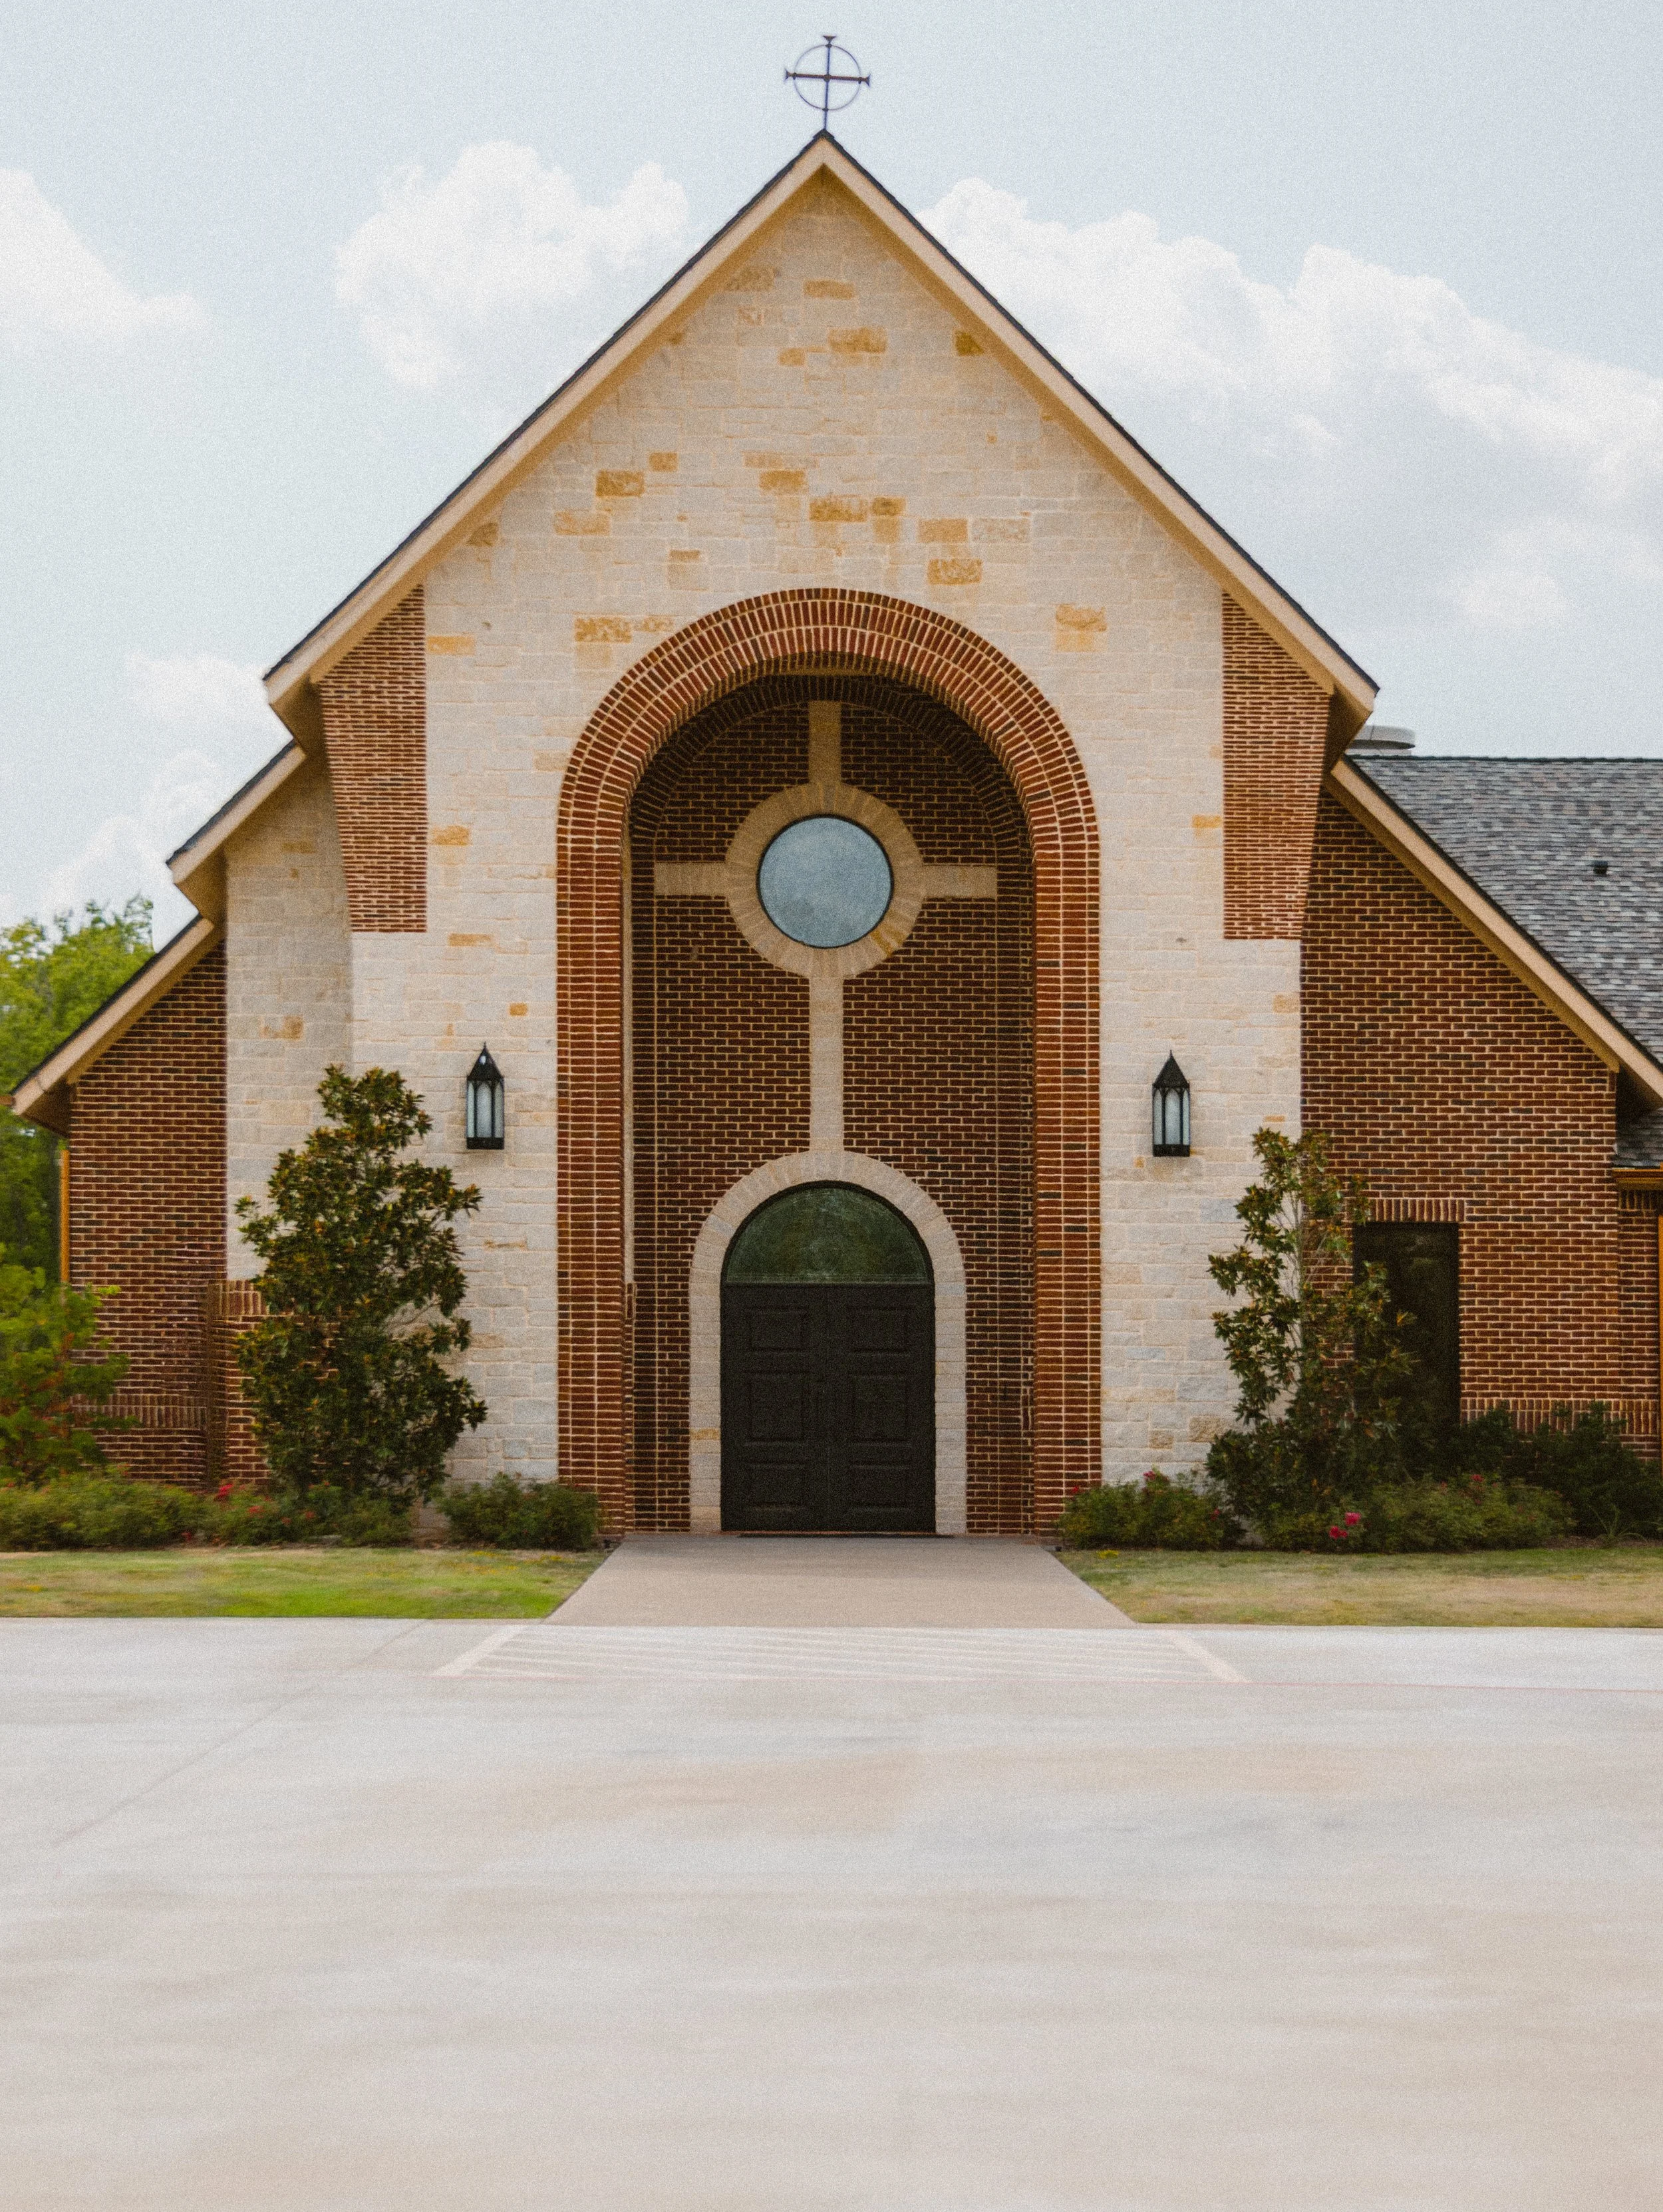
Desqueezed 1:1 image gives us a 3:4 portrait orientation
Now, I’m not going to claim to be the first one to figure this out, but I’ve never seen it mentioned before, so I wanted to share. A common lament of Nikon cameras in particular is that 3:4 portrait shooting is not natively supported. However…
With a 1.33x anamorphic lens, you can natively take 3:4 portraits at at only an 11% cost to resolution. On a Z9, a 3:4 image taken in this way is still 40mp.
It’s not a use case you’d employ every day, but it’s a unique way to get around a limitation of Nikon cameras. Note that if you used an anamorphic lens with a different ratio, you’d get an image with a different resulting ratio, so this example would only apply to a 1.33x anamorphic. If you are after a classic 2:3 ratio when shooting vertically like this, you’d need a 1.5x anamorphic lens.
Let’s go even wider!
We’ve seen how we can take a 3:2 landscape image and desqueeze it down to a 2:1, or take a 1:1 portrait image and turn it into a 3:4, but we still aren’t quite approaching the ultra-wide realm of X-Pan that I love so much.
While we can’t get exactly there natively, what I found over time is that I really enjoyed composing in 16:9 (and seeing the resulting 2.36:1 preview while shooting). If 2.36:1 sounds familiar, that’s because it’s a popular video ratio for theatrical widescreen shooting.
As a reminder, X-Pan is 65:24, which equates to 2.71:1…so while X-Pan images are indeed a bit wider, you are still capturing a spherical image circle when using traditional lenses. What that means is the anamorphic image contains wider details than the dimensionally wider X-Pan…an example below. I normalized focal lengths and alighted the rightmost edge of each photo so you can see how much is missing on the left side of the X-Pan.
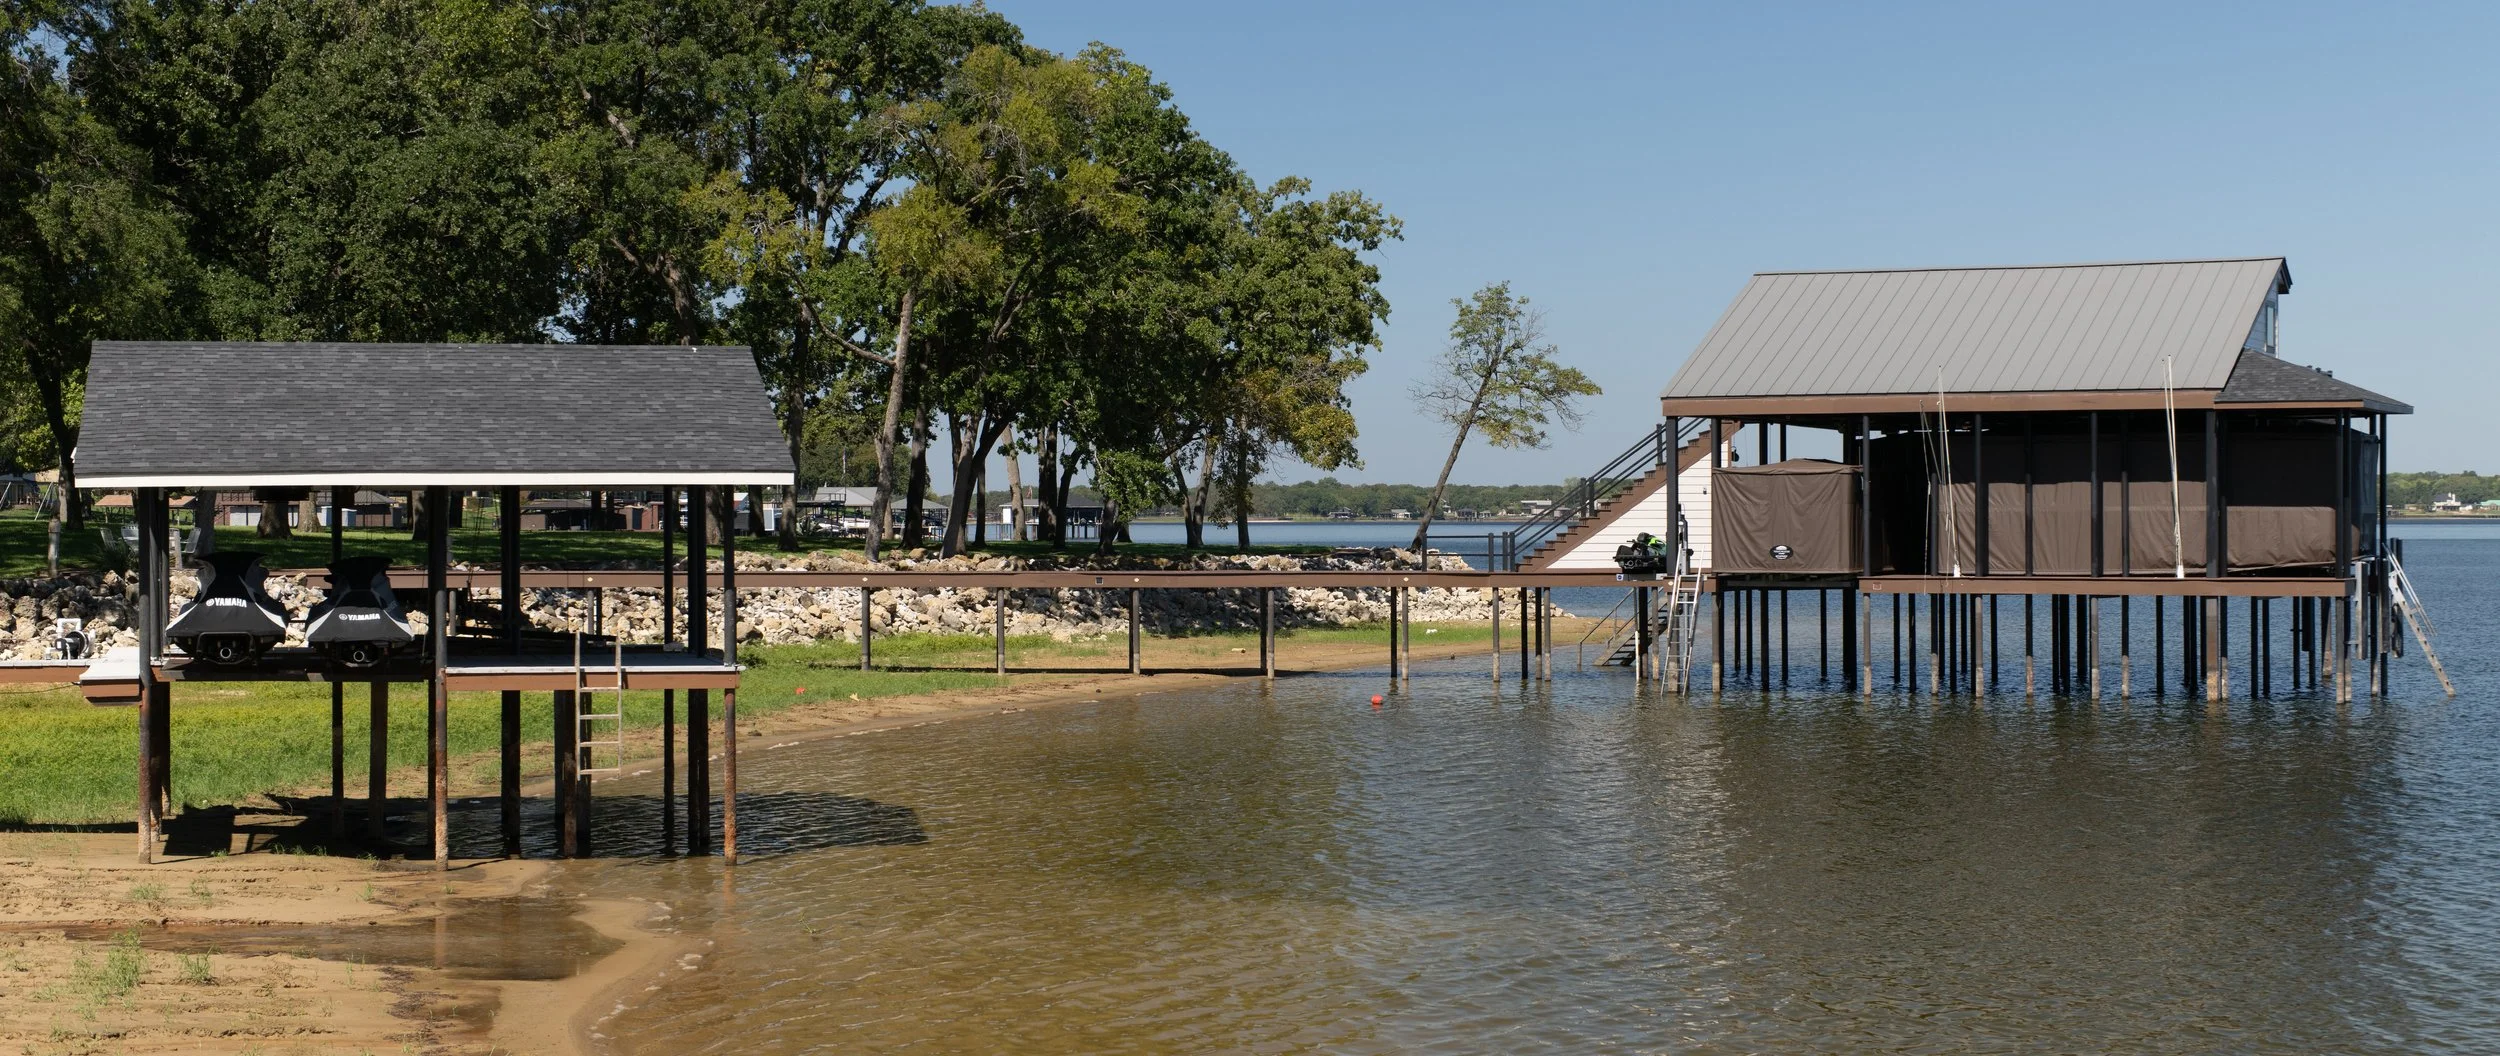
Sirui shot at 16:9 and desqueezed to 2.36:1
Hasselblad natively shot at 2.71:1 at the same focal length
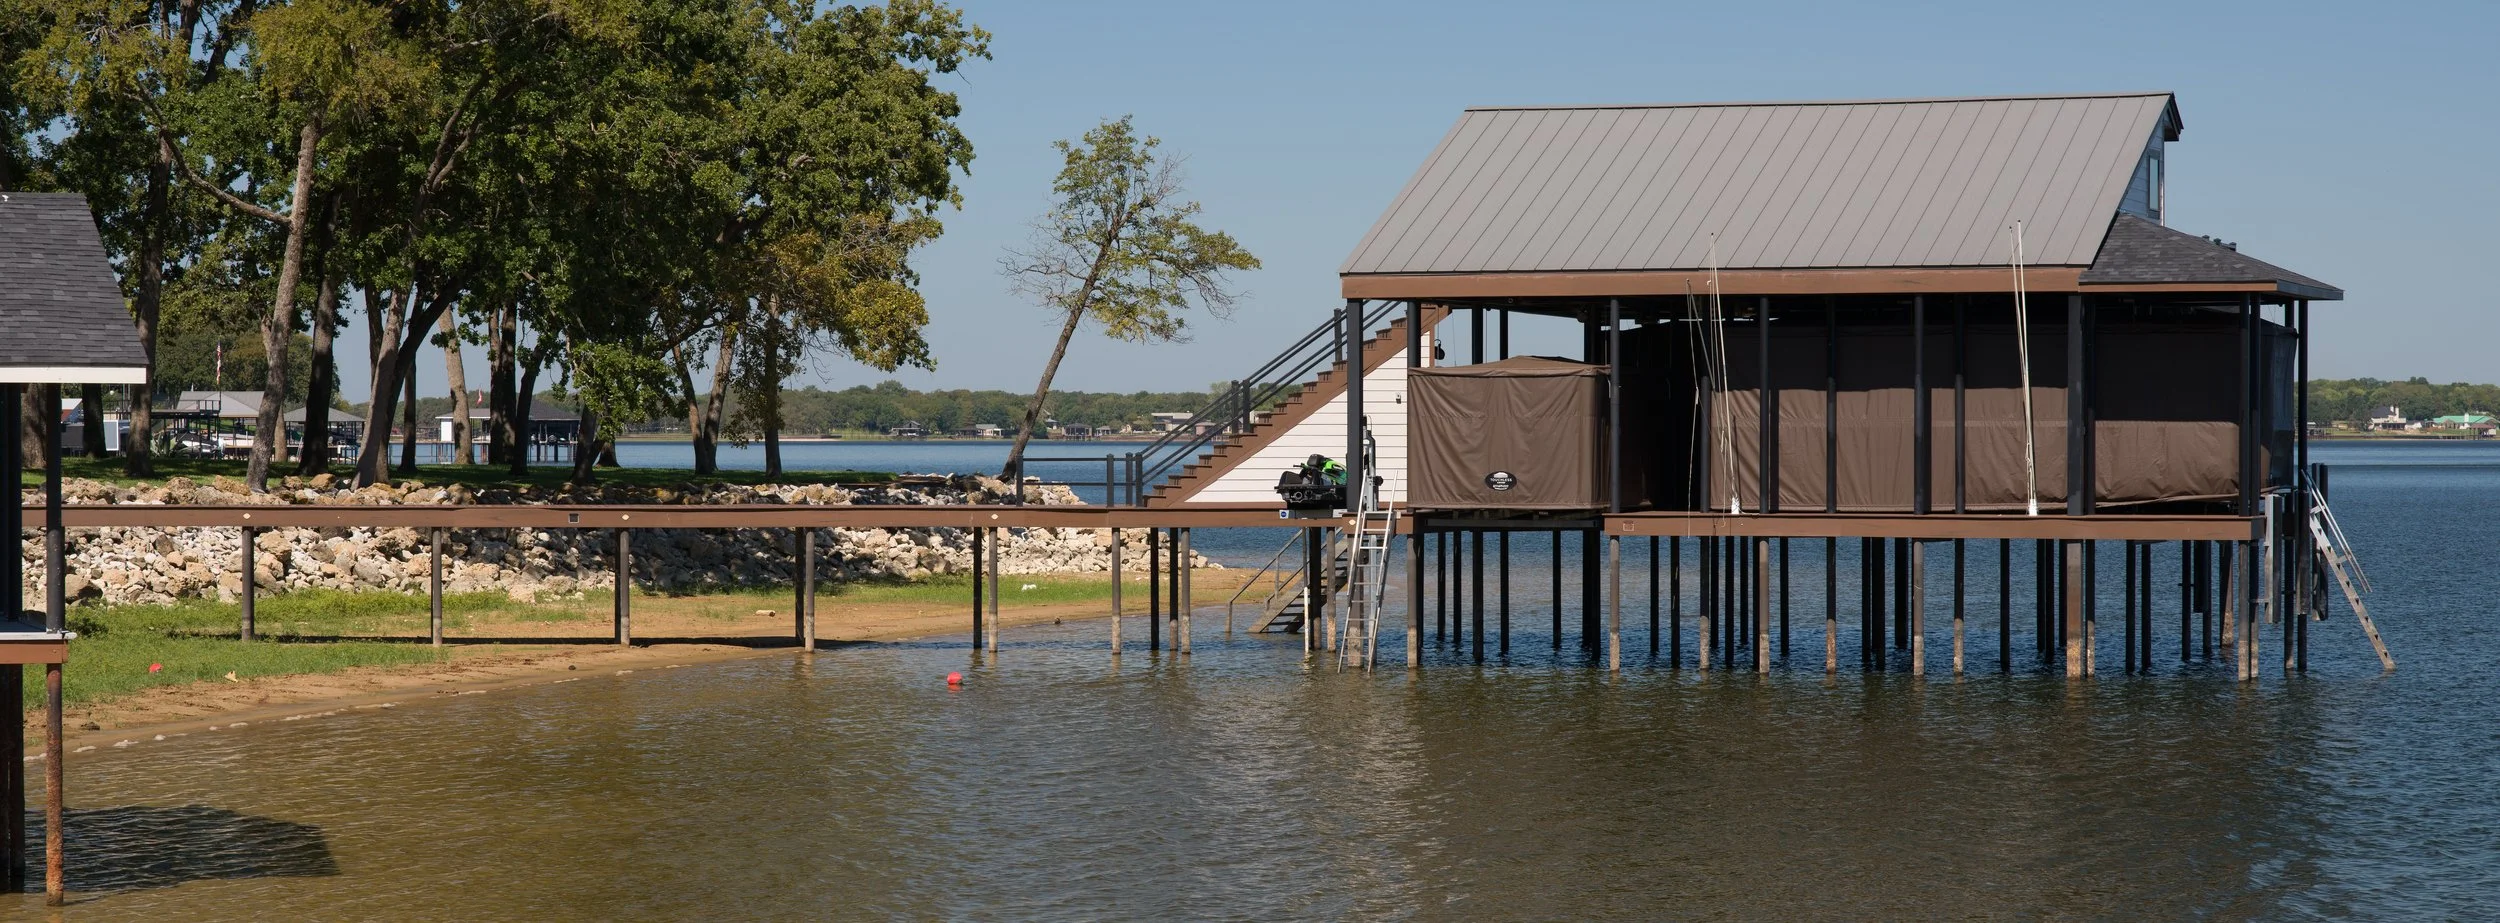
If I take the Sirui’s output and further crop it to 65:24, I get an X-Pan dimension shot with far more functional width at the same focal length compared to shooting native X-Pan. An interesting take on the format!
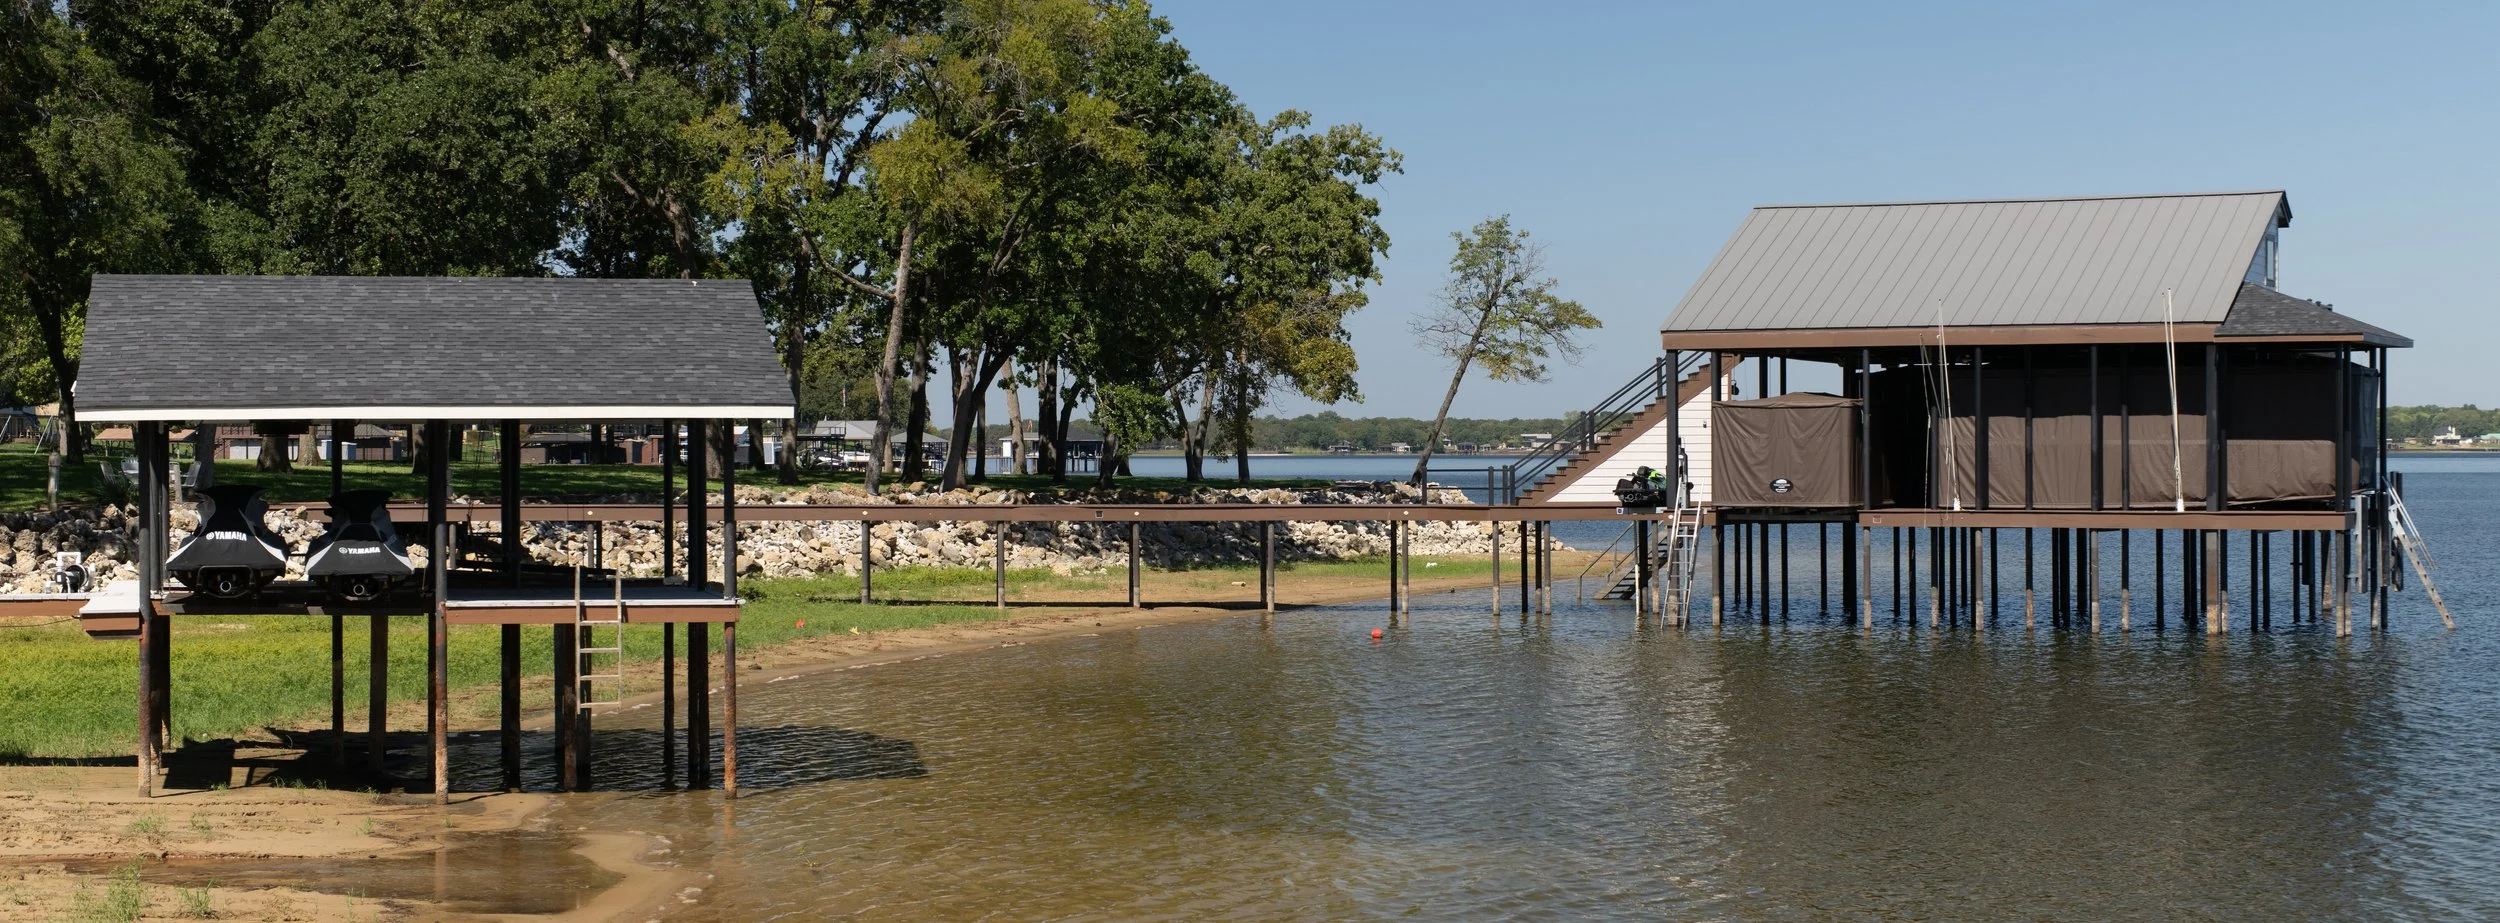
Sirui image shot at 16:9, desqueezed to 2.36:1 and then further cropped to 65:24 to be the “true” X-Pan ratio
So what’s the use case?
This is all interesting enough, but when would someone actually want to shoot anamorphic stills? It really boils down to being able to take panoramic stills with a minimal penalty to total megapixels. Apart from the ability to take X-Pan photos with more horizontal context, I found another excellent use case.
Living a little bit away from the big city, one of my favorite things to do is drive around and shoot from my car. My go to focal length for this has settled around 75mm naturally, as it gets me a closer to my subjects, but also still provides some context to the scene, as I’m in a fixed spot from which to shoot.
Having taken the Astra on rides like this, I’ve come to find that it provides even more context around my subjects, as it’s capturing a wider FOV compared to my spherical lenses. Even though my shots are wider ratios, I’m not losing anything above or below a typical subject.
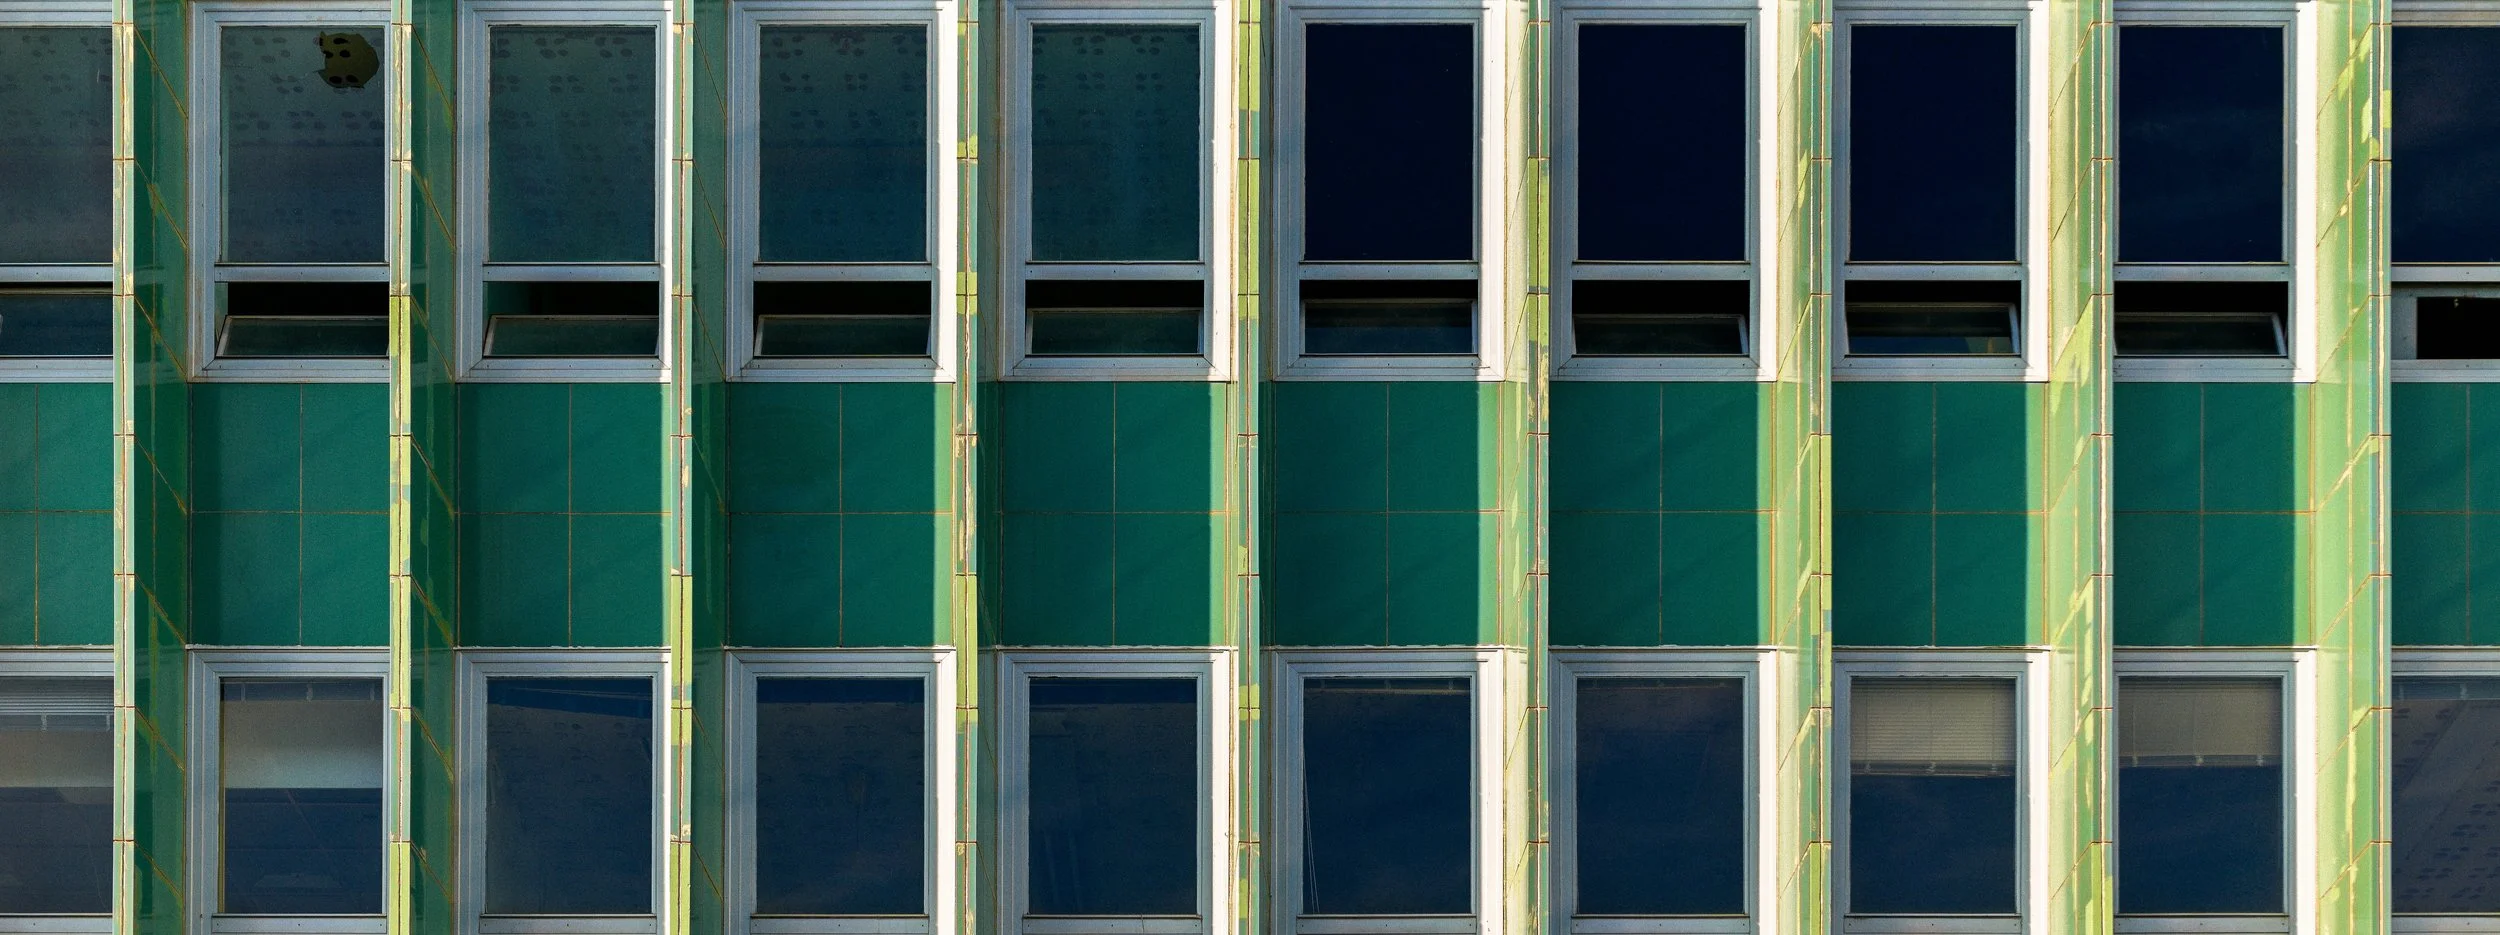
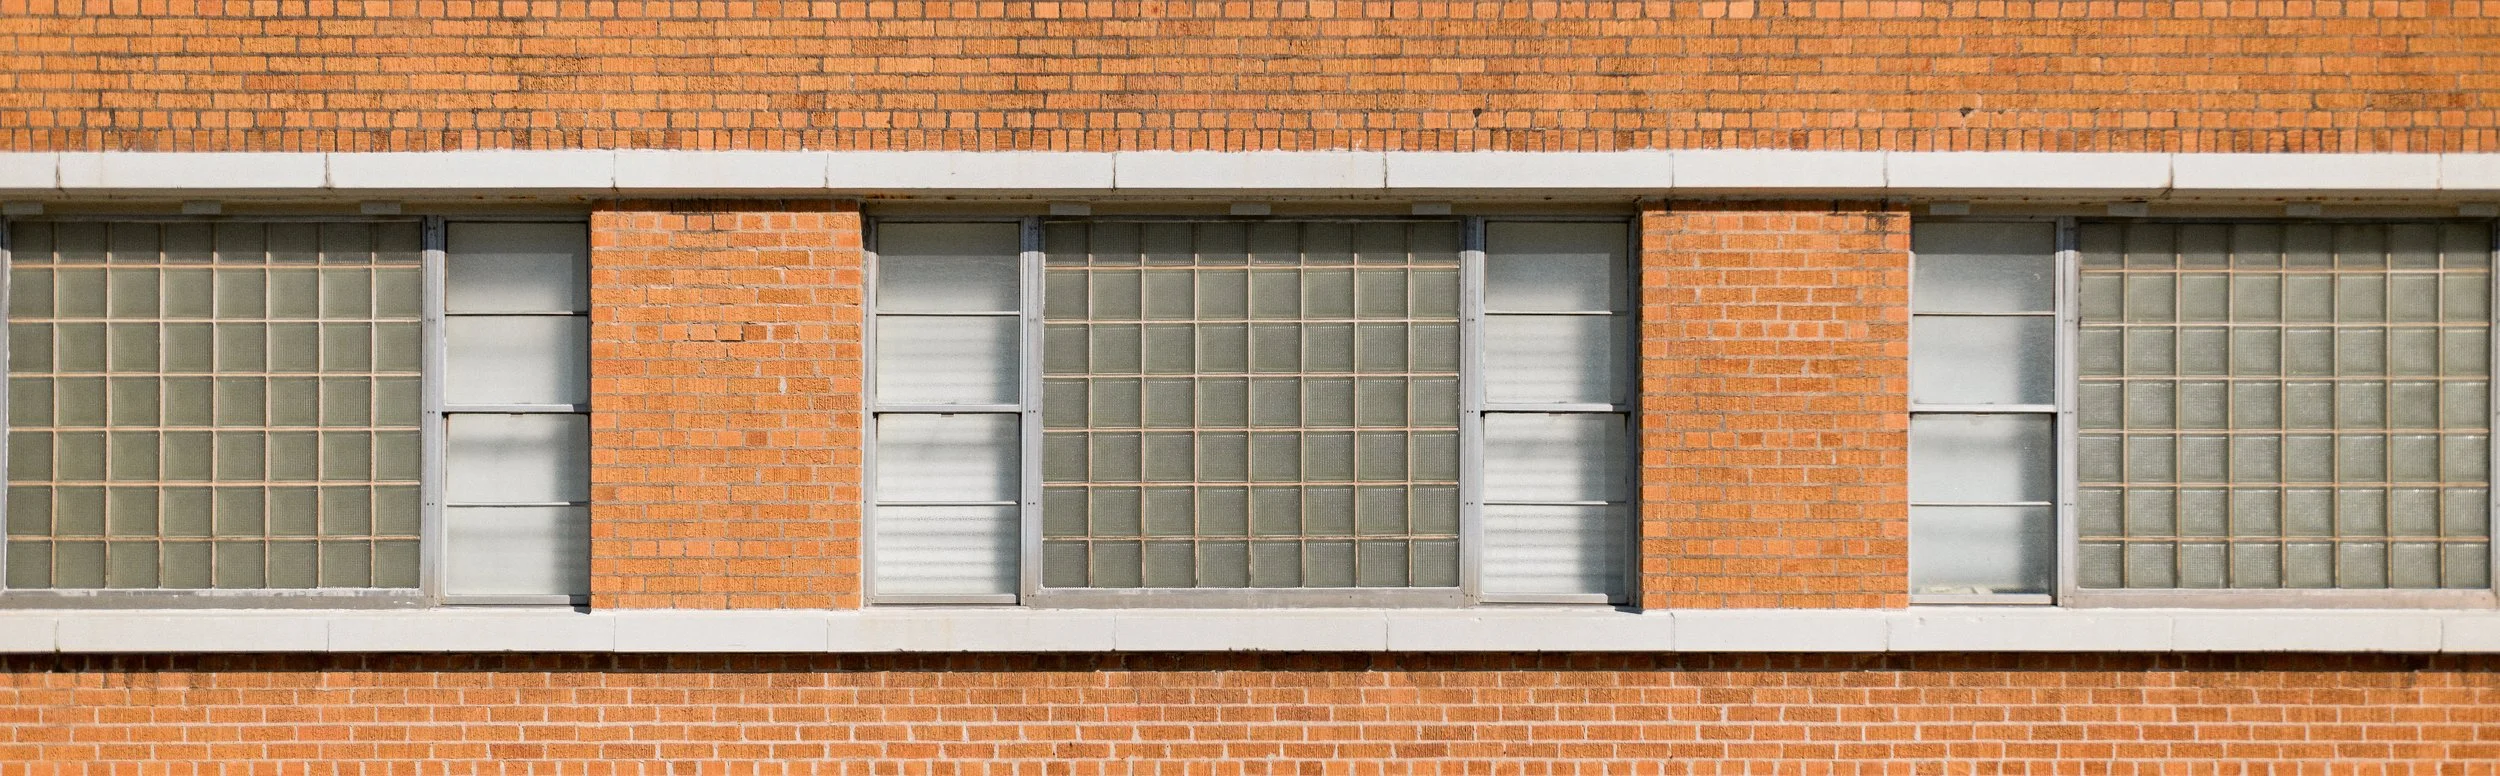
I’ve always been a fan of abstract street photos where shapes and colors are the main focus, and the Astra has provided a platform to take these to the next level. These were all shot from inside my car, doing a slow pass through of a small Texas downtown.
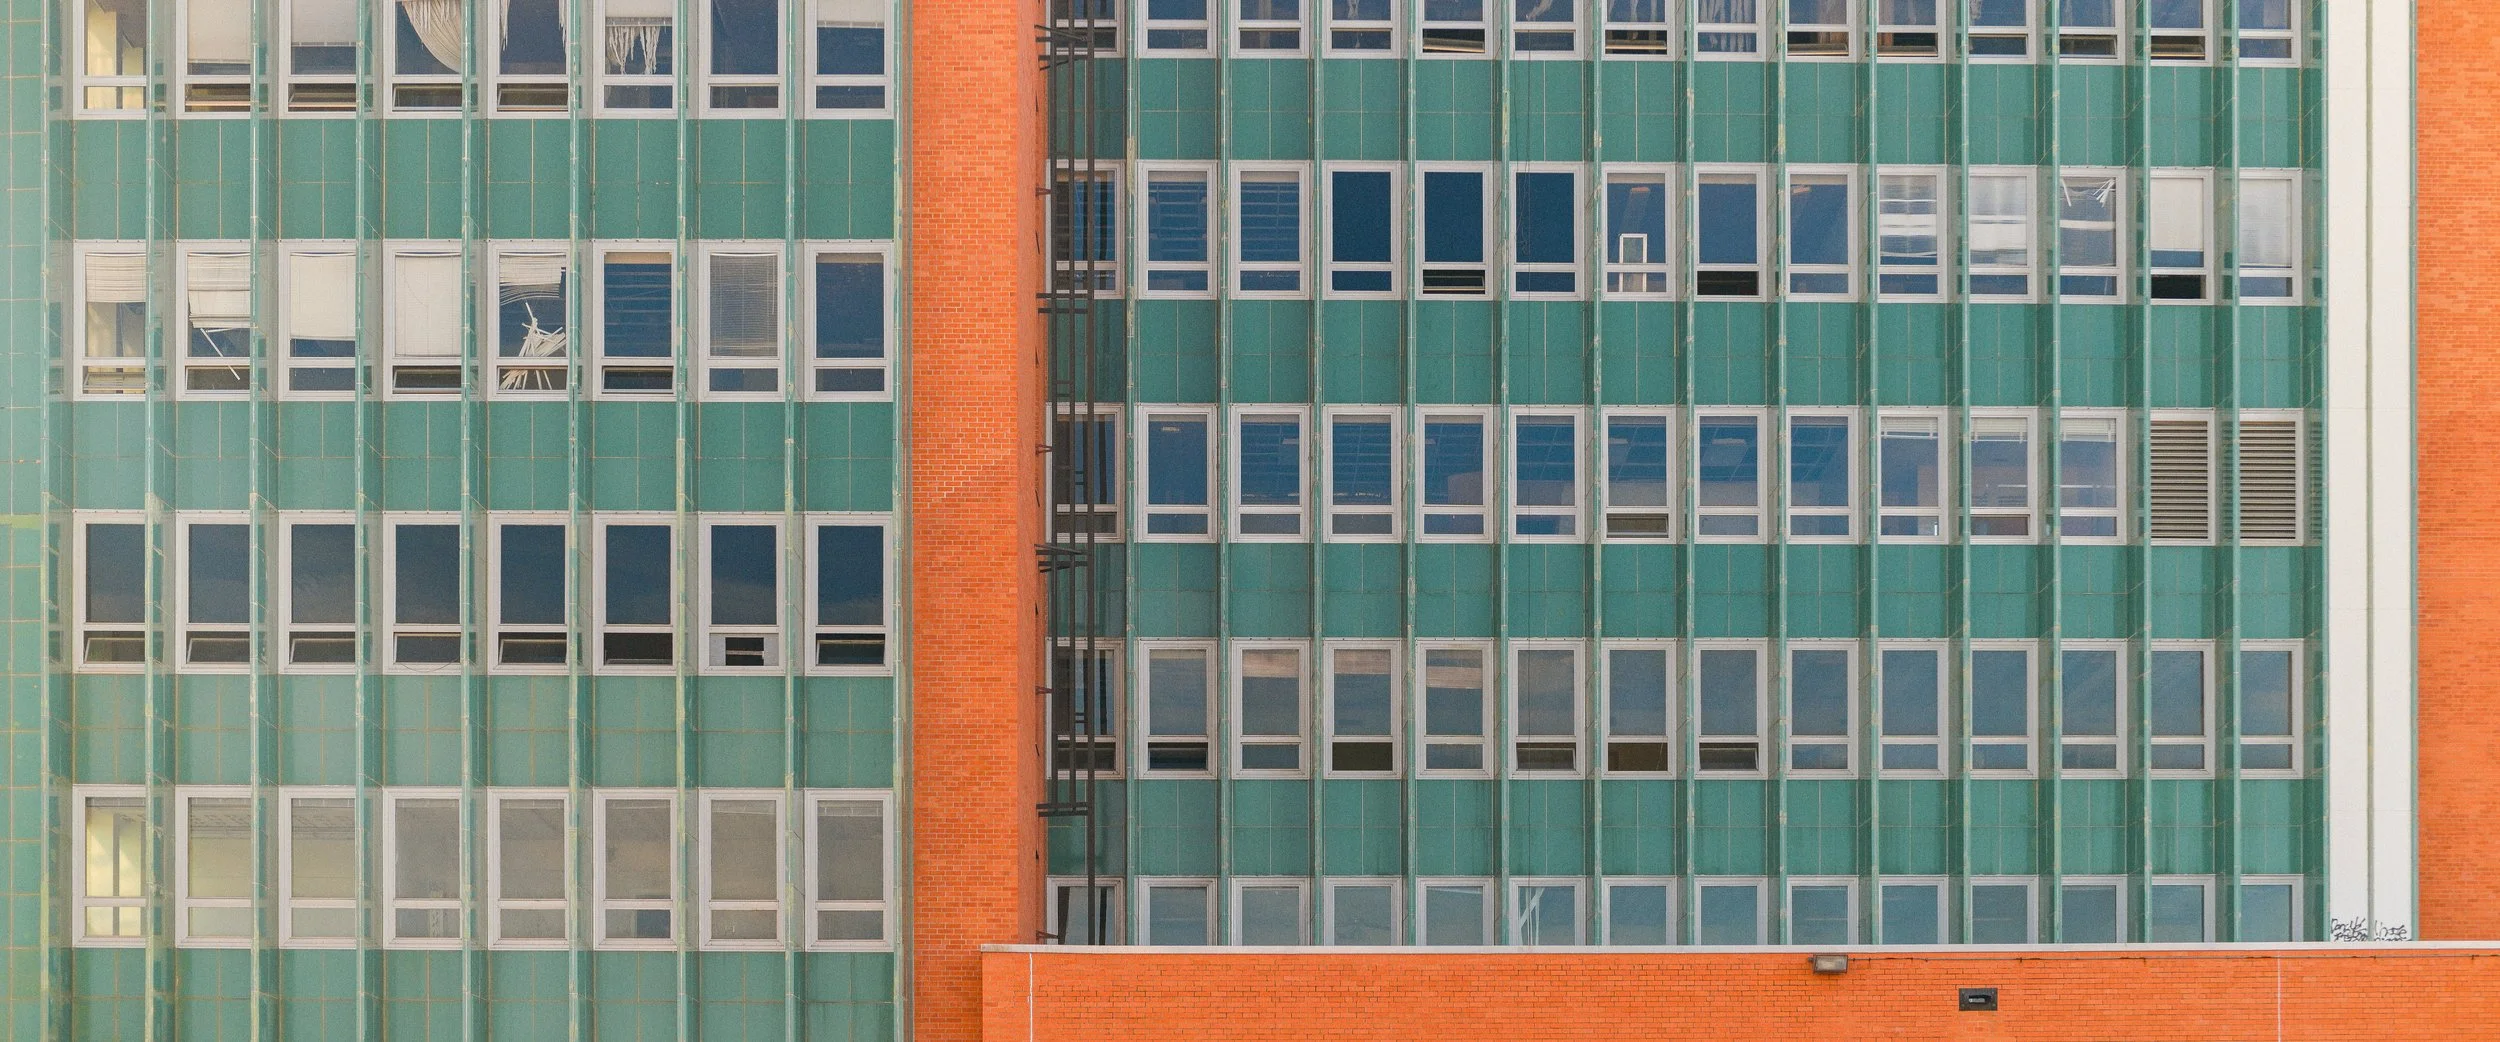
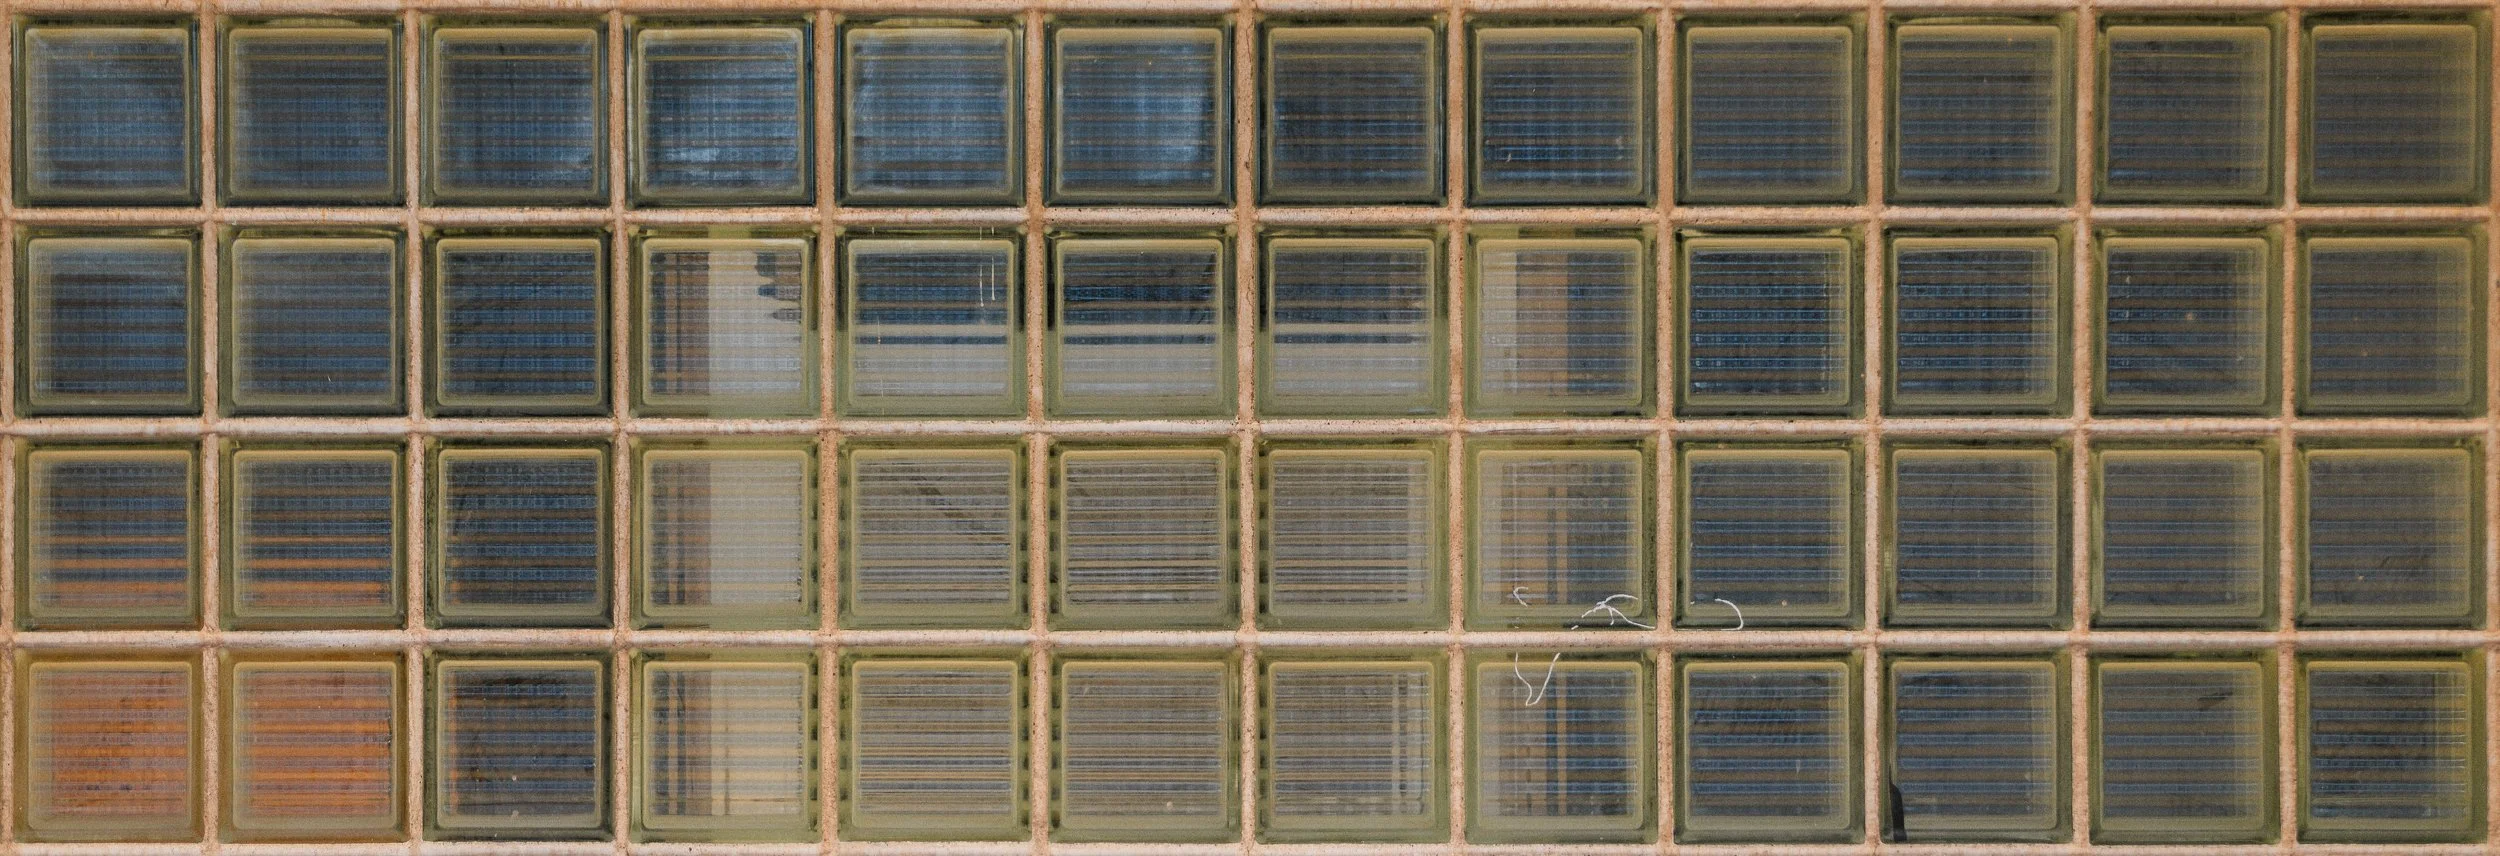

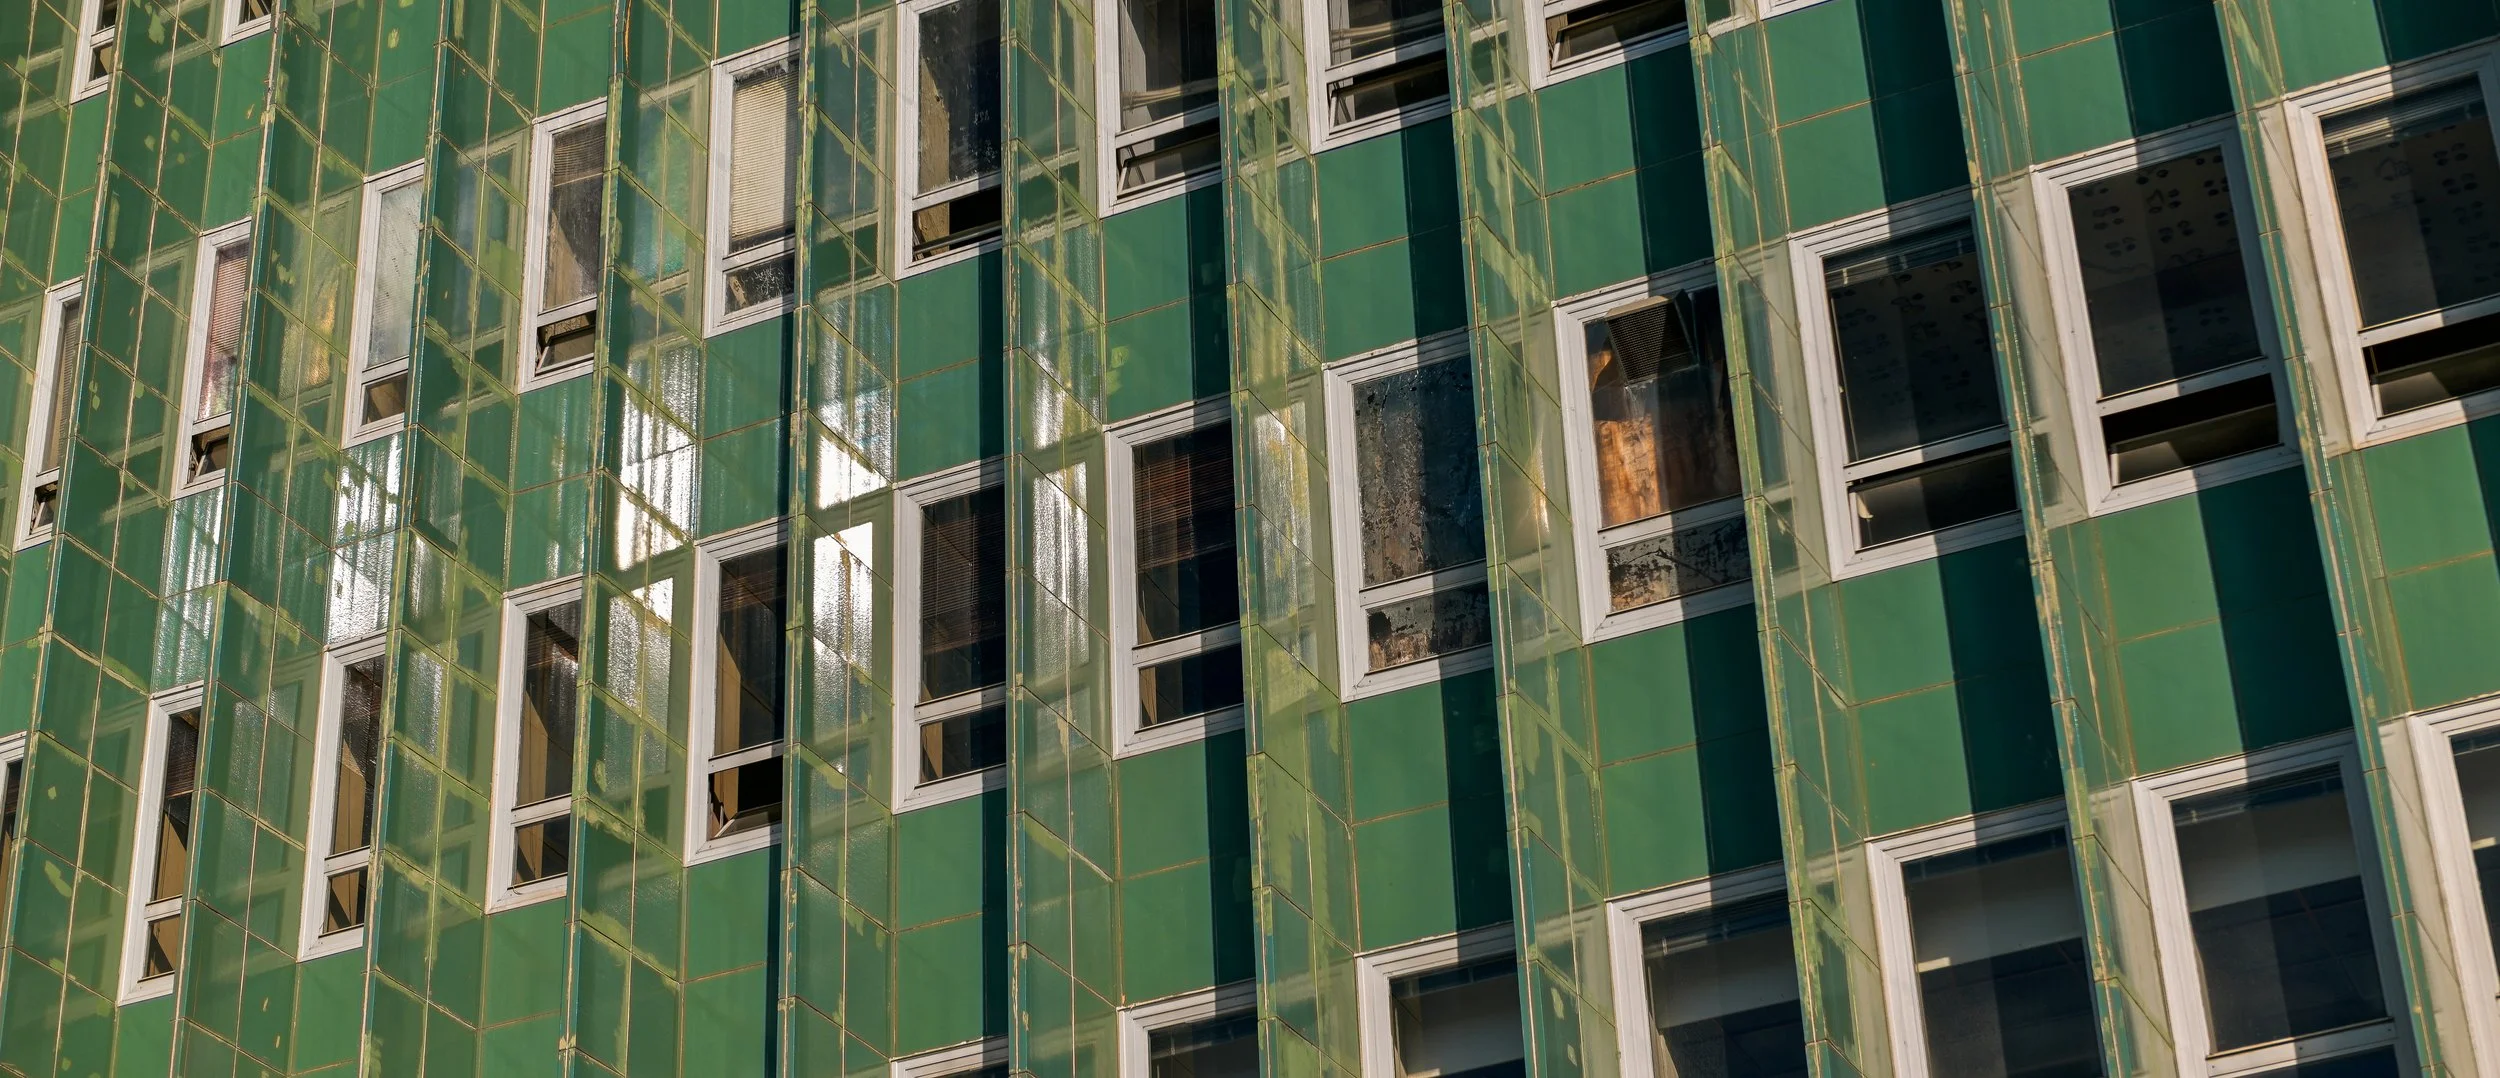
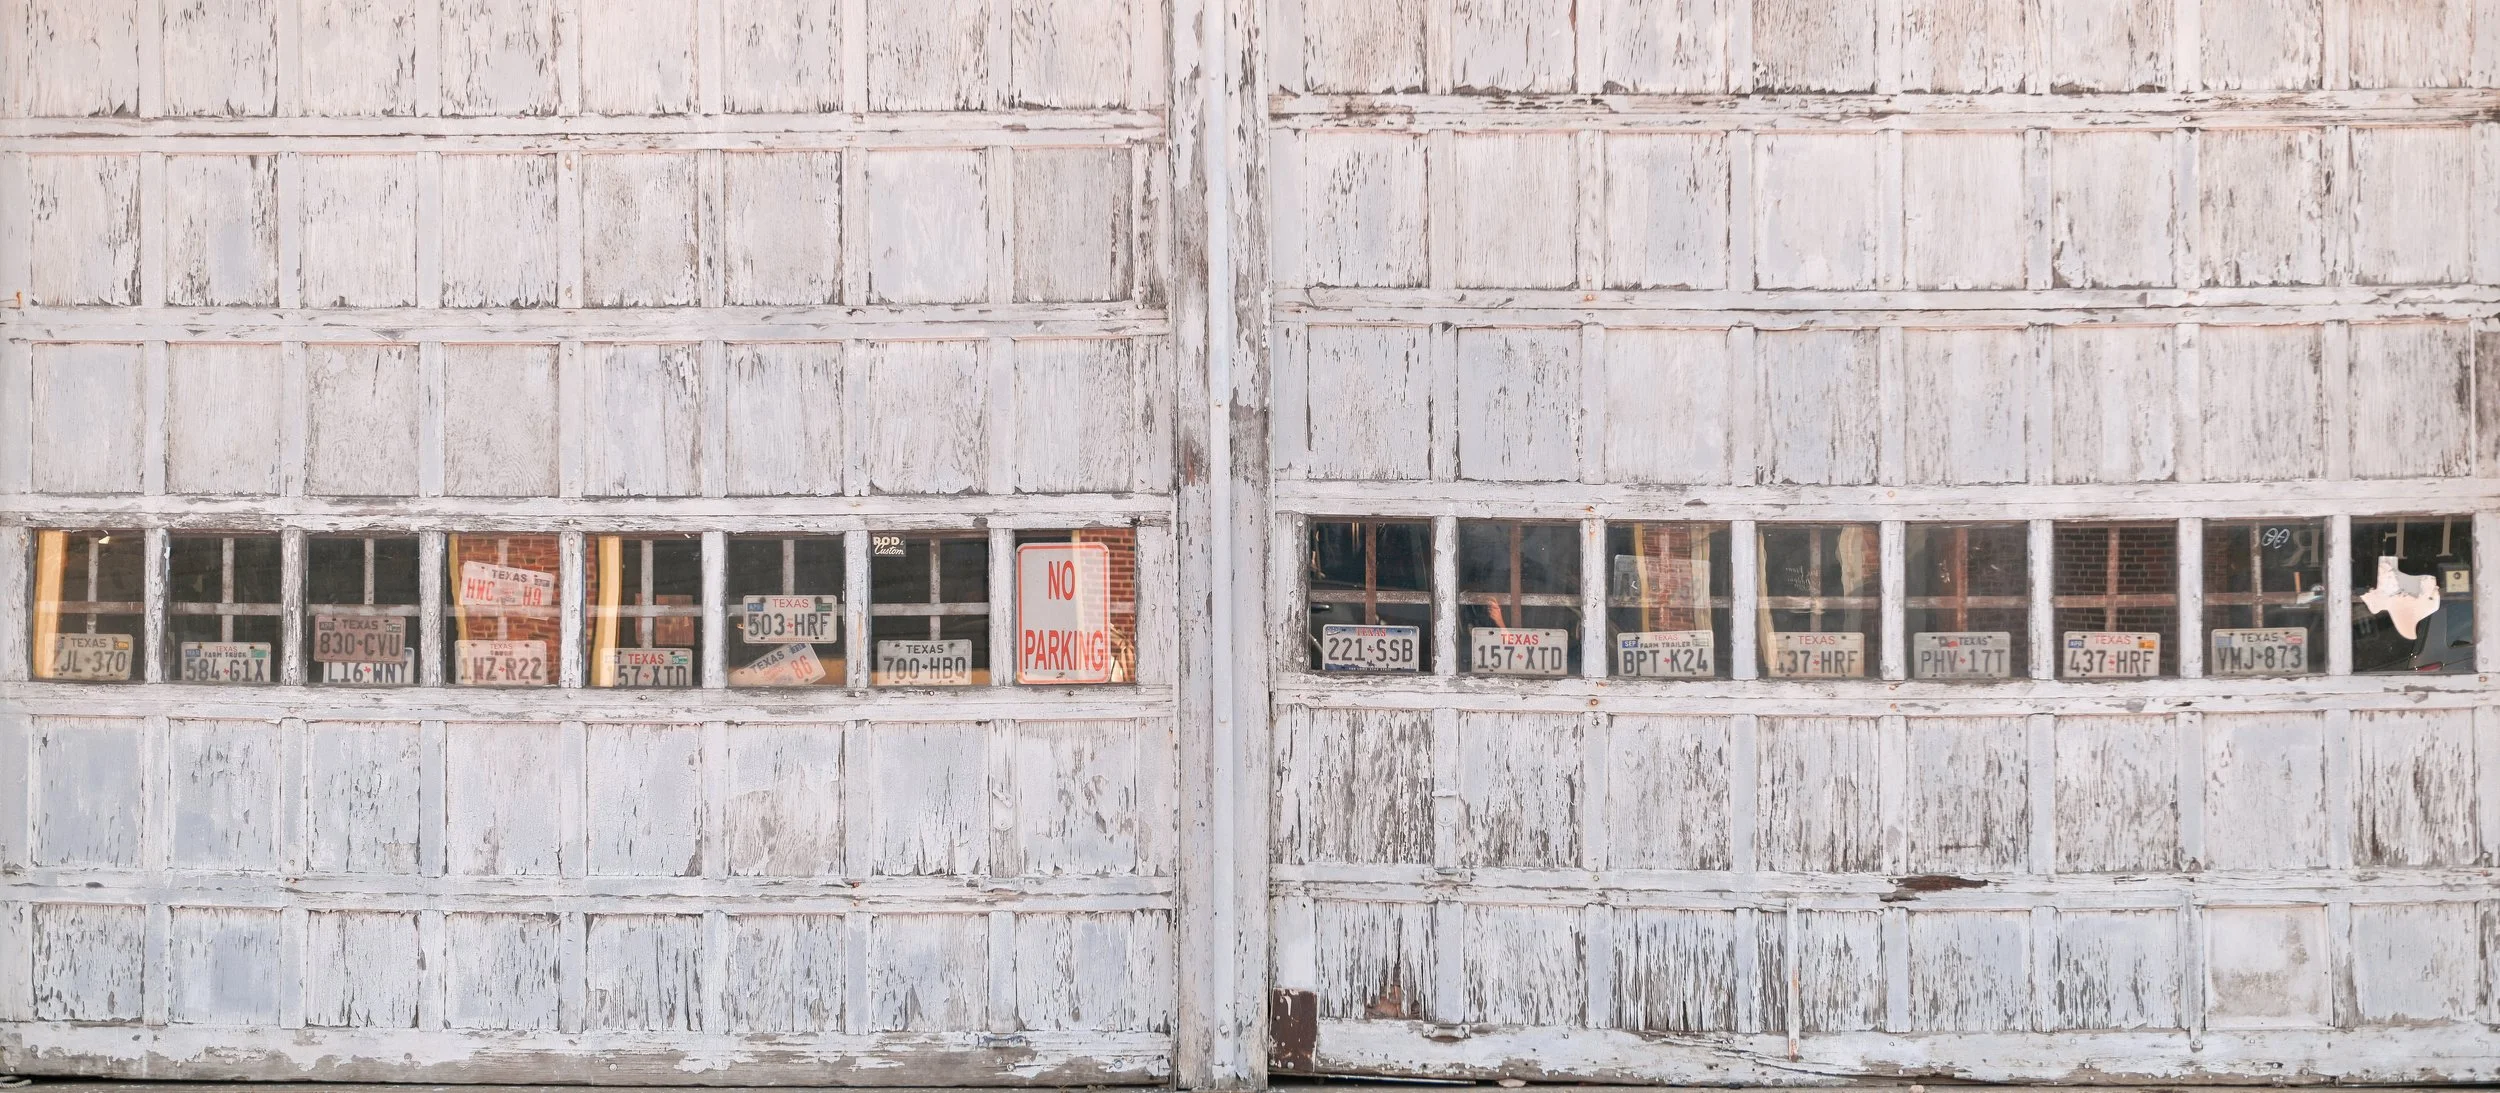
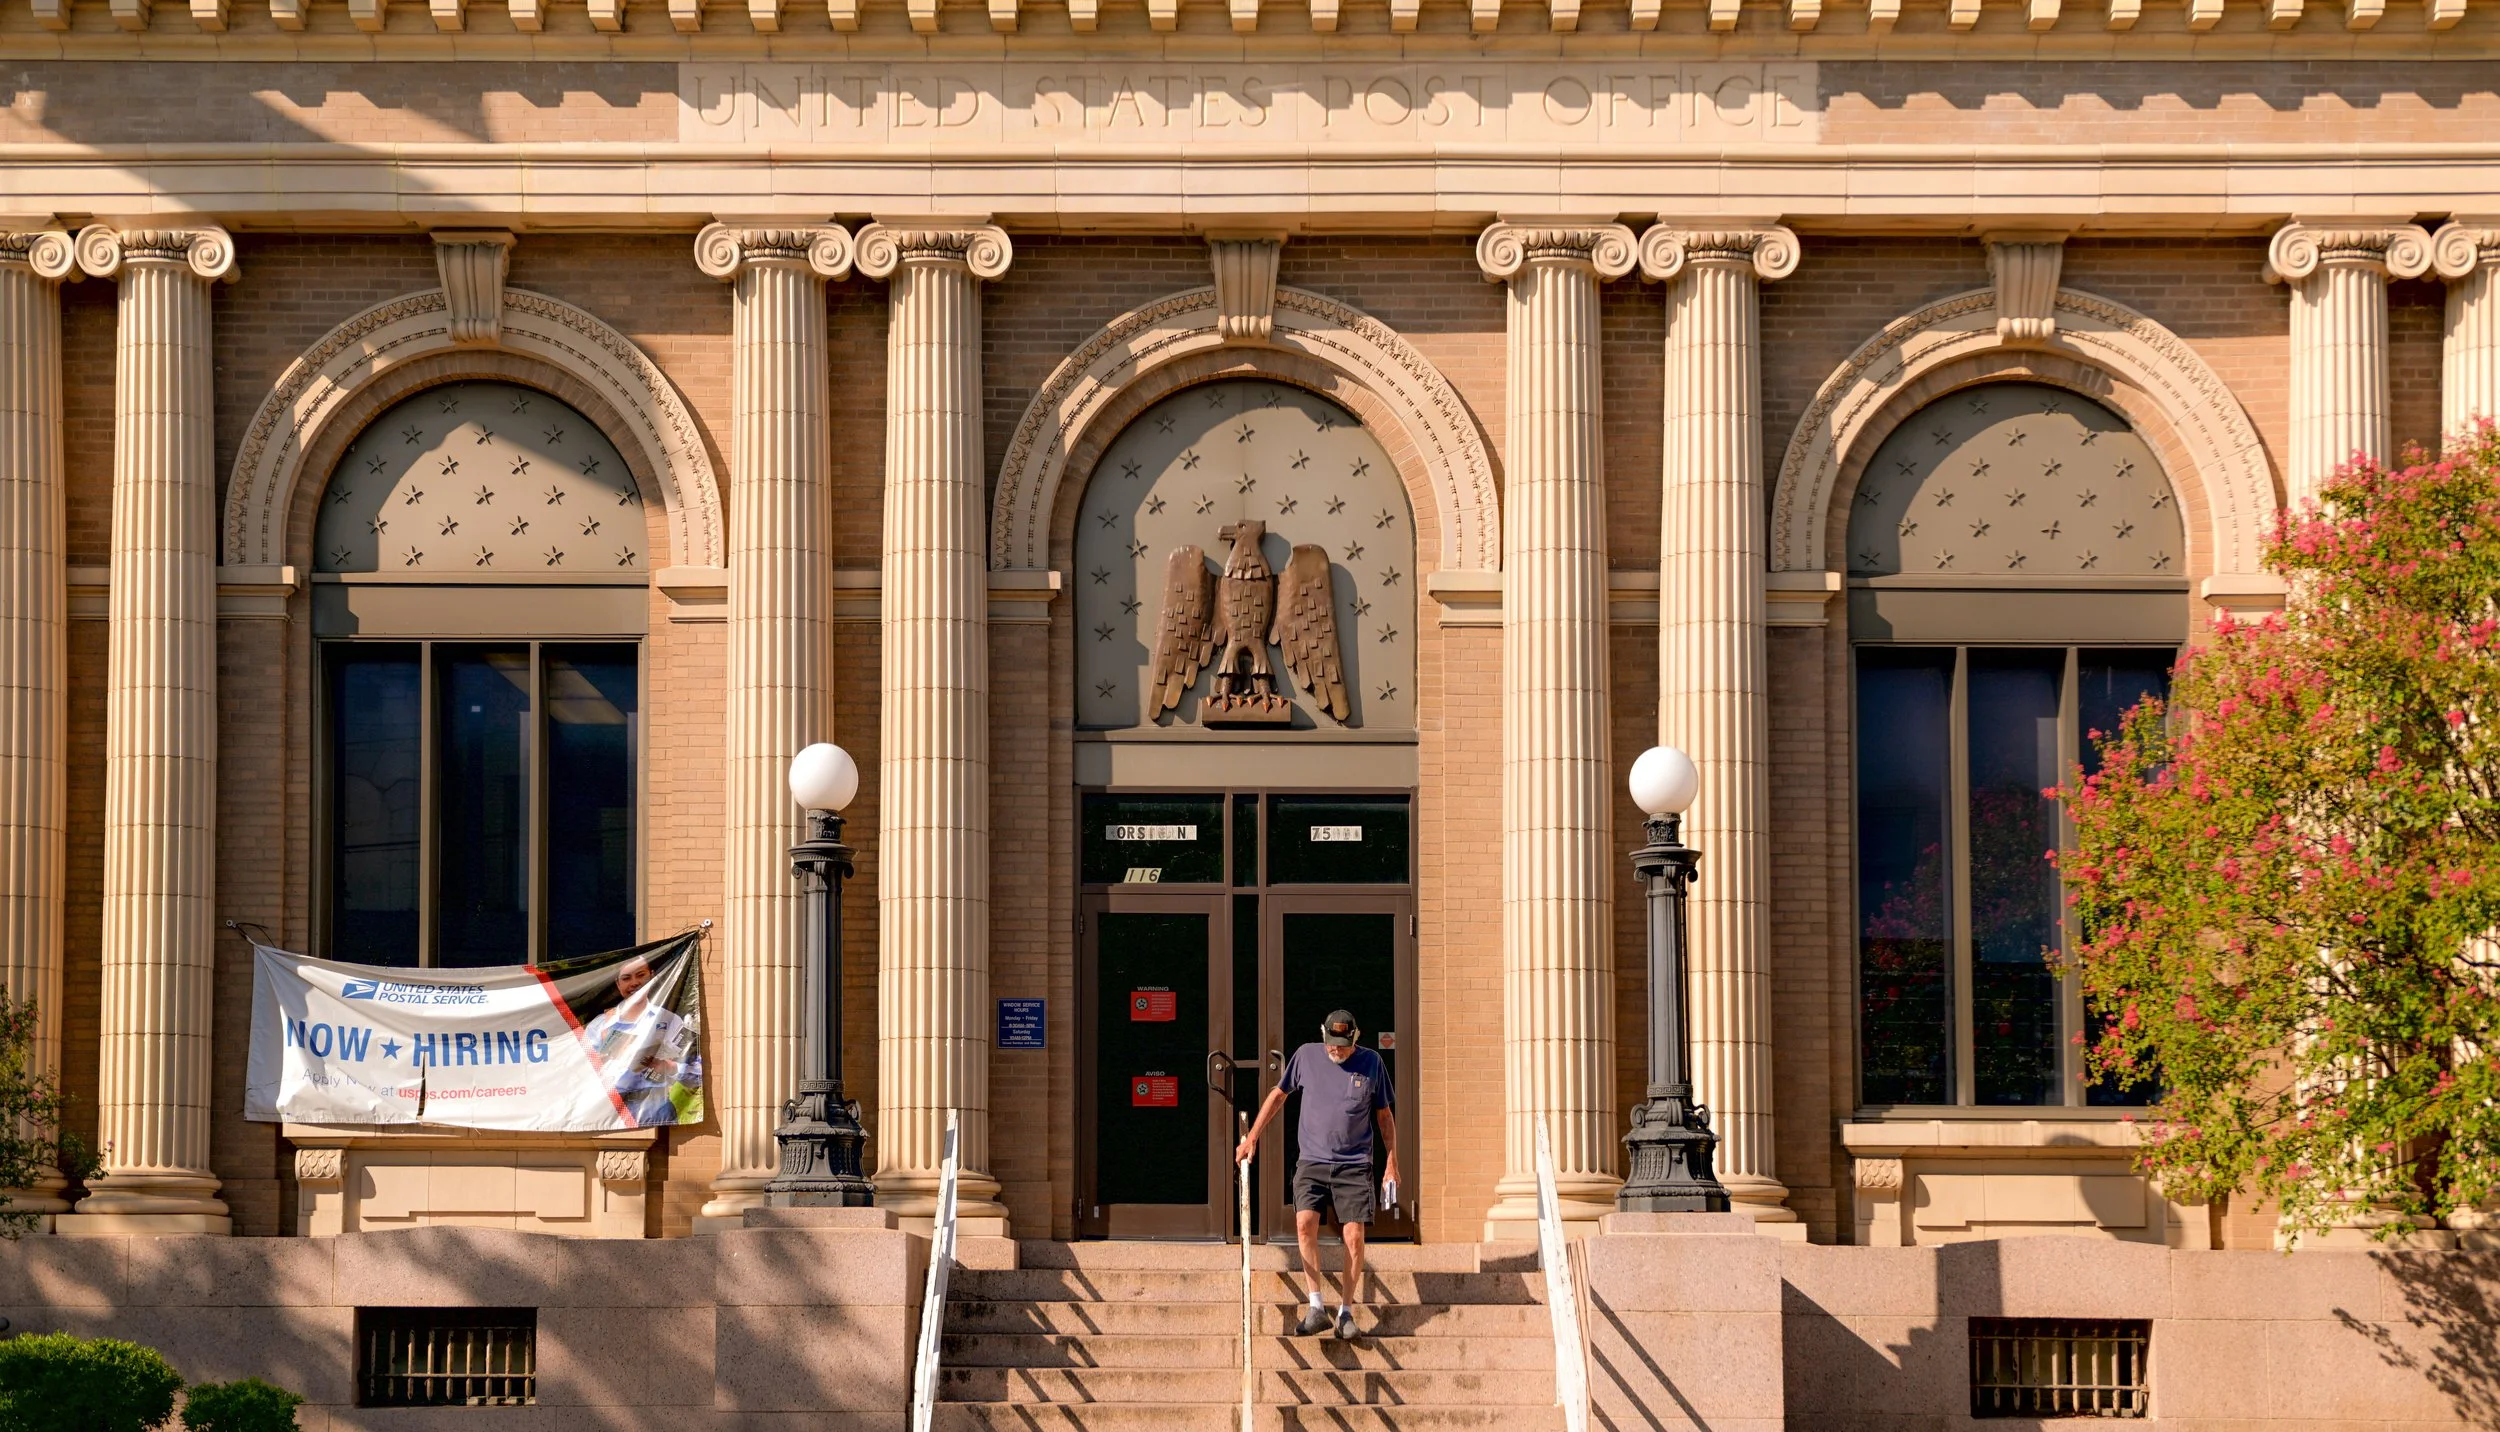

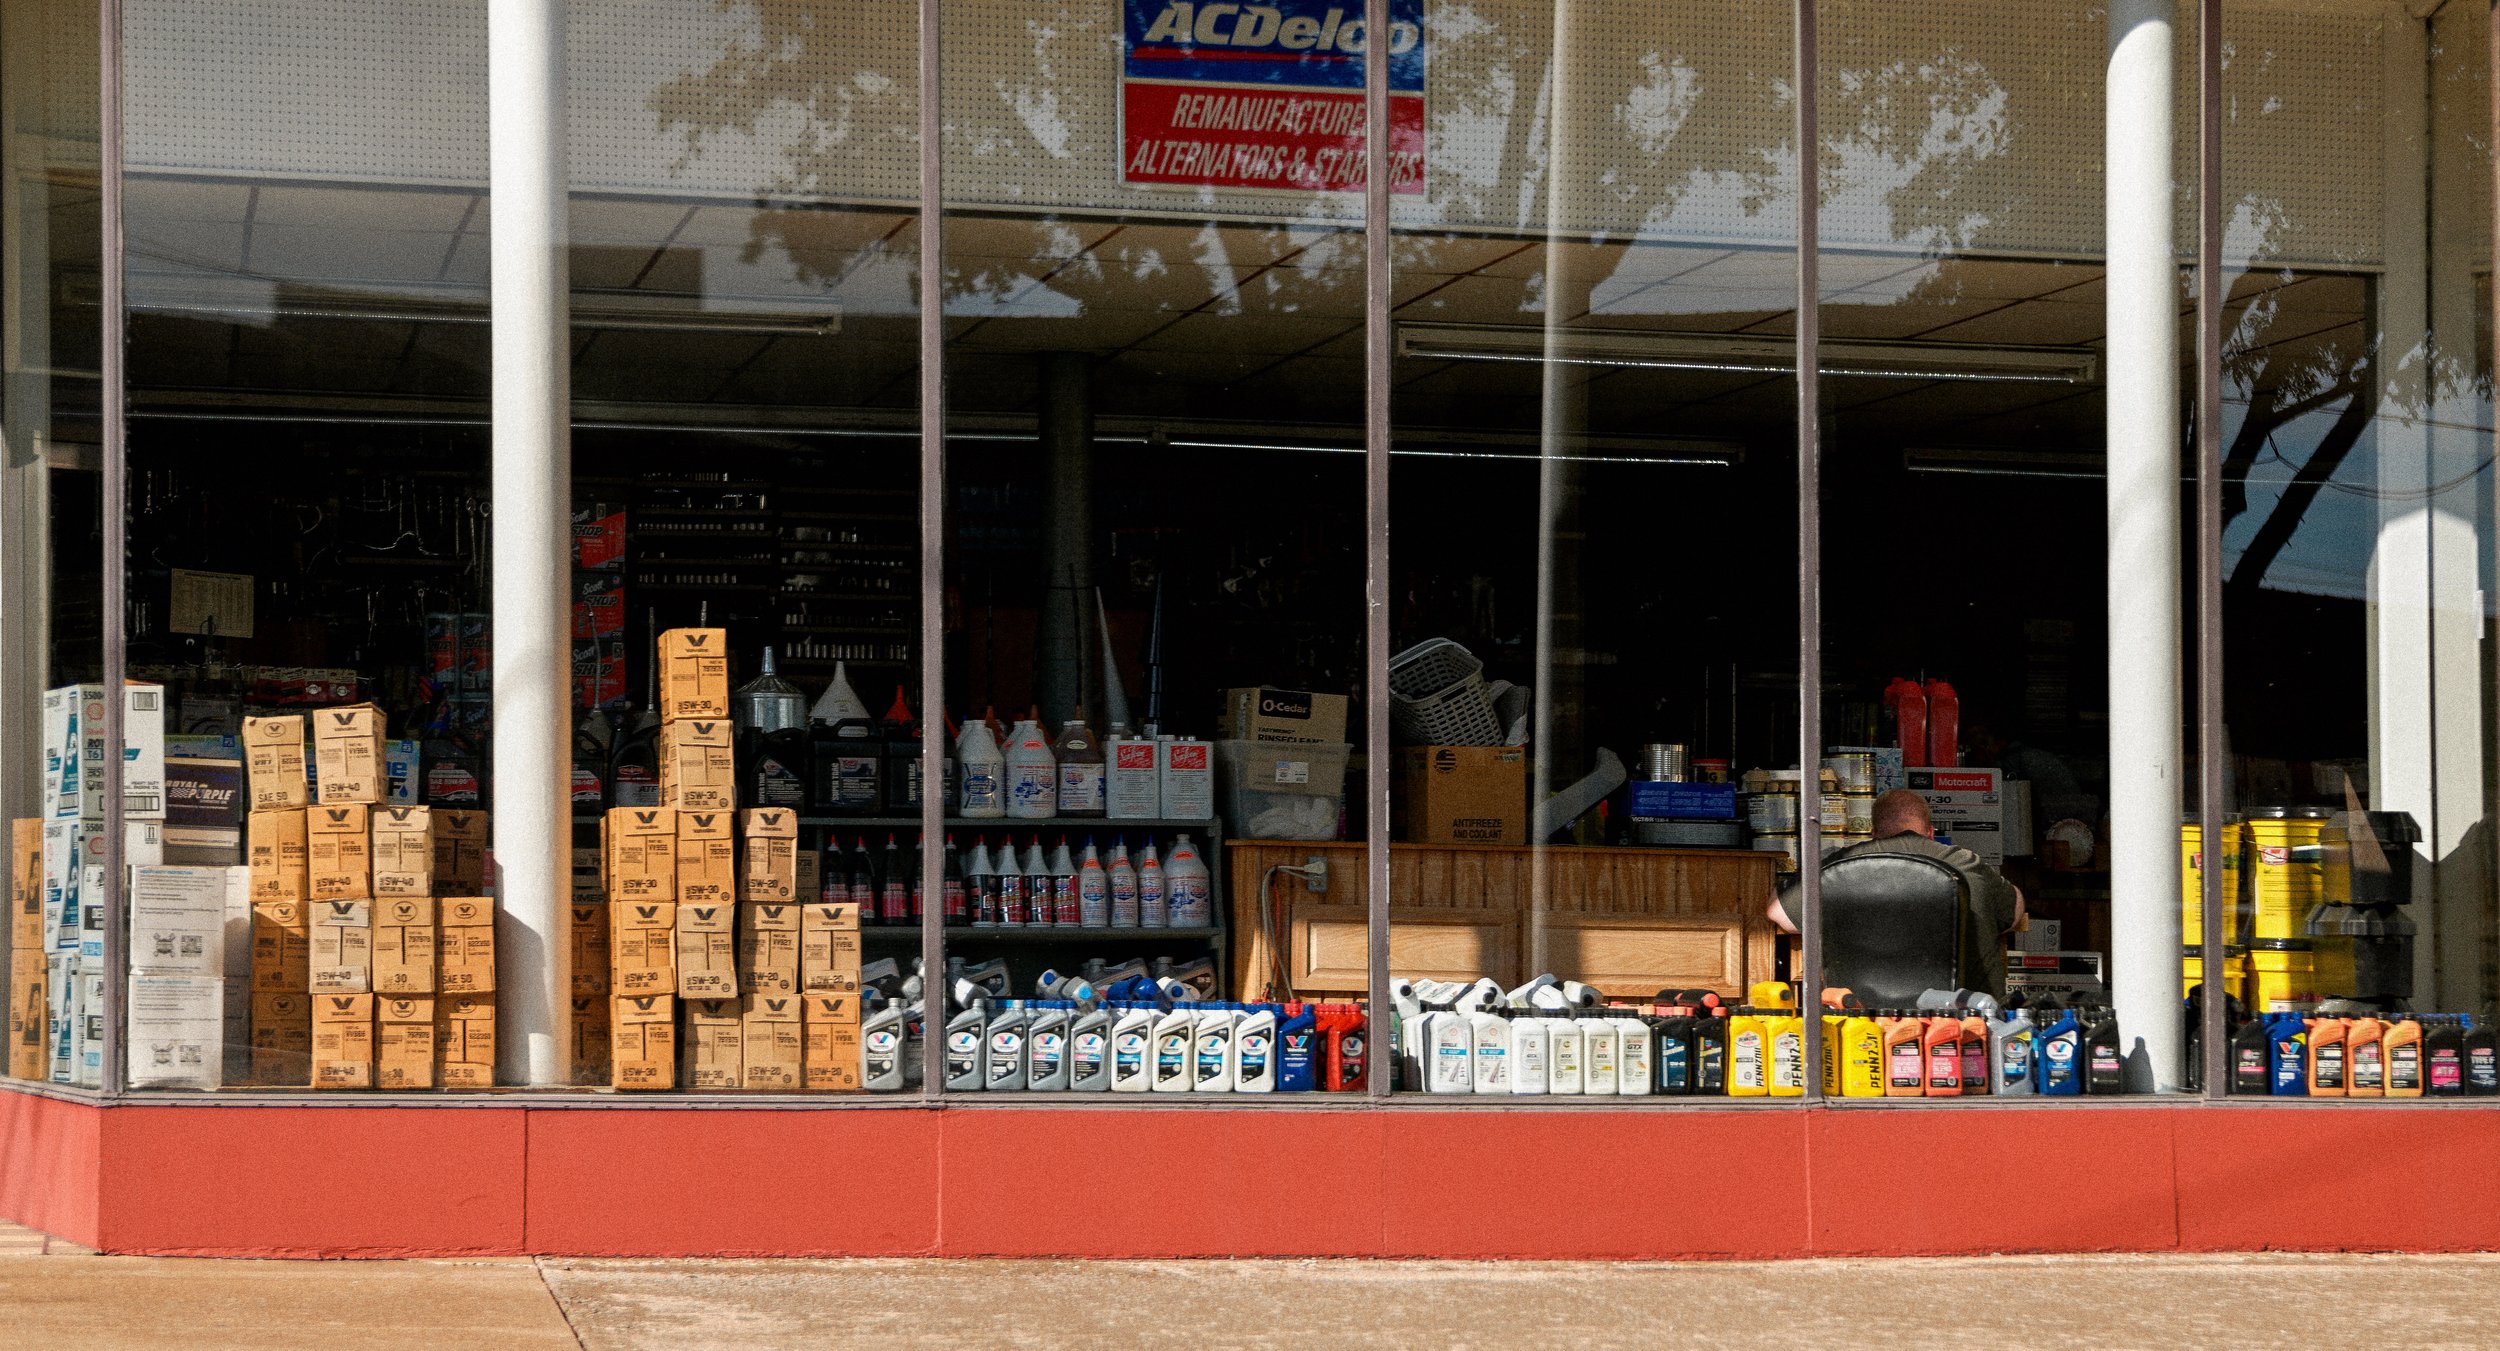
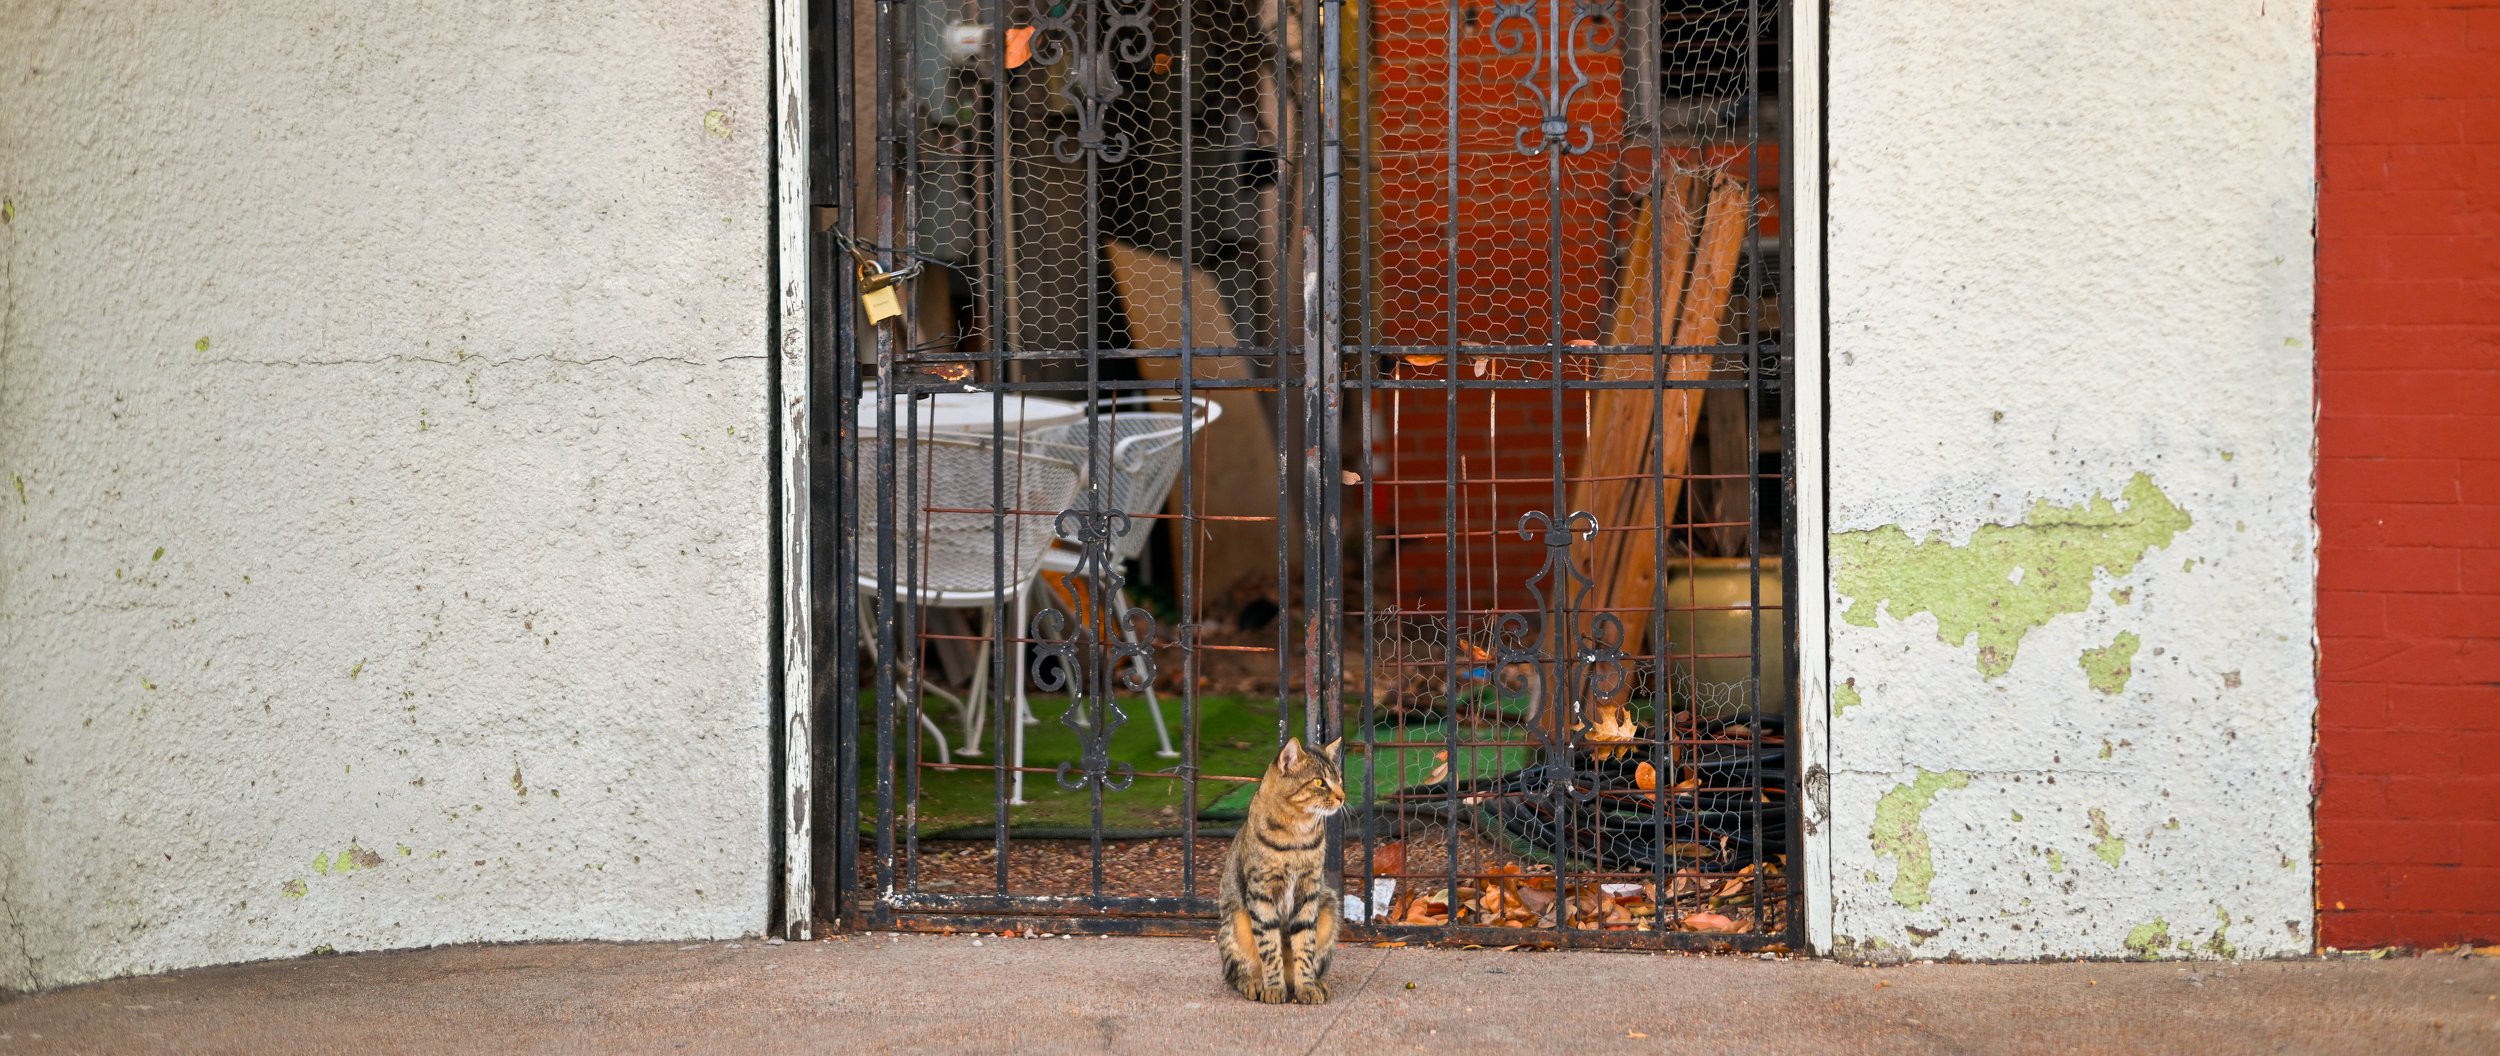
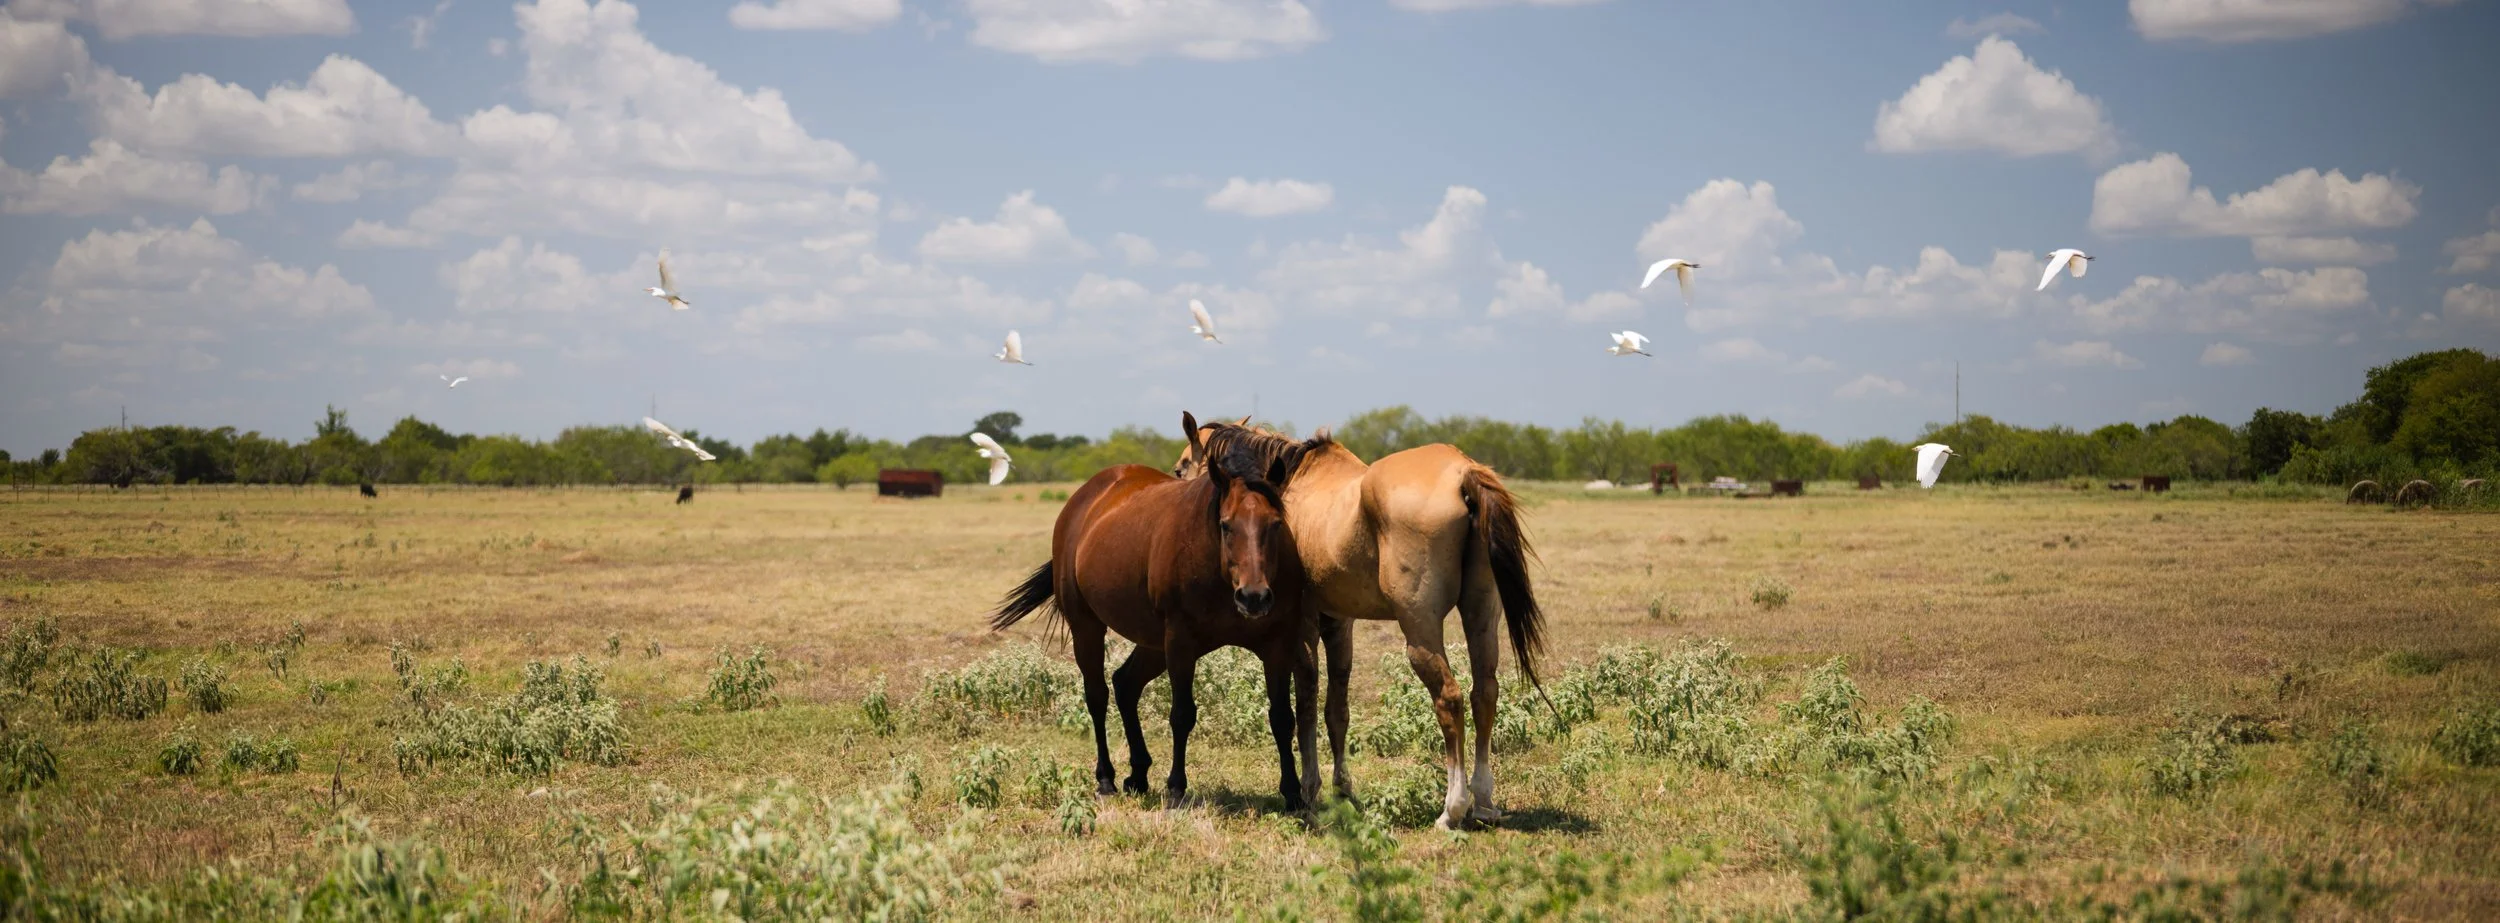
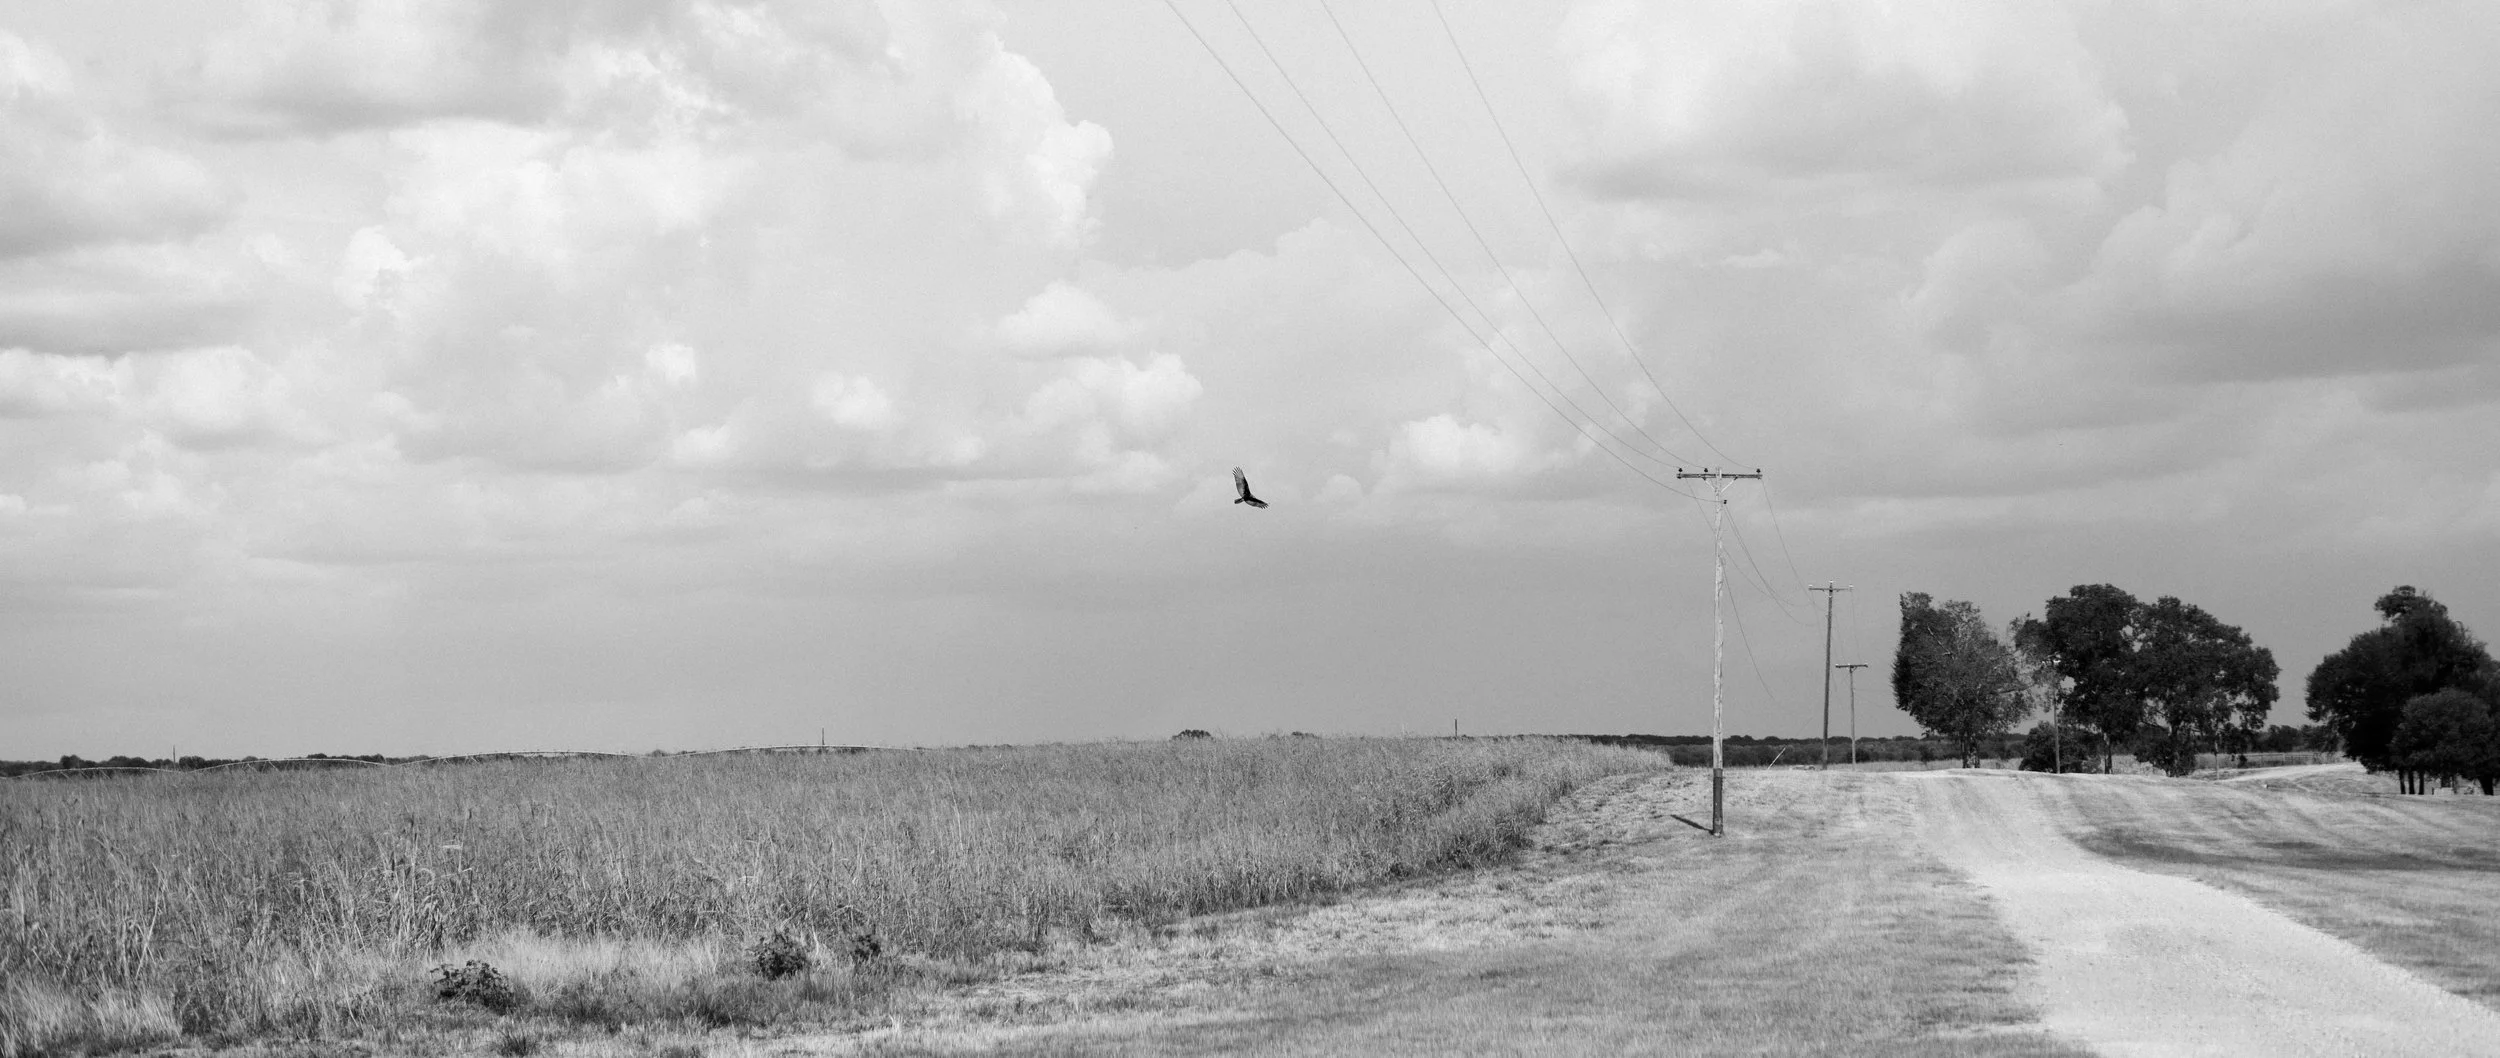
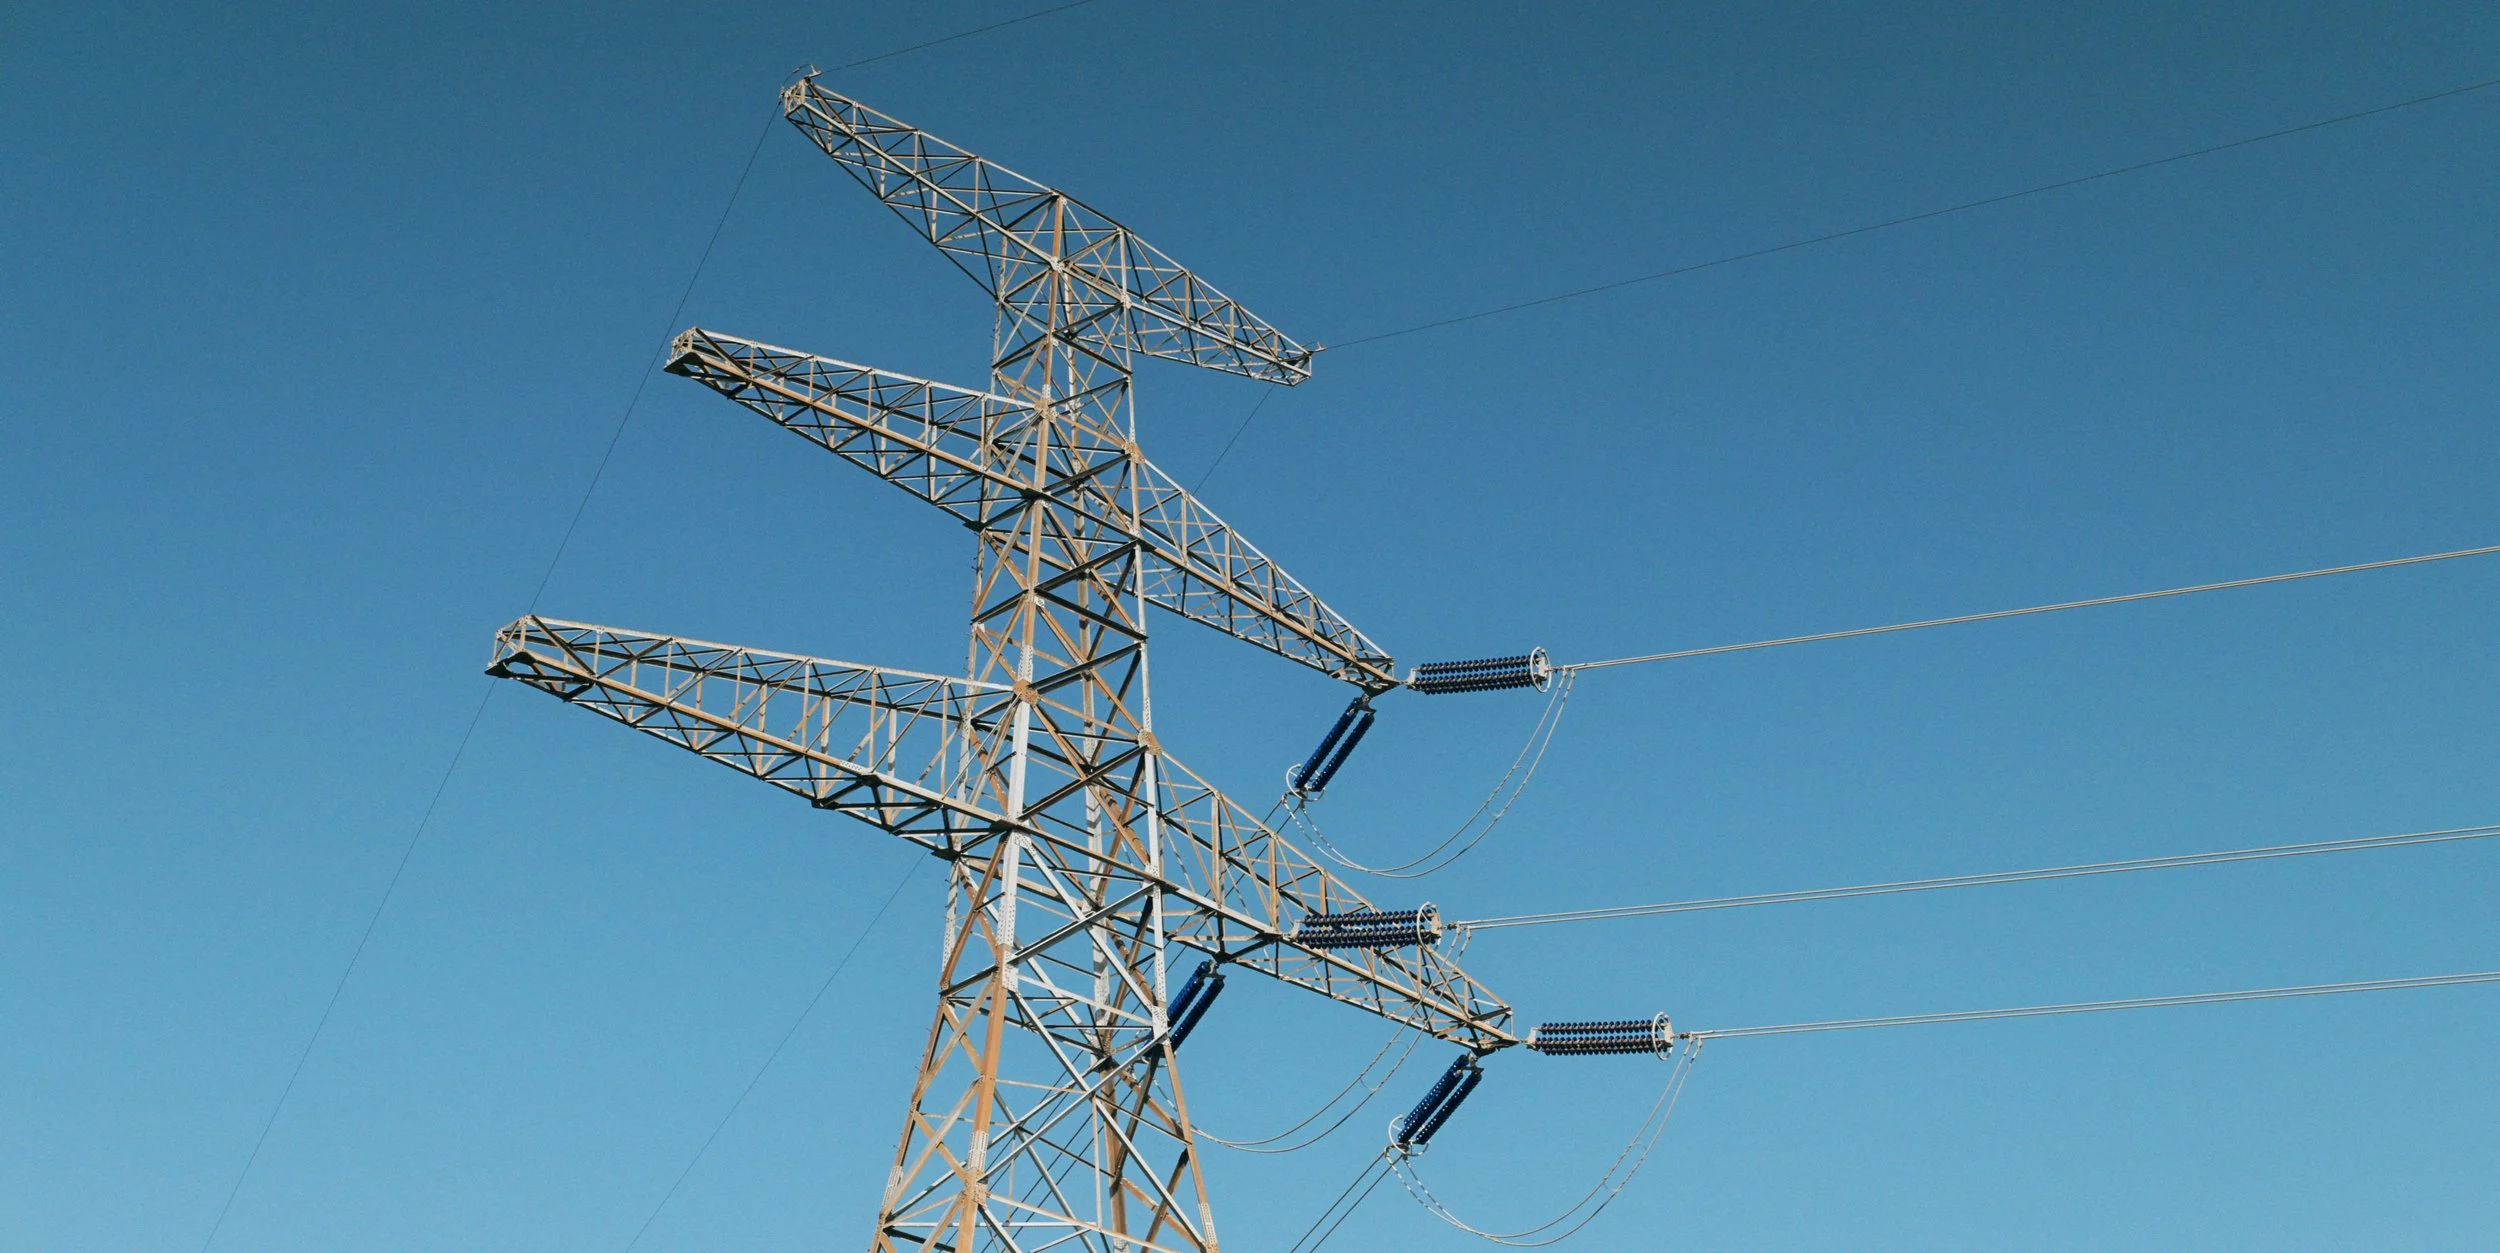
I have also enjoyed roaming from my own backyard out to the countryside, looking for interesting scenes to capture in a new cinematic way.

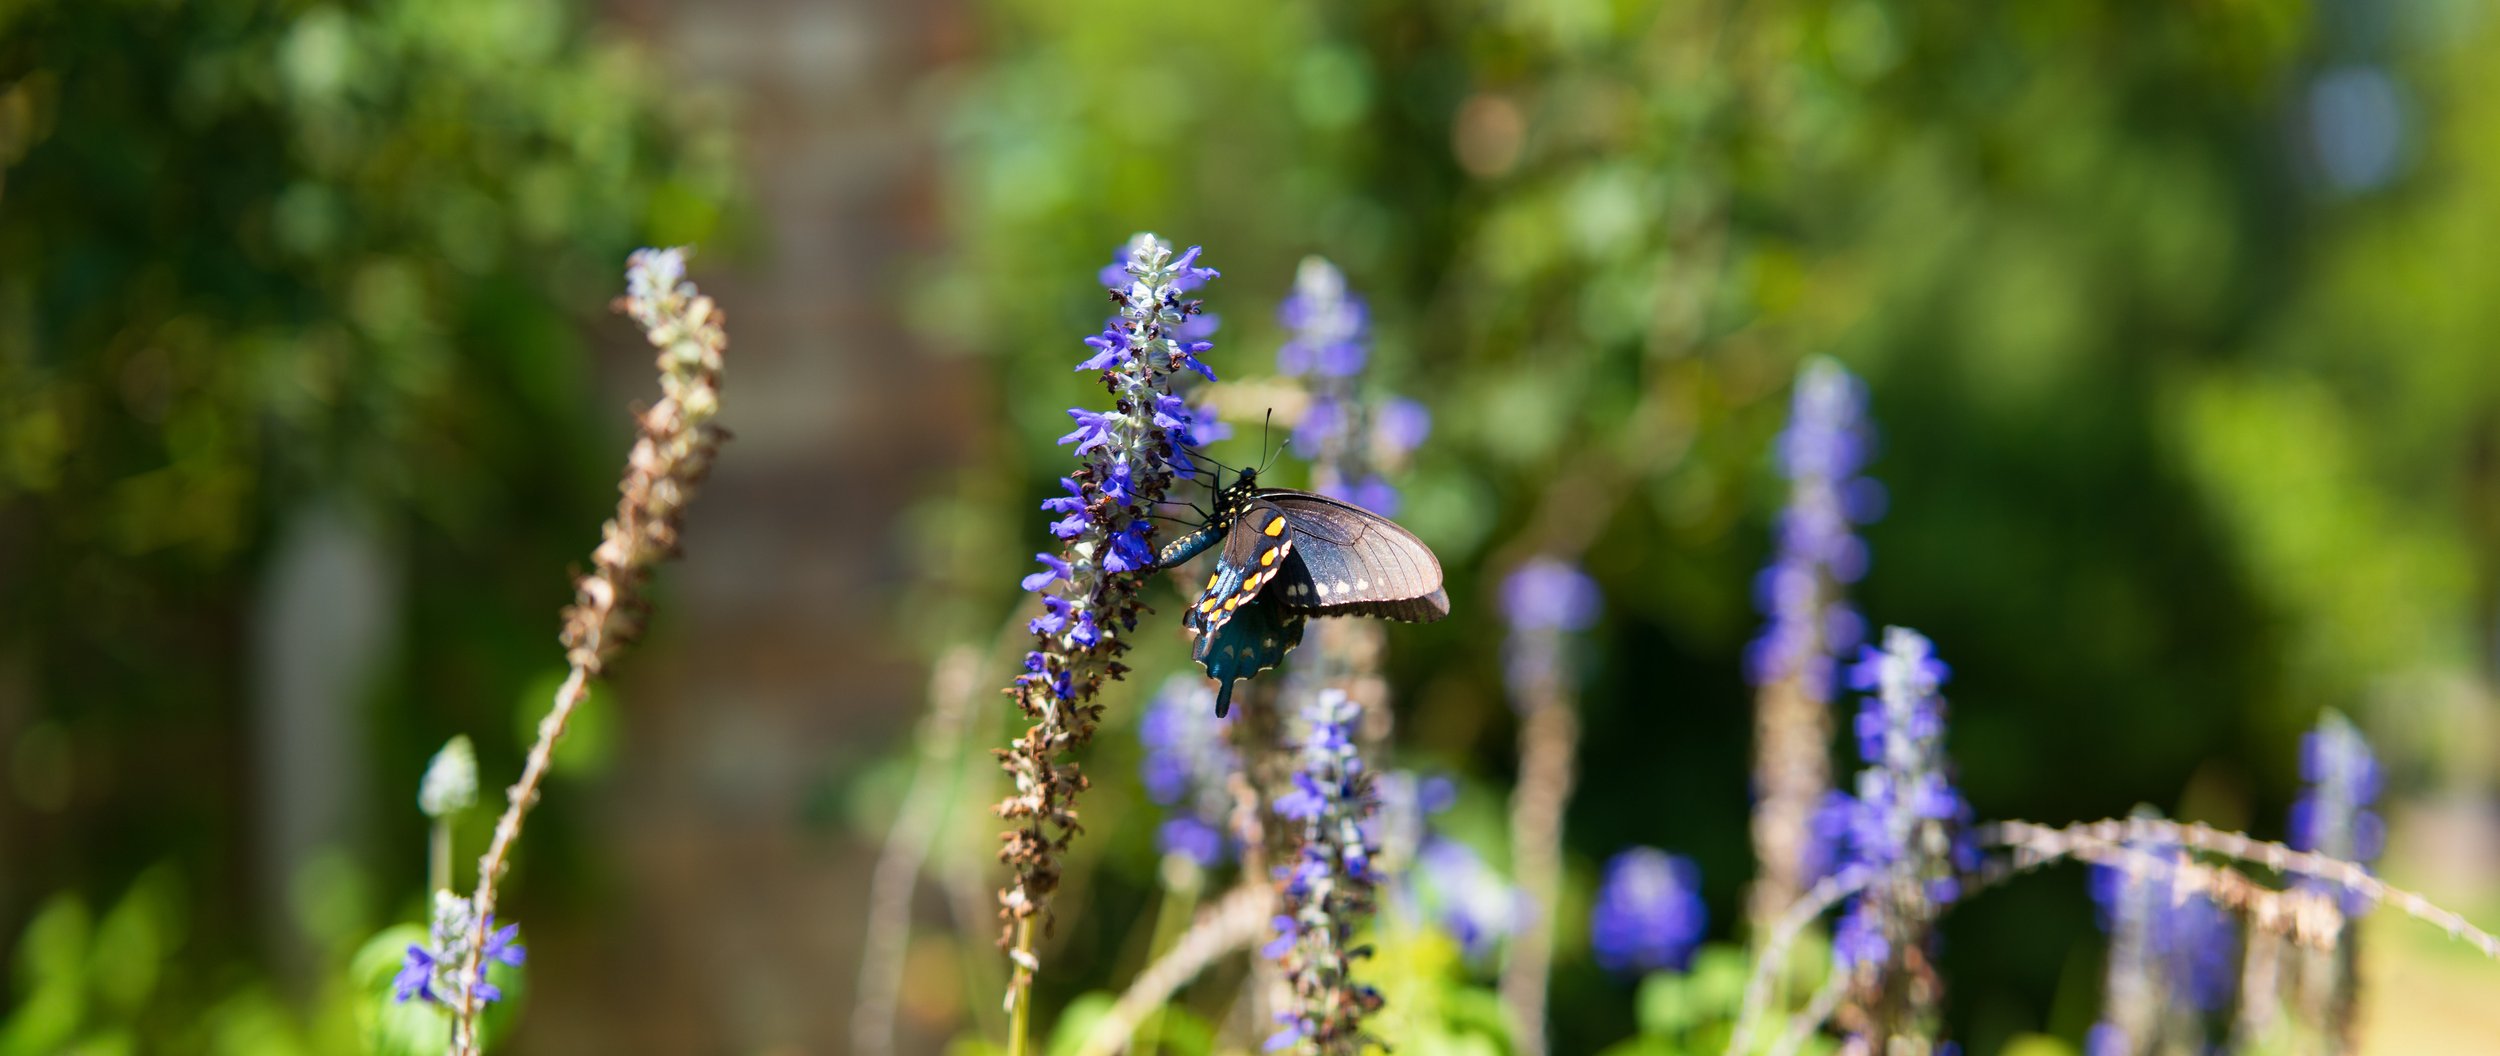

Final thoughts
Overall, I have had a LOT of fun taking anamorphic stills over the last few months. While there is a learning curve to “seeing” in anamorphic, the results can often be surprising and delightful. Wide open, the Astra 75 has rich character in the bokeh, a sort of gravitational-pull feeling to the middle of the frame…and stopped down, becomes a bit more sterile and modern in its rendering, allowing for a wide variety of looks out of one lens. The bokeh is pleasing, colors true and rich, and the center sharpness is lovely. Having autofocus made this project SO much easier, and I appreciated the consistent hit rate the Sirui gave me. I have captured some of my favorite shots of the year while working on this.
The aspect I enjoy least is having to control the camera and desqueeze preview through an app on my phone. While Parallax Monitor is functional and feature rich, I so wish my camera had a native desqueeze option. Maybe someday Nikon will add that to the Nikon ZR and we’ll have an extremely easy to use platform for anamorphic stills and video. Either way, Mike’s work on opening this door to the Nikon community deserves praise and support!
I’ve really enjoyed the extra intentionality of shooting anamorphic. It makes me slow down and truly study the scene, thinking about which aspect ratio I want the final photo to have and how much environmental context I want to provide. All of these things lead to engaging photo sessions and fun in the field.
A lens like the Astra isn’t something I’d take out every day, but it’s fun to have it in the kit as an option for when I want to take more cinematic video or play around with stills. I’d love to try the 50mm version, as that lens has a horizontal equivalent FOV of 37.5mm, making it even more useful for walkabouts in tighter environs. It might be the first lens to end the 35mm/50mm debate once and for all since you get both in one lens =)
Sirui also has their brand new Saturn 2 manual focus option where the lens itself rotates 90 degrees while mounted, allowing for true anamorphic portrait orientation photography and video…a super exciting idea that I hope comes to the Astra line someday!
I’m not sure you could put together an easier to use beginner anamorphic kit than by using your own smartphone with an app and USB cable. Hopefully I’ve turned some gears in your head and got your mind racing with the possibilities that anamorphic photography might provide for your own style. If you have any questions, drop them below, I’m happy to continue the conversation in the comments.
If you want to pick up your own Sirui anamorphic lens, you can check those out here and find which ones Sirui makes for your camera platform. Remember to use coupon code SCOTTTUCKER for 5% off your order, even on discounted items!
As always, I appreciate you reading my articles. If you found this one helpful, please consider buying me a coffee with the button below so I can fuel up and bring you more content like this.
